
I love a thrift-store find that looks a little questionable at first and then turns into something surprisingly useful. This decorative basket starts with a vintage-style black metal milk crate and uses chunky cinnamon yarn crocheted right through the grid, so you get all the structure of the crate with a much warmer, softer look. The result is a large basket that feels cozy enough for blankets, cookbooks, or extra pillows, but still has that sturdy industrial shape underneath.
This is a great project if you know basic crochet stitches and want something easier than freehand shaping a giant basket from scratch. I’m all about projects that look high-impact without eating up an entire weekend, especially after a long work week, and this one really delivers because the wire frame does most of the heavy lifting for you.
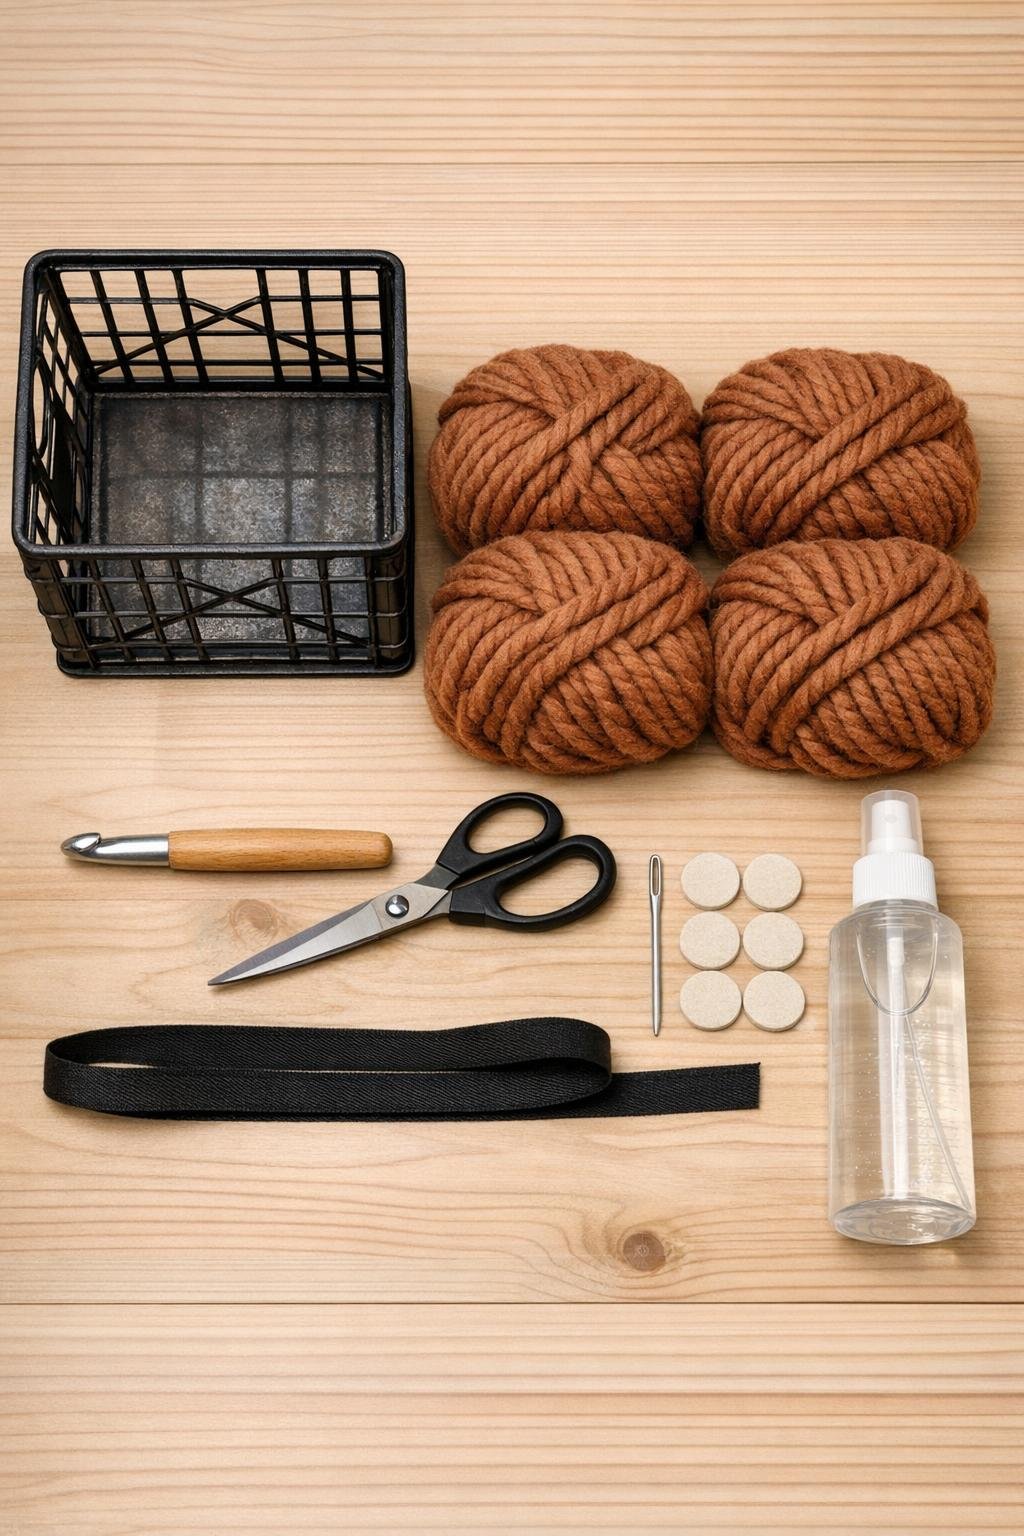
Materials
Instructions
1. Wipe down the metal milk crate and check for any rough spots, then press adhesive felt pads onto the bottom corners so the finished basket won’t scratch floors.
2. Cut a 6-inch tail of yarn and tie it securely to one lower corner of the crate, double-knotting it around the wire where the side meets the base.
3. Work single crochet stitches directly through each square of the bottom row of the crate, pulling the yarn around the horizontal wire so every opening gets one snug stitch and the metal starts disappearing under the yarn.
4. Continue single crocheting across the first side panel row by row, keeping your tension firm but not tight, and push the stitches close together with your fingers so the coverage looks full and padded.
5. At each corner, make 2 single crochet stitches around the corner wire before turning onto the next side; this keeps the yarn coverage generous and prevents bare metal gaps.
6. Crochet all four outer sides from bottom to top, changing skeins as needed by knotting the new yarn tightly on the inside of the crate and weaving the ends back through nearby stitches with the yarn needle.
7. Once the outside is covered, flip the crate and crochet into the outer edge of the bottom grid, working one full round of single crochet around the perimeter to visually connect the sides.
8. Turn the crate upright and crochet one more round around the top edge, wrapping the yarn over and around the top metal rim with tight single crochet stitches for a clean finished border.
9. If you want a thicker top edge, add a second top round using slip stitches worked tightly into the first round to create a rope-like trim.
10. Weave in every loose end on the inside of the crate, tucking tails under several stitches so they stay hidden even when the basket is filled and moved around.
11. Cut the black twill ribbon into two 18-inch pieces and tie one on each side near the top rim, threading them through the grid and knotting them into simple side bows or short carrying loops.
12. Lightly mist the crocheted exterior with clear fabric stiffener spray, let it dry completely, and then fluff the stitches with your hands so the basket keeps a polished, full shape.
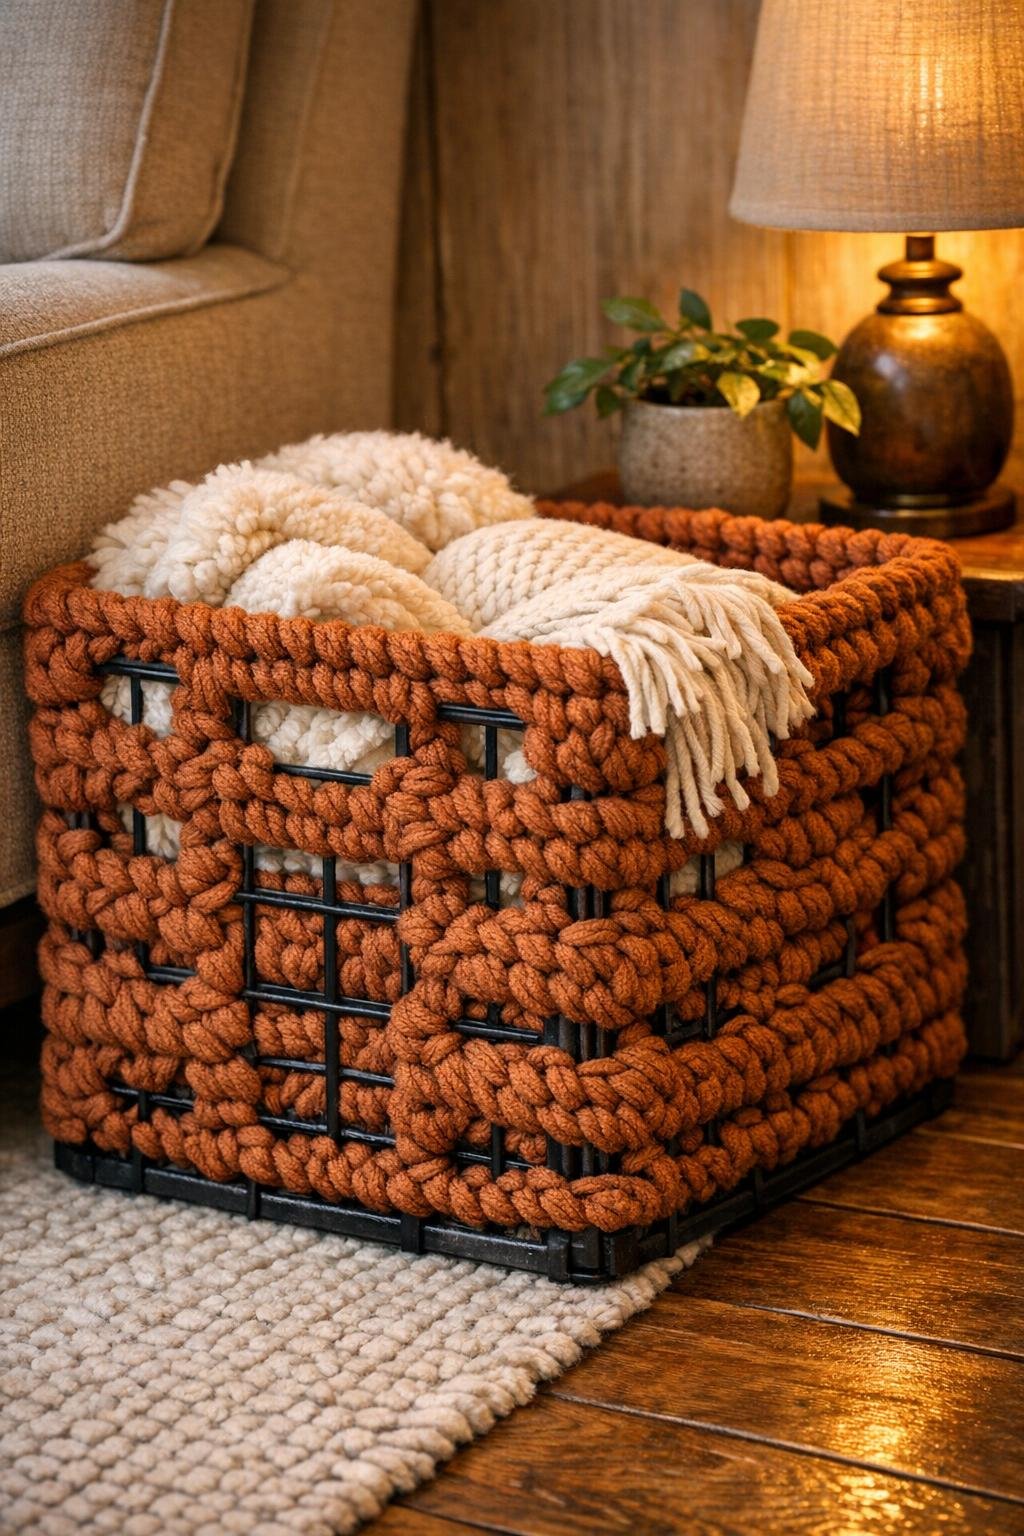
Variations & Tips
For extra coverage: If your crate has larger grid openings, work 2 single crochet stitches in every other square instead of 1 per opening to make the sides look denser and more luxurious.
Color idea: Cinnamon is gorgeous for a warm, fall-leaning look, but this also works beautifully in oatmeal, charcoal, olive, or deep rust if you want it to blend with your room.
Make it more functional: I like using this size basket for throw blankets, but it also works for onions and potatoes in a pantry, rolled towels in a guest bath, or even toy storage in a family room.
Yarn choice tip: Stick with super bulky yarn that has a smooth, tightly spun finish instead of a fuzzy one, because it slides through the wire grid more easily and shows off the stitch texture better.
Thrift-store crate check: Bring gloves or at least run your hand carefully along the wires before buying; if the metal has too many sharp burrs, the yarn can snag and the project gets frustrating fast.
Busy-weekend shortcut: If I’m squeezing this in between errands and meal prep, I cover the four sides first, stop there, and finish the top border and ribbon the next day; it still feels manageable in two shorter sessions.