
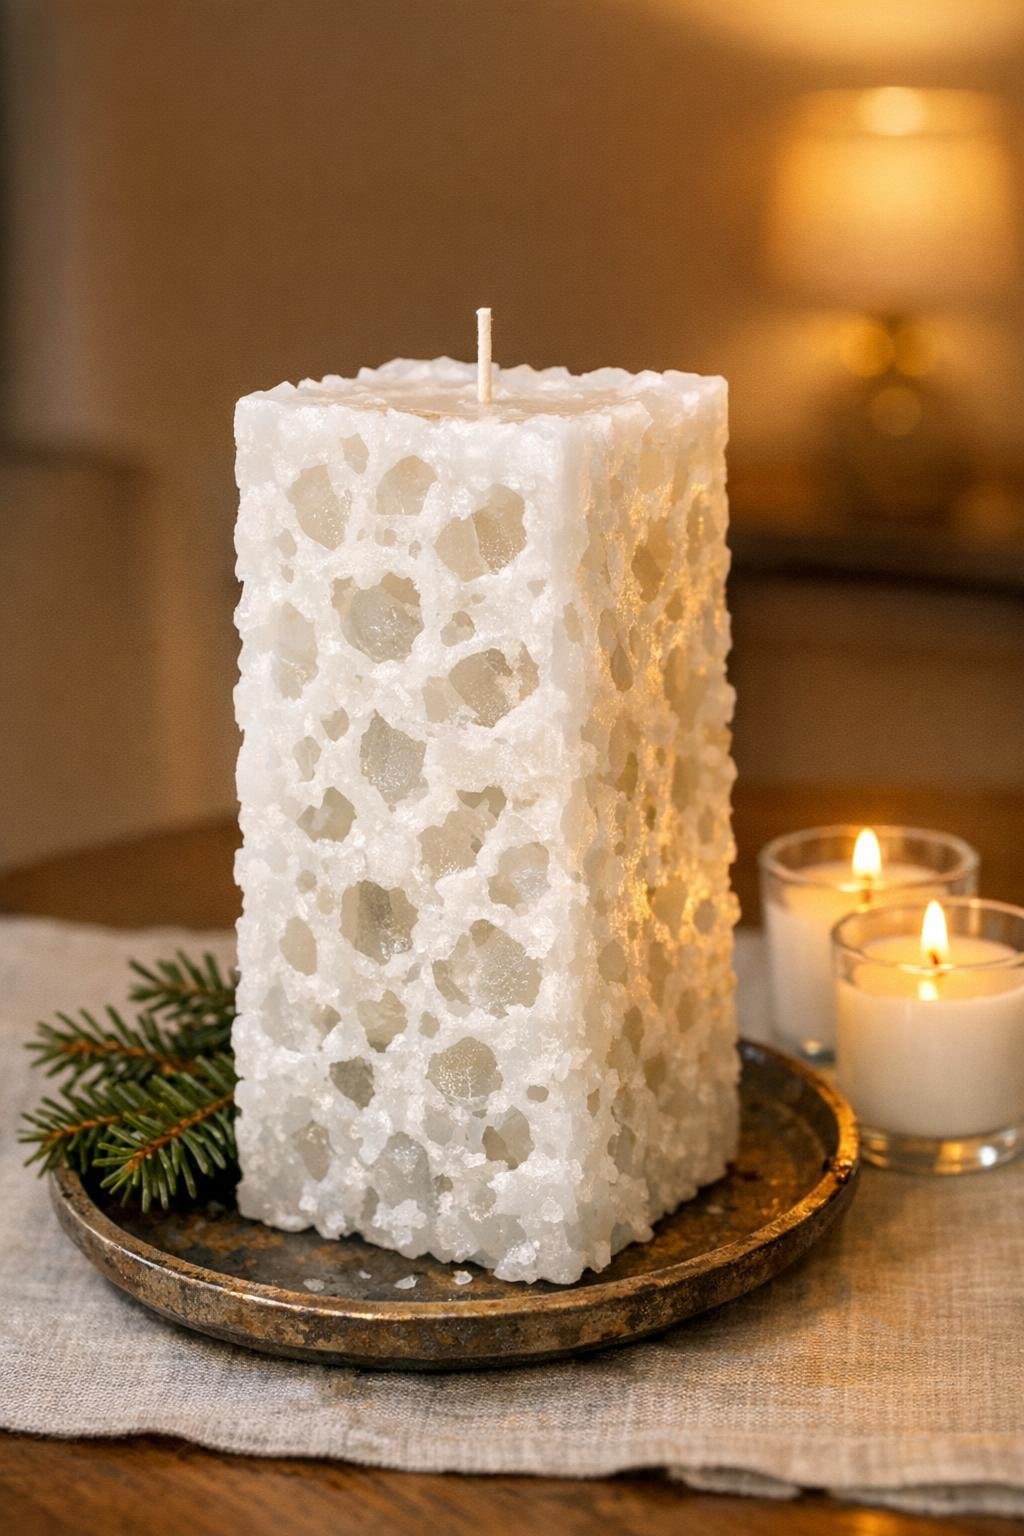
There’s something deeply satisfying about a project that looks almost magical but is built from the simplest kitchen-table materials. This one does exactly that: a plain milk carton, a tray of ice, and melted white wax transform into a sculptural candle with delicate openings and snowy texture. I love projects like this because the method is straightforward, but the finished piece always feels special and a little bit dramatic.
If you’ve never made candles before, this is a friendly place to start. The ice does most of the design work for you, and the milk carton acts as an easy mold, so you don’t need specialty equipment or perfect technique to get a beautiful result.
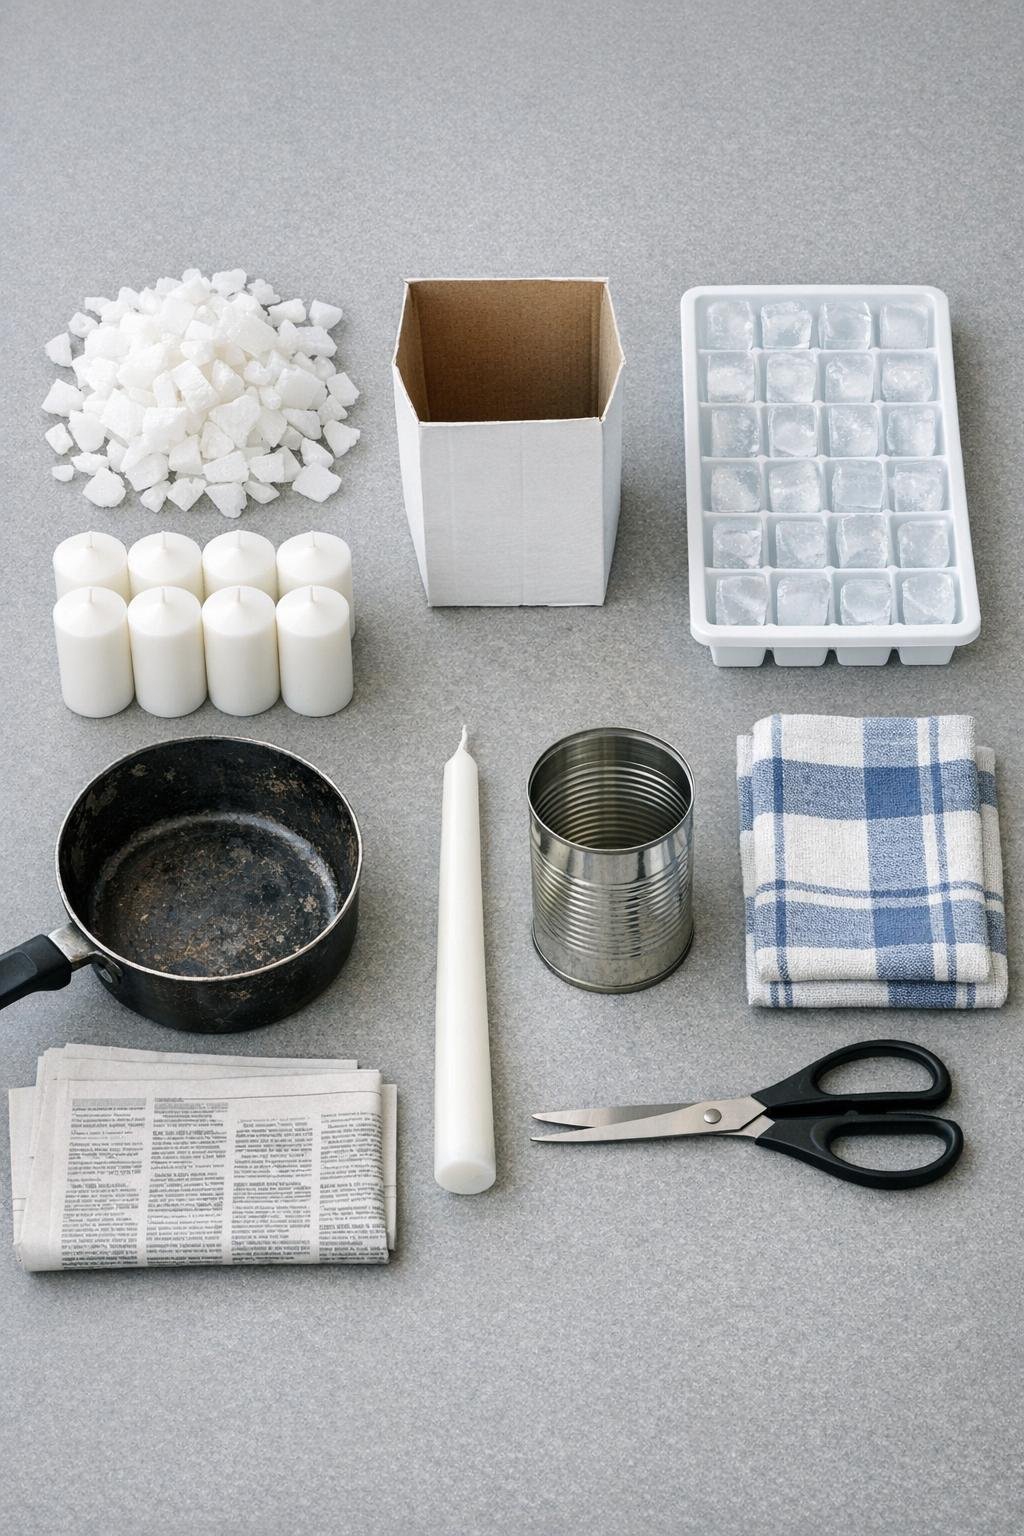
Materials
3 cups white candle wax, or 6 white dollar store pillar candles, melted
Instructions
1. Cover your work surface with the sheet of newspaper and set the folded kitchen towel on top to create a stable, slightly cushioned spot for the milk carton.
2. Cut the top off the cardboard milk carton if needed, keeping the sides as even as possible so the finished candle has a neat rim.
3. Place the white taper candle upright in the center of the carton, pressing its base down firmly so it stands as straight as possible.
4. Fill the carton all around the taper with small ice cubes, packing them snugly to about 1 inch below the top edge.
5. Make a double boiler by placing the empty metal can in the old saucepan with a little water in the pan, then melt the white wax gently over low heat until completely smooth.
6. Slowly pour the melted wax over the ice cubes, letting it run down through the gaps instead of flooding one spot too quickly.
7. Tap the carton lightly on the towel once or twice so the wax settles deeper between the cubes, then add a little more wax if the level drops below the top layer of ice.
8. Let the carton stand undisturbed until the outside feels firm and cool; this usually takes about 1 to 2 hours, depending on room temperature.
9. Once the wax has hardened, pour off any melted ice water from the carton and let the candle drain for a few minutes.
10. Peel away the cardboard milk carton carefully with your scissors and hands, revealing the textured wax surface underneath.
11. Trim the center taper wick to about 1/2 inch above the top of the candle, and if the bottom edge is uneven, shave or warm it slightly so the candle stands flat.
12. Let the candle dry completely before displaying or burning it, since trapped moisture inside the openings needs time to evaporate.
Variations & Tips
For a fuller lace pattern: Use plenty of small ice cubes rather than large ones. Smaller cubes create more tunnels and openings, which gives the candle that intricate snowy look.
For a cleaner finish: Pour the wax slowly in stages instead of all at once. I’ve found that a gradual pour helps the wax wrap around the ice more evenly and keeps the center taper from shifting.
For safer burning: Always place the finished candle on a heatproof plate or tray. Because of the openwork sides, melted wax can escape once the flame burns down into the inner cavities.
If you’re using pillar candles instead of loose wax: Cut them into smaller chunks before melting and remove any labels or metal wick tabs first. It takes a little longer to melt, but it works beautifully.
For a softer winter look: Group two or three finished candles of slightly different heights together. On a table or mantel, they look especially elegant with a few greens or a simple ribbon nearby.
Be patient before lighting: This is the one place I never rush. Even when the outside feels hard, a little lingering moisture can stay inside the lace openings, so extra drying time gives you a cleaner, steadier burn.