
There’s something so satisfying about taking a handful of plain, humble supplies and turning them into something that feels like a little bit of winter wonder. I’ve always loved projects like that—the kind that look special on a mantel or side table but don’t ask you to be an expert crafter to get there. This one is especially nice if you enjoy easy seasonal decorating and want a project with plenty of payoff for very little fuss.
If you can fill a cup, let things dry, and trim a shape with a steady hand, you can make this. The paper snow cone cups do the hard work for you, giving every piece a neat tapered form, and the expanding foam creates all those organic ridges and snowy texture that make the finished display feel charming and one of a kind.
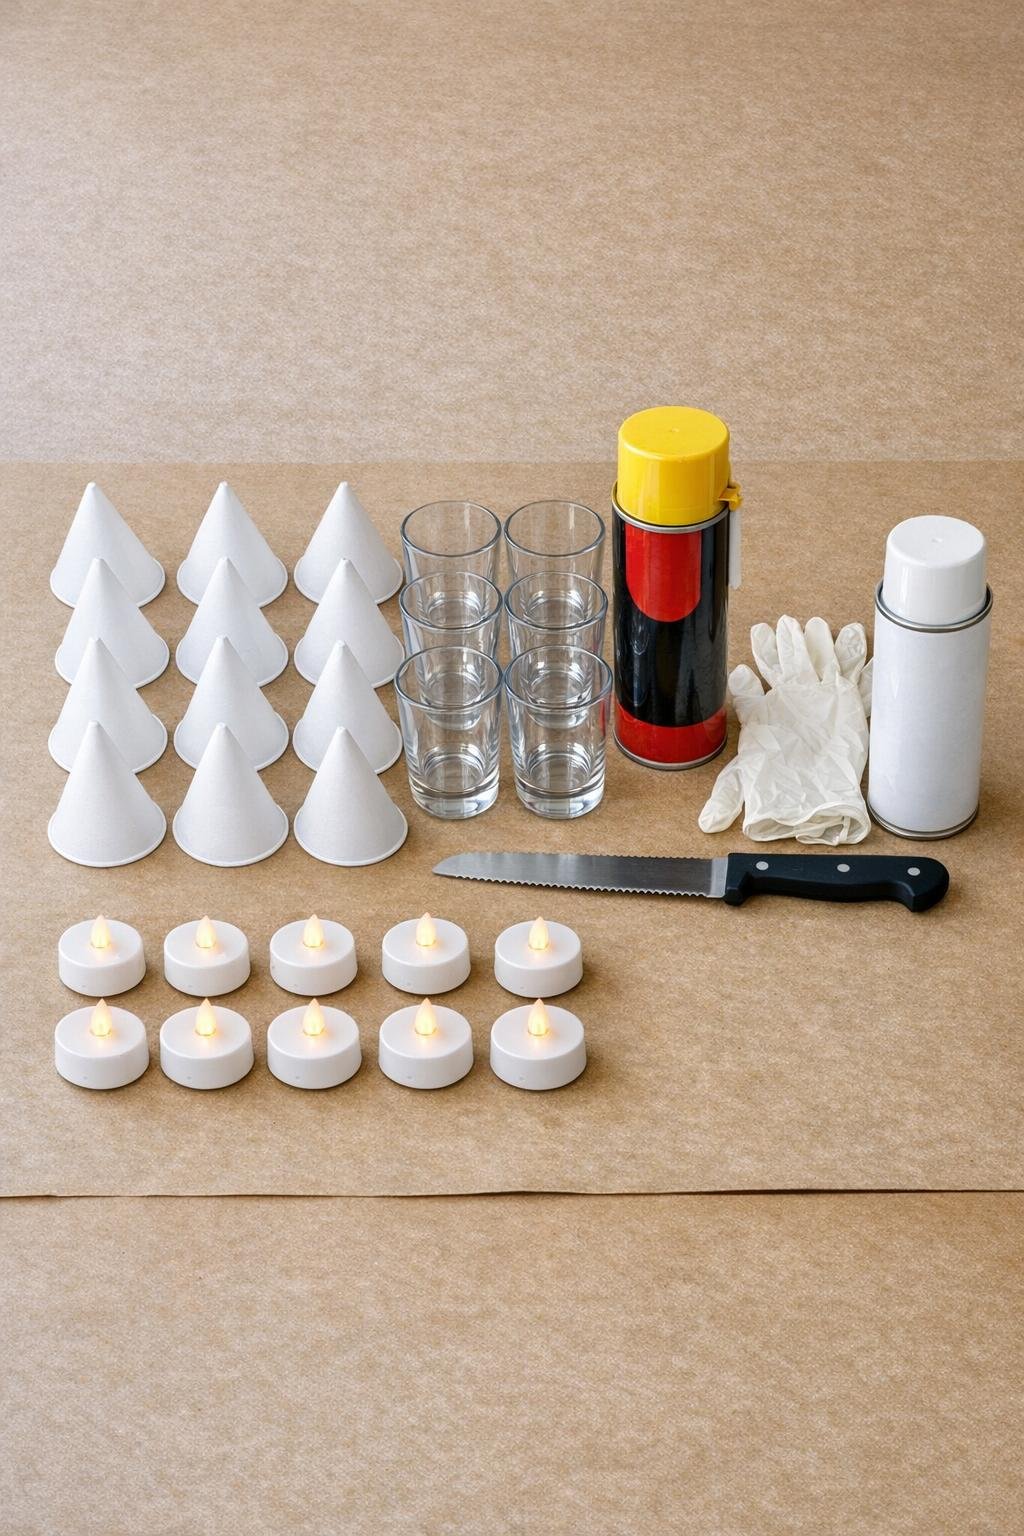
Materials
8 white paper snow cone cups, standard 6 oz size
Instructions
1. Cover your work surface with the plastic table covering, set the 8 drinking glasses in a row, and place 1 paper snow cone cup point-down into each glass so the cups stand upright and steady.
2. Put on disposable gloves and shake the can of expanding foam well according to the can directions so the foam comes out evenly and rises properly.
3. Insert the applicator straw into the first cup and slowly squeeze foam into it, filling only about two-thirds to three-quarters full because the foam will expand as it cures.
4. Repeat with the remaining 7 cups, varying the fill level just a little so the finished pieces will have different heights and look more natural grouped together.
5. Leave the cups undisturbed in the glasses until the foam is fully cured and firm; this usually takes several hours, though I like to let mine sit overnight just to be safe.
6. Gently tear away the paper cups from each foam form once cured, peeling slowly so you don’t break off the rough outer texture that gives them character.
7. Use the serrated knife to trim the bottoms flat so each cone stands well, then lightly shape the tops into soft tree points without cutting away too much of the lovely craggy surface.
8. If any tree looks too chunky, shave off thin bits here and there in downward strokes to create a more tapered silhouette, keeping the set varied rather than perfectly matched.
9. Place the trimmed pieces on the cardboard and spray them with a full coat of white spray paint, turning as needed to reach the sides and crevices for an even snowy finish.
10. Let the paint dry completely, then add a second light coat if needed so the pale yellow foam is fully covered and the finish looks clean and bright.
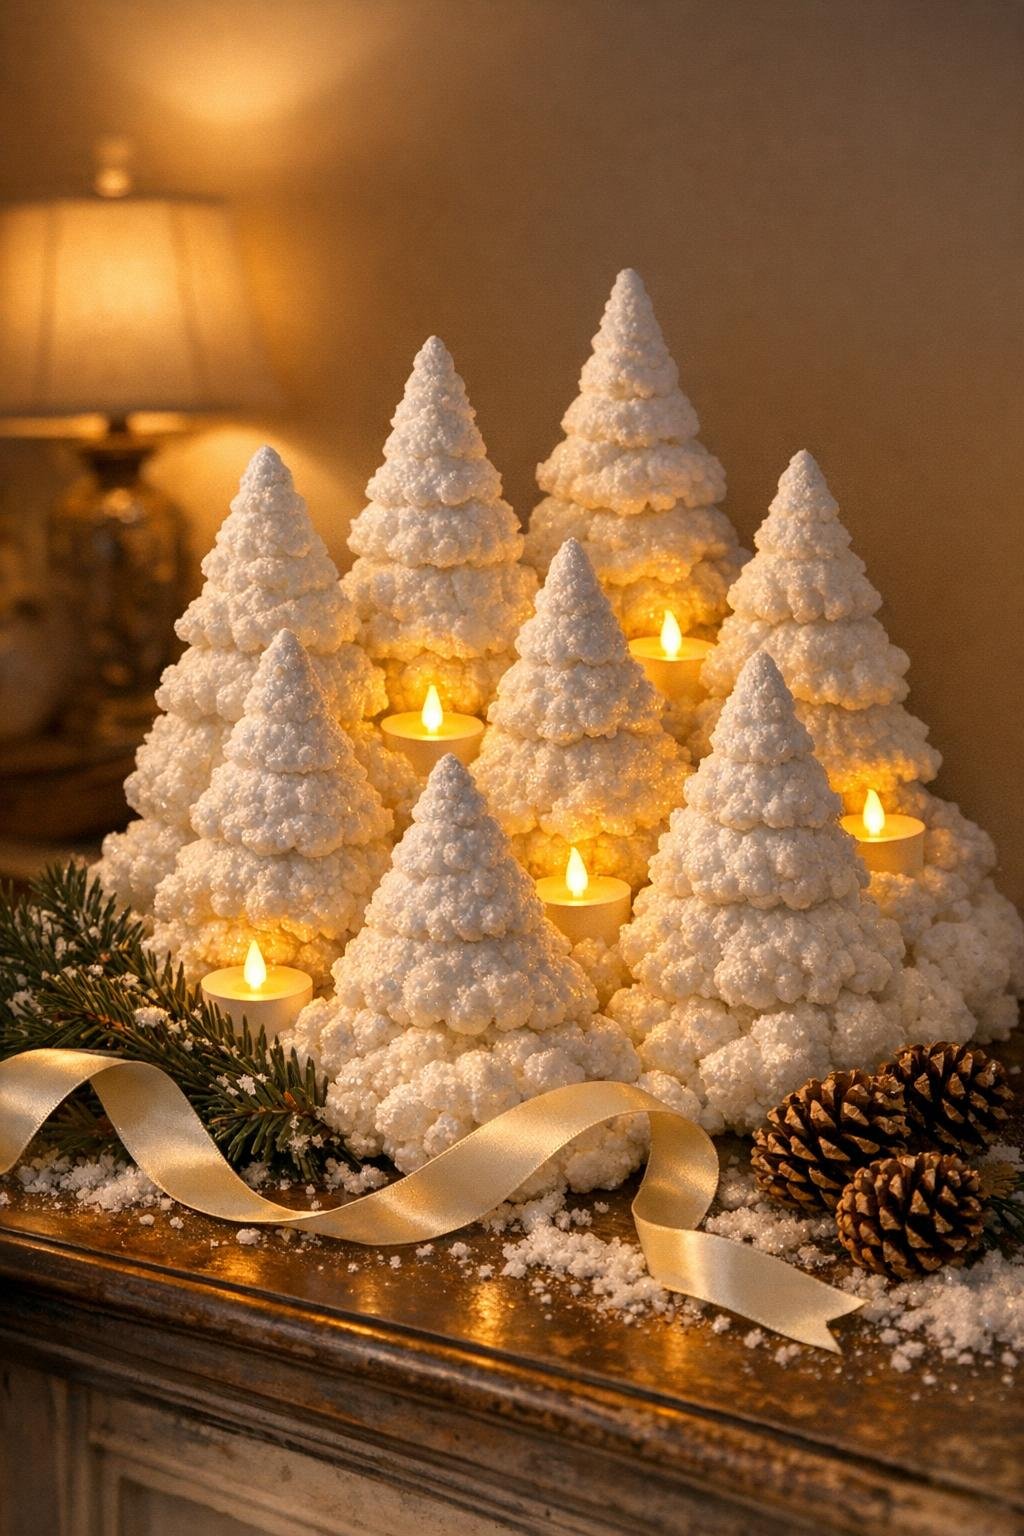
11. Set the 8 finished trees together in a clustered display, arranging the tallest ones toward the back and the shorter ones in front to create the feeling of a full little woodland.
12. Nestle the LED tea lights in and around the trees so their warm glow shines between the textured cones and brings the whole winter scene to life.
Variations & Tips
Make the heights more dramatic: Fill some cups a little lower than others before the foam expands, and trim a few shorter after curing; that mix gives the display a fuller, more natural forest look.
Keep the texture: Don’t over-trim the sides. The little bumps, folds, and ridges in the foam are what catch the paint and light so nicely and make the finish look like snowy branches.
Use warm lights: I prefer warm white LED tea lights instead of cool white because they give the scene that cozy old-fashioned glow, like lamplight in a farmhouse window on a snowy evening.
Add a frosted finish: If you want a little extra sparkle, dust the trees very lightly with fine iridescent glitter while the second coat of paint is still tacky, keeping it subtle so the snowy look stays soft and believable.
Style it generously: These look best grouped close together instead of spread out. I like to tuck them into a bed of evergreen clippings or set them on a tray so the whole arrangement feels intentional and polished.
Work safely: Expanding foam is sticky business, so wear gloves, protect your table well, and trim only after the foam is fully cured; in my house, waiting overnight saves a lot of fuss the next day.