
There’s something so satisfying about taking a few humble dollar store supplies and turning them into something that looks far fancier than it has any right to. This project starts with clear plastic spoons and hot glue, and by the time you’re done, you’ll have a glowy, sparkly light piece that catches every bit of light in the prettiest way.
I love projects like this because they feel dramatic without being difficult. If you’re comfortable using a glue gun and a craft knife, you can absolutely make this, and it’s a wonderful weekend craft for anyone who wants a big “wow” result from very simple materials.
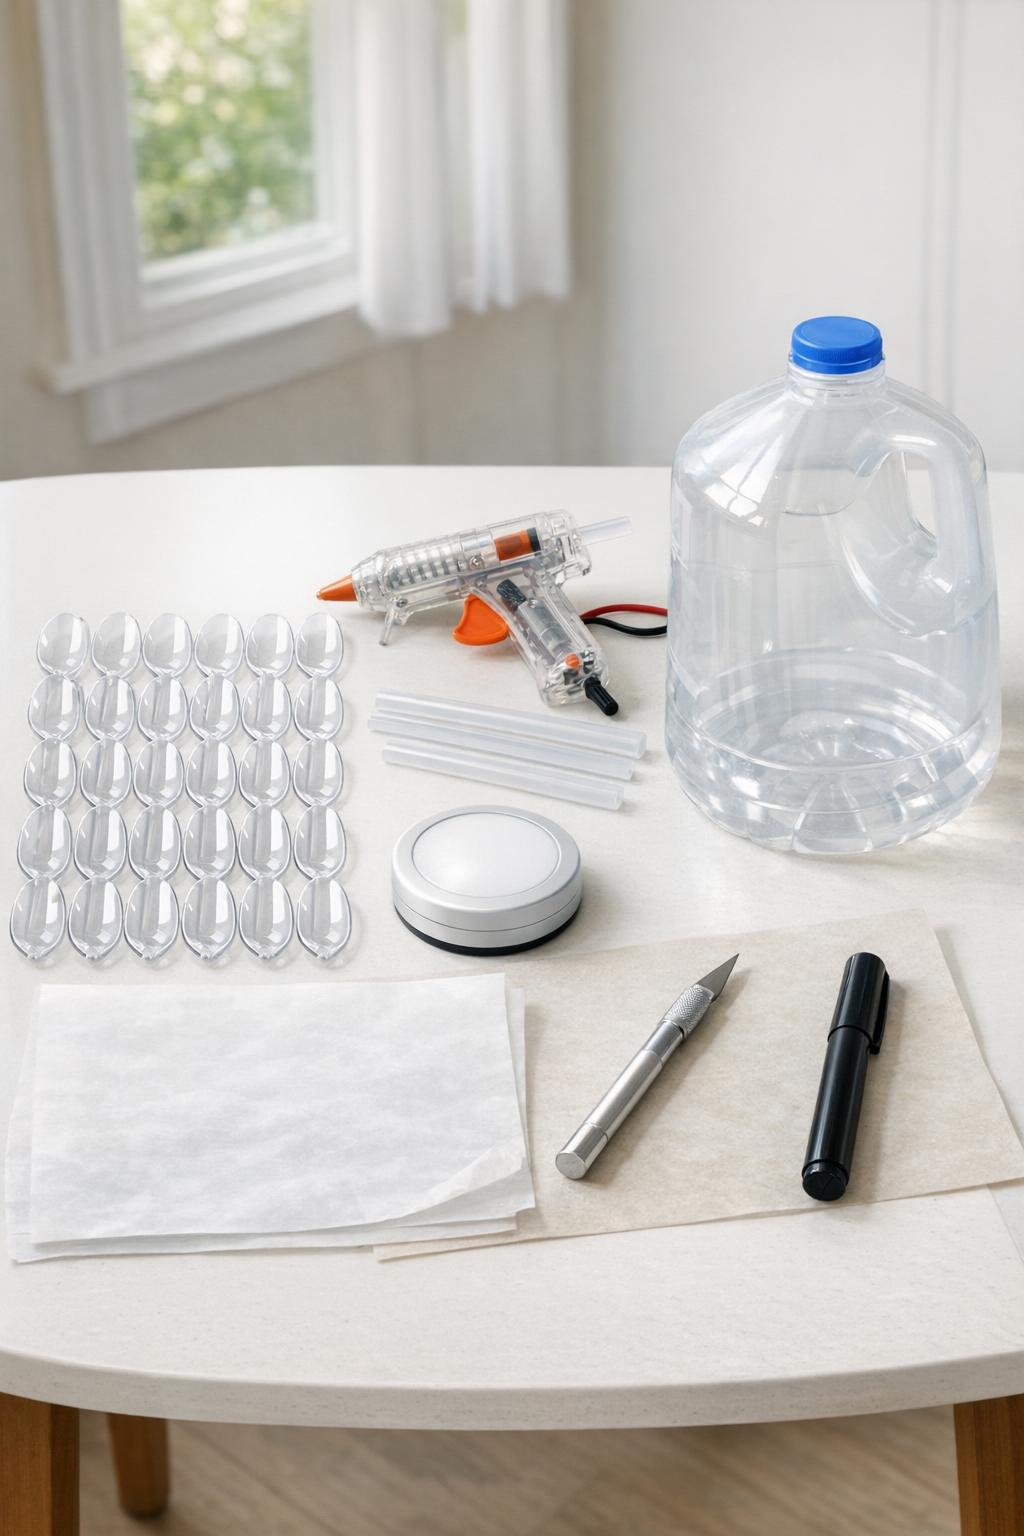
Materials
36 clear plastic spoons, full-size disposable plastic spoons
Instructions
1. Wash and dry the gallon jug, remove any label, and set it on your work surface with the handle facing the back so the front stays smooth and open for the spoon pattern.
2. Spread the parchment paper on the counter and arrange all 36 clear spoons in rows so you can fill them assembly-line style without the glue sticking to your surface.
3. Fill the bowl of each spoon with hot glue, stopping just before the rim so the glue forms a thick, domed “crystal” center without spilling over the edges.
4. Let the glue cool completely for 10 to 15 minutes until every spoon is hard and clear; if any center sinks too much, add a second thin layer of hot glue and let it cool again.
5. Use scissors or the craft knife to cut off all 36 spoon handles right at the base of the bowl, keeping the rounded spoon cups intact.
6. With the craft knife, cut a wide oval opening in one side of the gallon jug, leaving a 1 1/2-inch border all the way around so the jug stays sturdy; this opening will sit toward the wall or ceiling side and give you access to the light.
7. Turn the jug so the uncut side faces you, then use the marker to lightly mark 6 evenly spaced rows around the body, planning for 6 spoons per row for full, even coverage.
8. Starting at the bottom edge of the jug, hot glue the first row of 6 spoons with the rounded ends pointing down and the cut ends overlapping slightly, spacing them so they sit shoulder to shoulder like petals.
9. Glue the second row above the first, offsetting each spoon so it lands between two spoons below it; keep going row by row until all 36 spoons cover the jug in a dense, scaled pattern.
10. Fill any visible gaps with a small bead of hot glue where the spoon edges meet so the finished piece looks polished and the light reflects more evenly.
11. Insert the batteries into the LED puck light, switch it on, and place it inside the jug through the cut opening, centering it near the middle so the glow spreads through all the spoons.
12. Poke two small holes near the top of the jug above the spoon rows, thread in the ribbon, twine, or fishing line, and knot it securely to create a hanger.
13. Hang the piece where the opening faces away from view, then adjust the spoons with your fingers so the rows sit evenly and the light shines through every glue-filled cup.
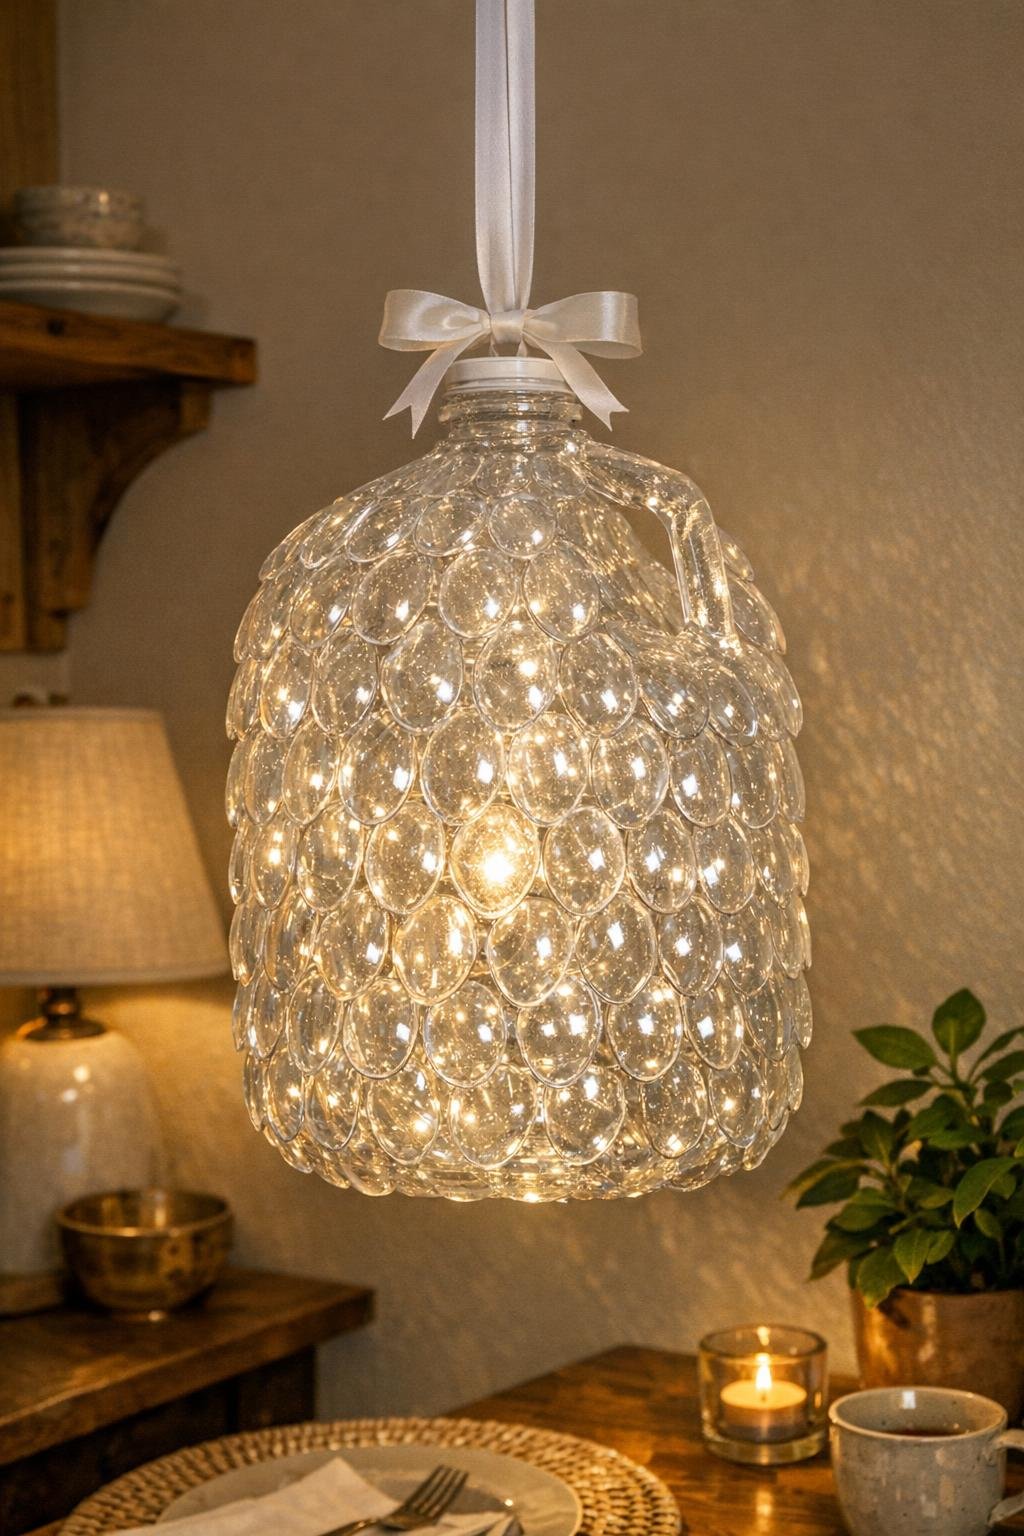
Variations & Tips
For extra sparkle: Add a tiny swirl of glue into each spoon before it cools completely to create more texture and more crystal-like light refraction.
For picky decorators: If you prefer a softer look instead of a bold sparkle, use warm-white puck lights; for a more dramatic effect, try a color-changing LED and keep it on the slow fade setting.
Safer lighting choice: I only recommend a battery-powered LED puck light for this project since the spoon cups and jug are plastic and should not be used with hot bulbs or wired lamp kits that generate heat.
Cleaner finish: If you get stray glue strings, let them cool fully and then pull them away with dry fingers or tweezers rather than smearing them while warm.
Make it fuller: If your jug is especially wide, add 6 to 12 more spoons and continue the overlapping pattern onto the shoulder of the jug so the chandelier looks lush and evenly covered from every angle.
Easy display idea: This looks especially pretty in a breakfast nook, over a reading corner, or tucked into a child’s room as a decorative hanging light where it can glow in the evening without needing hardwiring.