
There’s something deeply satisfying about taking a few everyday grocery-store ingredients and turning them into something that feels special enough to tuck onto a holiday table, hang in a window, or set into a bowl on the sideboard. This project is wonderfully simple, but it has that old-world, handmade charm I always love—like the kitchen equivalent of a handwritten recipe card passed down in a family.
If you enjoy easy seasonal crafts, natural fragrance, or little homemade touches that make a room feel warm and lived-in, this is the kind of project you can finish in an afternoon. I like that it asks for patience more than skill, and the result looks polished with just a few thoughtful finishing details.
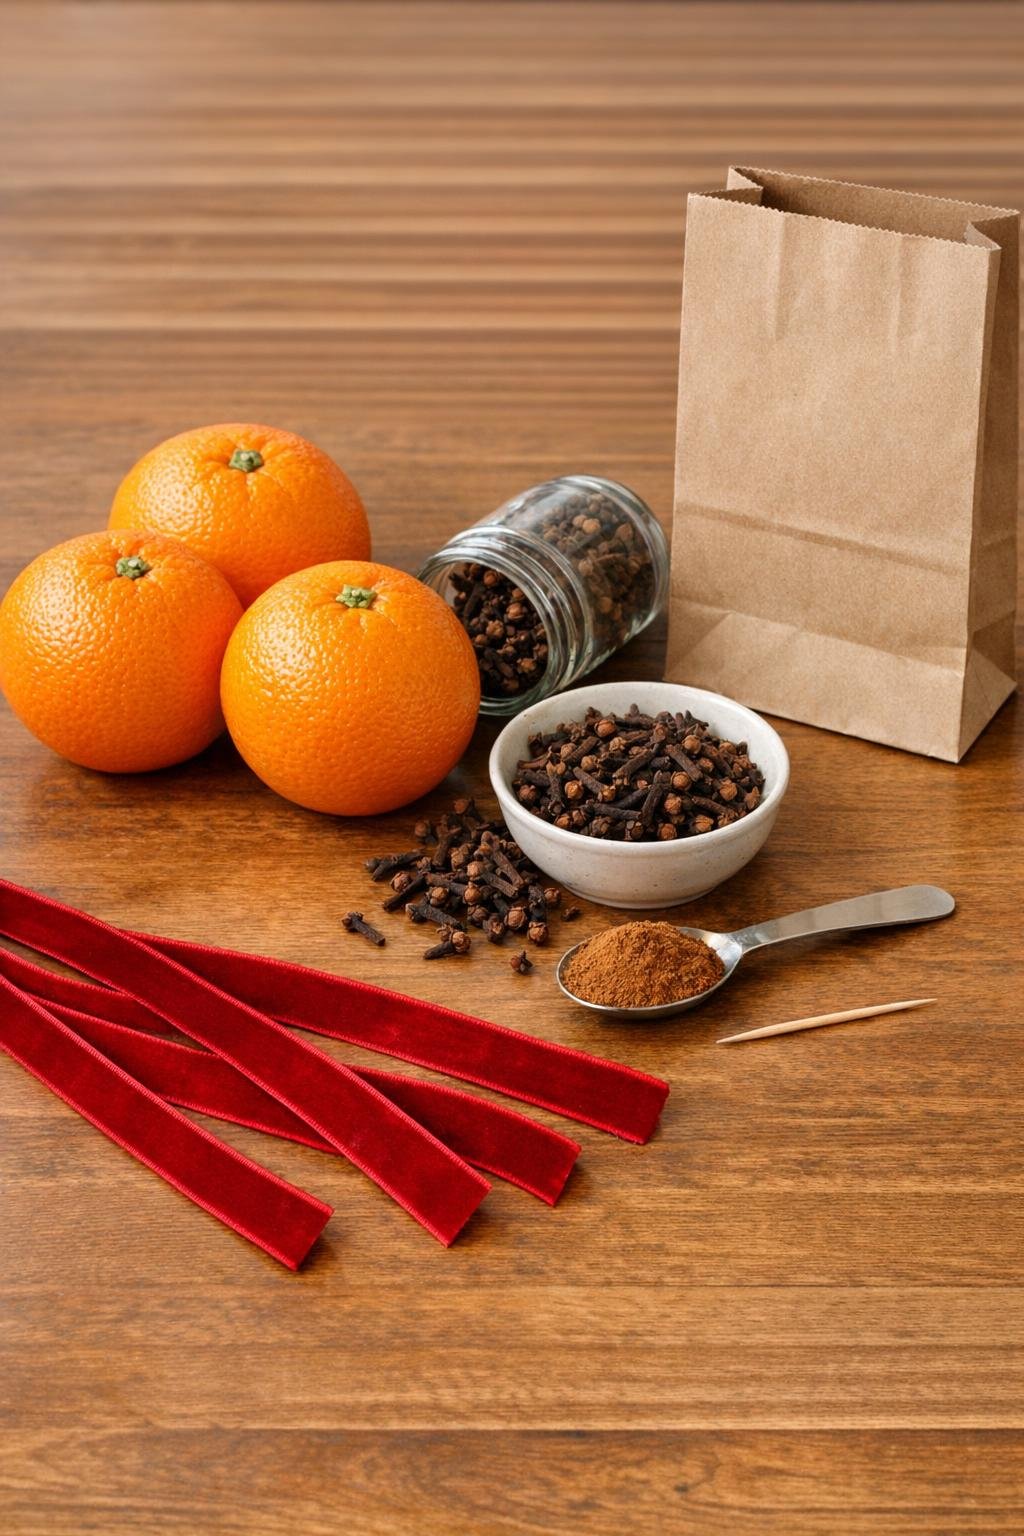
Materials
3 navel oranges, medium size
Instructions
1. Wash and dry the oranges well, then let them sit at room temperature until the peels feel completely dry to the touch.
2. Pour the whole cloves into a small bowl so they’re easy to grab one at a time, and place the cinnamon in a second small pile or keep it measured nearby.
3. Use a toothpick or skewer to pre-poke shallow holes in the first orange, spacing them evenly in rows or loose spirals so the clove pattern stays neat and full.
4. Press whole cloves into the holes, bud end facing out, until the first orange is densely covered; aim for about 65 to 70 cloves so it looks richly studded rather than sparse.
5. Repeat the poking and clove-studding process with the remaining two oranges, using all 200 cloves across the three oranges for full coverage with only small bits of orange peel peeking through.
6. Roll each clove-studded orange lightly in the ground cinnamon, or sprinkle and rub the cinnamon over the exposed peel so each one gets a thin, even coating.
7. Place the oranges in the paper bag with a little extra room between them, then loosely fold the top and let them cure in a dry spot for 1 to 2 weeks, checking every few days so they dry rather than soften.
8. Remove the cured oranges from the bag once the peels feel firmer and slightly lighter, then brush off any excess cinnamon with your fingers or a dry paper towel.
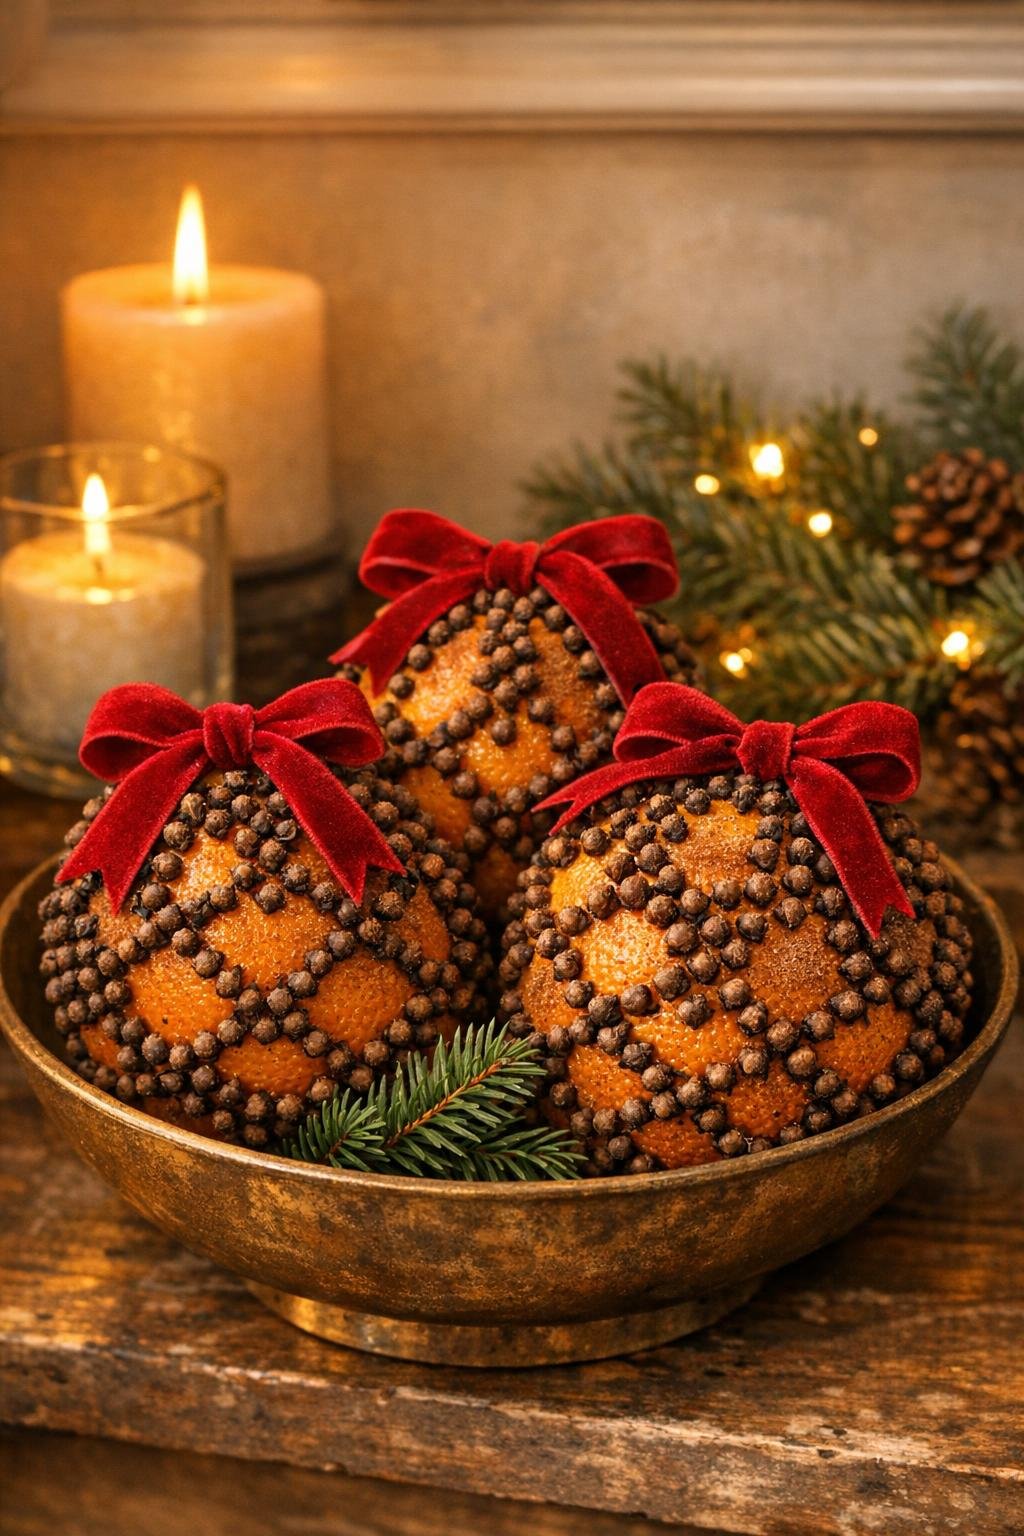
9. Tie one 18-inch length of red velvet ribbon around each orange, crossing it underneath and knotting or bowing it at the top so it looks finished and gift-worthy.
10. Display the finished pieces in a shallow bowl, tuck them onto a mantel, or hang them from sturdy loops of ribbon where their shape, clove pattern, and color can really show.
Variations & Tips
Stripe Pattern: If you want a slightly cleaner look, leave narrow ribbon-width channels of exposed orange peel and pack the cloves densely everywhere else; once the ribbon is tied on, the design looks especially intentional.
Extra Fragrance: Add a pinch of ground nutmeg or allspice to the cinnamon before coating the oranges if you want a warmer, more layered scent.
Drying Tip: Keep the paper bag in a cool, dry room with decent air circulation; if the oranges feel damp, open the bag wider for a day so moisture can escape.
Best Orange Choice: Firm, unblemished navel oranges are easiest to work with because the peel is sturdy enough to hold a dense layer of cloves without tearing.
Gift Idea: These make lovely hostess gifts tucked into a small bowl or wrapped in tissue inside a bakery box; I’d add a fresh ribbon right before gifting so the finish looks crisp.
Display Note: Keep them out of direct sunlight and away from heat vents so they hold their color and dry evenly.