
There are a few projects I come back to when I want something that looks surprisingly high-end without asking me to clear my whole weekend, and this is one of them. You start with everyday tissue boxes and a lot of torn masking tape, and the magic is really in the layering. It’s messy in the best way, a little repetitive, and honestly very satisfying after a long workday when you want to make something pretty with almost no mental effort.
I love this kind of project for holiday decorating or gift-table styling because it uses lightweight materials, costs very little, and still ends up looking rich and finished. If you can tear tape, brush or rub on color, and tie ribbon, you can make this. The key is not making it too perfect—that slightly irregular, wrapped-and-worn texture is what gives it so much charm.
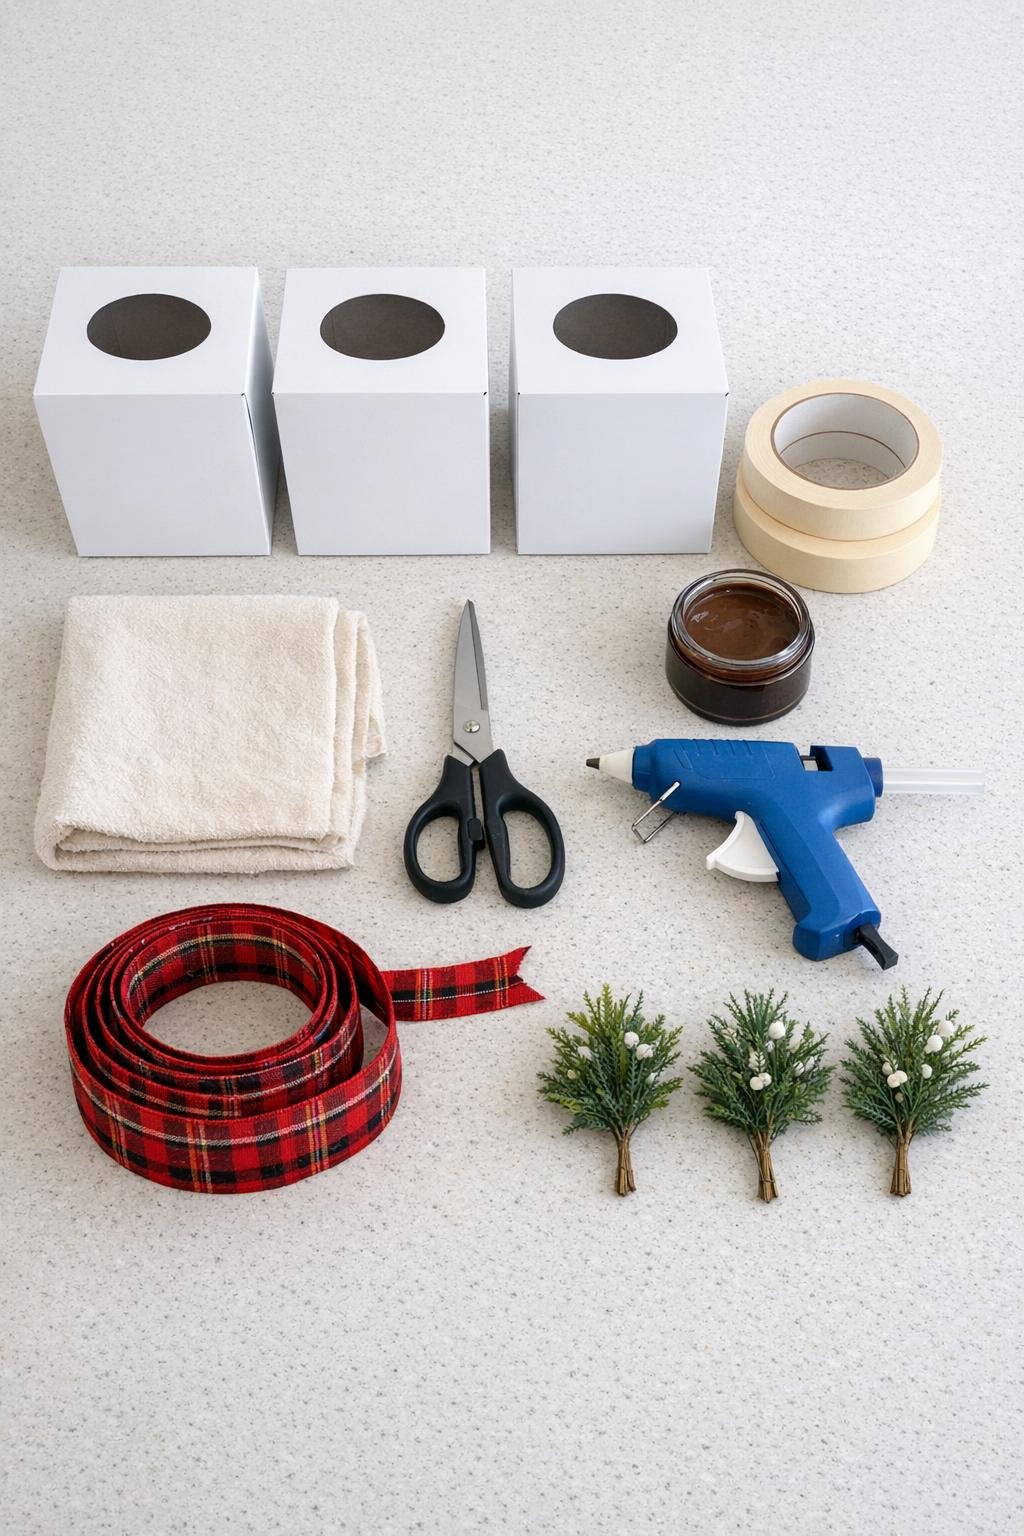
Materials
3 empty cube tissue boxes, standard 4 1/2-inch to 5-inch cube size
Instructions
1. Empty the tissue boxes completely and press in any bulging areas so each box looks as square and crisp as possible. Trim away any loose plastic around the tissue opening with scissors.
2. Tear the masking tape into uneven pieces about 2 to 4 inches long instead of cutting clean strips. The rough torn edges are what create the faux leather texture, so I never try to make them match.
3. Cover the first box with overlapping tape pieces, pressing each piece down firmly and changing directions as you go. Leave no cardboard showing, and wrap tape slightly over every edge so the box looks fully encased.
4. Tape over the top opening too, bridging across it with several pieces so the top becomes solid. Smooth the tape with your fingers as you work, but let the small ridges and wrinkles stay for character.
5. Repeat the same overlapping tape treatment on the other two tissue boxes until all three are fully covered. If a corner looks thin or patchy, add one or two extra pieces there so the finish feels dense and substantial.
6. Rub brown shoe polish over the first taped box with the soft rag, pushing color into the seams and overlaps, then wipe back the excess so the high spots stay a little lighter. If you’re using brown acrylic paint, dilute it with a few drops of water and wipe it on in thin coats the same way.
7. Finish coloring the other two boxes the same way, building the brown in light layers until all three boxes resemble aged leather. Let them dry for 20 to 30 minutes so the finish doesn’t smear when stacked.
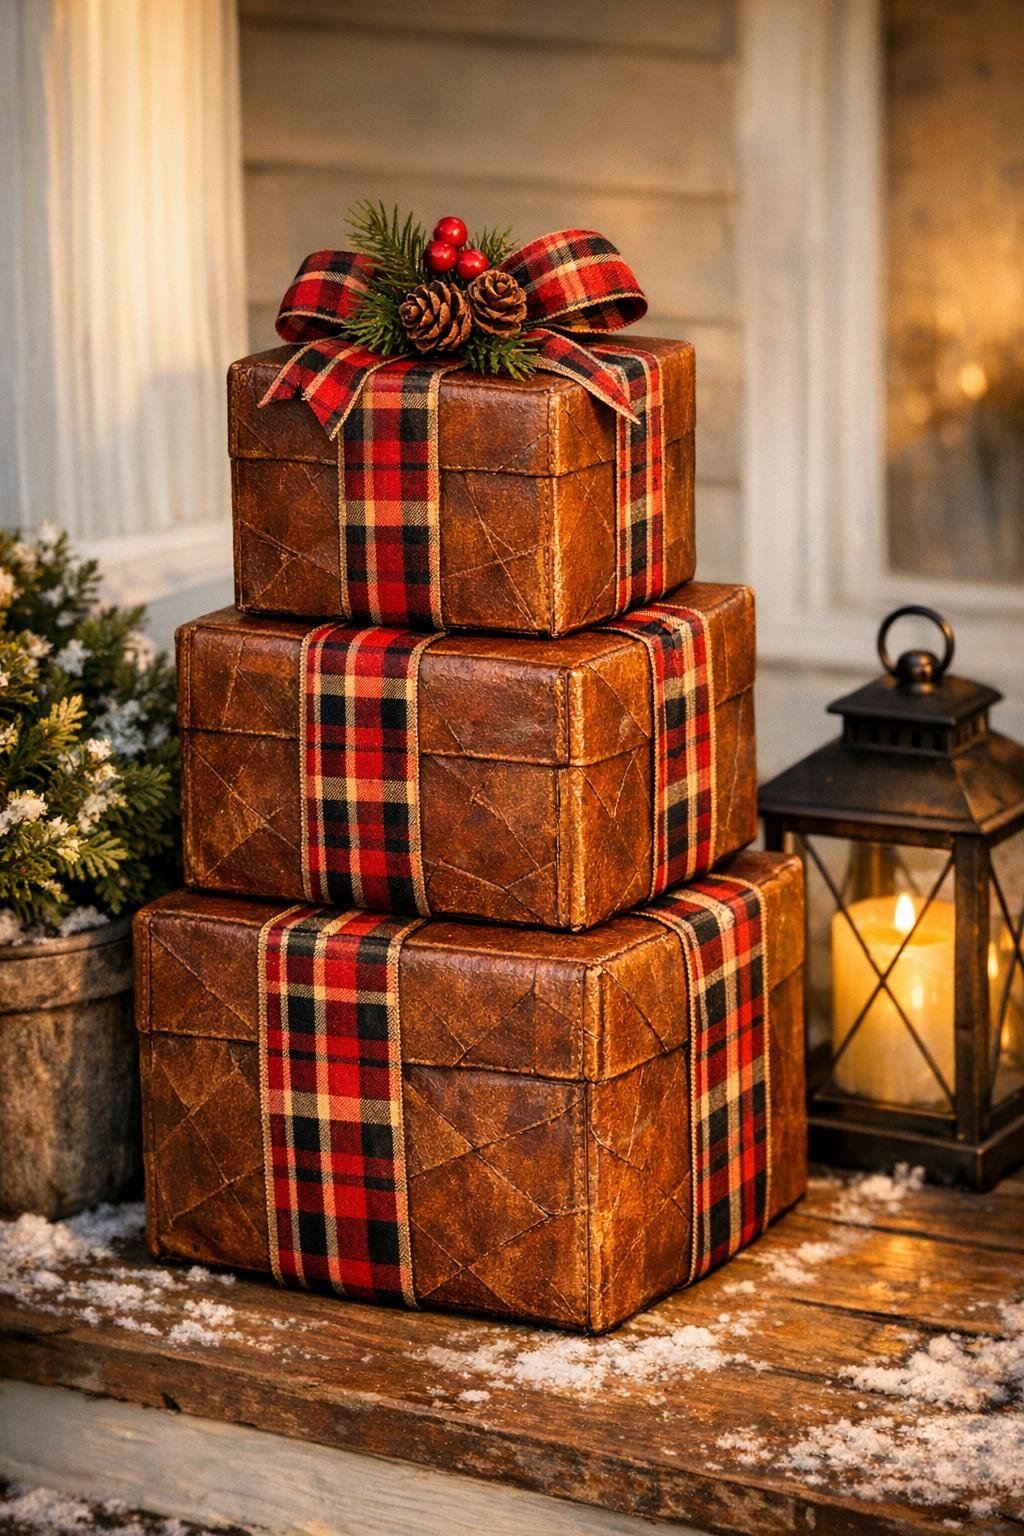
8. Stack the boxes vertically, turning them so the cleanest sides face forward and the edges line up neatly. Add a bead of hot glue between each box and hold for a few seconds so the stack stays stable.
9. Wrap one 1-yard length of ribbon around each box section like a gift, crossing it at the center and tying it into a simple knot or bow on the front or top-front edge. Trim the ends neatly and keep the ribbon snug so it defines each “gift box.”
10. Hot glue a small faux greenery sprig at the knot or bow on each box to soften the look and add contrast against the brown finish. Fluff the ribbon and greenery, wipe away any glue strings, and make final touch-ups to the color if any tan tape still peeks through.
Variations & Tips
Use jute ribbon for a rustic look: If red plaid feels too holiday-specific, jute ribbon gives these boxes a cozy farmhouse style that works all winter.
Layer the brown color slowly: I get the best faux leather effect when I apply the polish or paint in two light passes instead of one heavy coat. The lighter and darker areas make the tape texture look much more realistic.
Hide busy box printing completely: If your tissue boxes have very dark or glossy printing, overlap the tape a little more densely so none of the original design ghosts through the finish.
Make the stack sturdier: For a display that will be moved around a lot, run a line of hot glue not just between the boxes but also along the ribbon where it touches the back side of each box.
Try a deeper antique finish: A tiny extra bit of brown rubbed heavily into the edges and corners makes the boxes look more dimensional and worn, almost like old leather trunks.
Style it generously: This looks best when it’s part of a fuller scene, like an entry table, porch corner, or mantel with greenery and a candle or lantern nearby. I always think simple projects feel more elevated once they’re given a proper spot instead of being set out by themselves.