
There are some garden jobs that never seem worth hauling out a big fancy tool for, and fall cleanup is one of them. When the beds are full of spent stems, dry leaves, and all those wispy bits that blow everywhere the minute you try to scoop them up, I like a solution that is sturdy, simple, and made from things I can actually get at the hardware store. This stacked bucket bin is one of those clever little builds that feels almost old-fashioned in the best way—plain materials, a sharp knife, and a practical result that earns its keep right away.
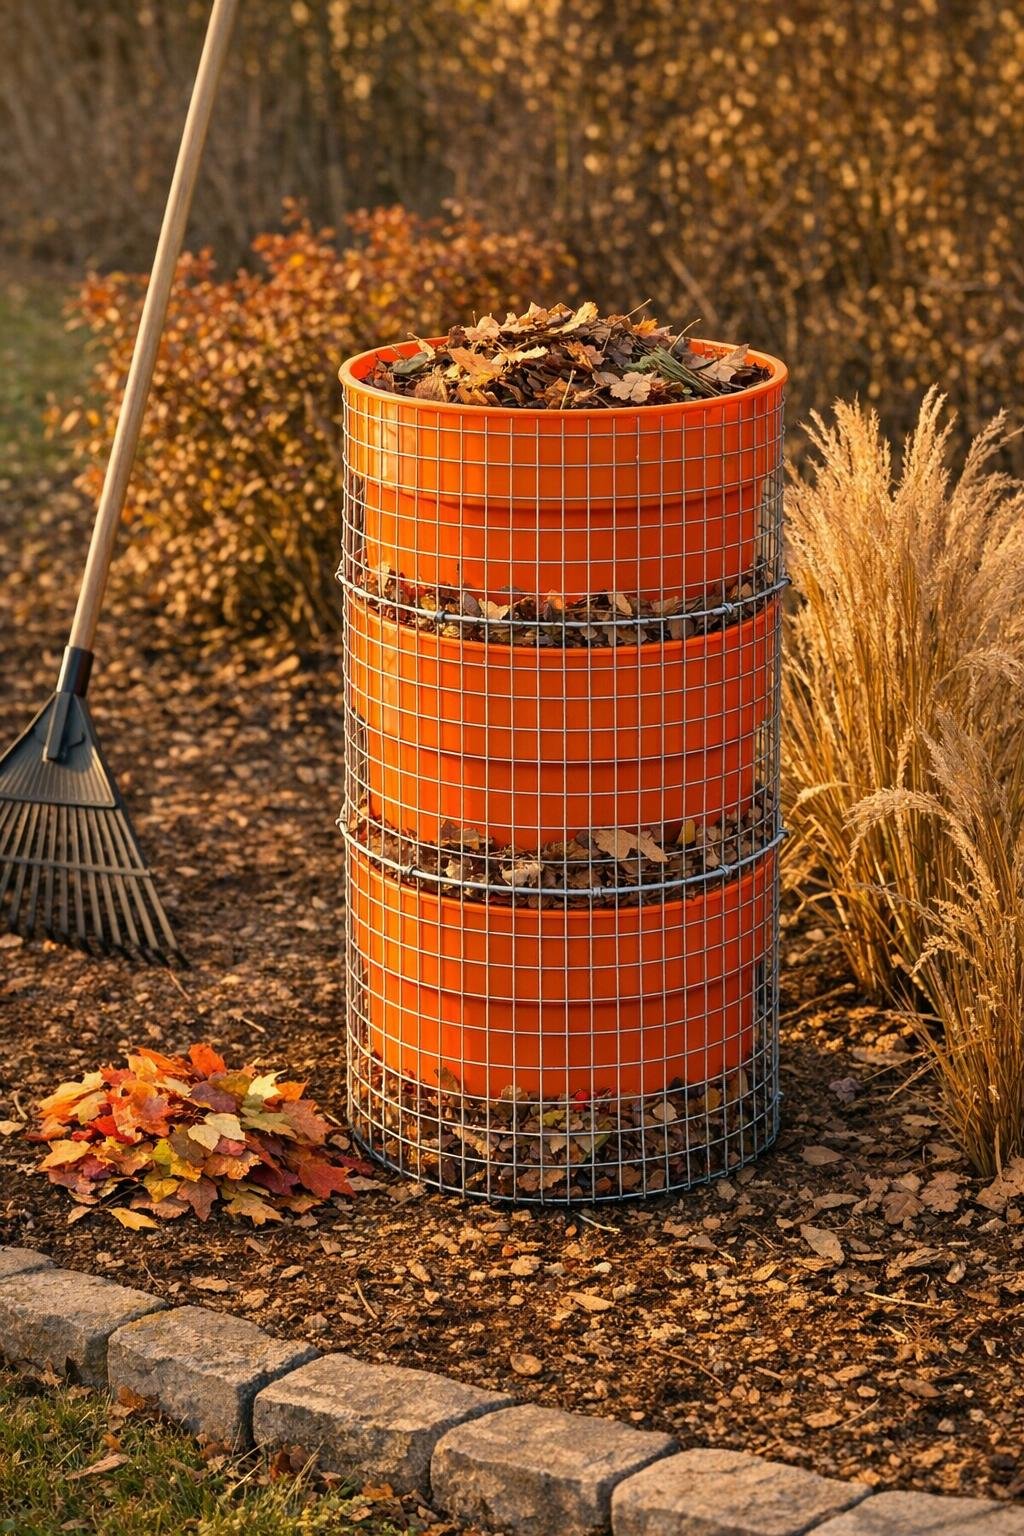
What you end up with is a lightweight, tall garden debris collection bin made from two orange 5-gallon buckets and a wrap of wire hardware cloth, so you can rake or hand-toss in brittle stems, leaves, and trimmings without the whole thing collapsing into a heap. I especially like this for gardeners who want something tougher than a yard bag but easier to move than a wheelbarrow. It is a fine little afternoon project, and the kind of thing my people would have called “too useful not to make.”
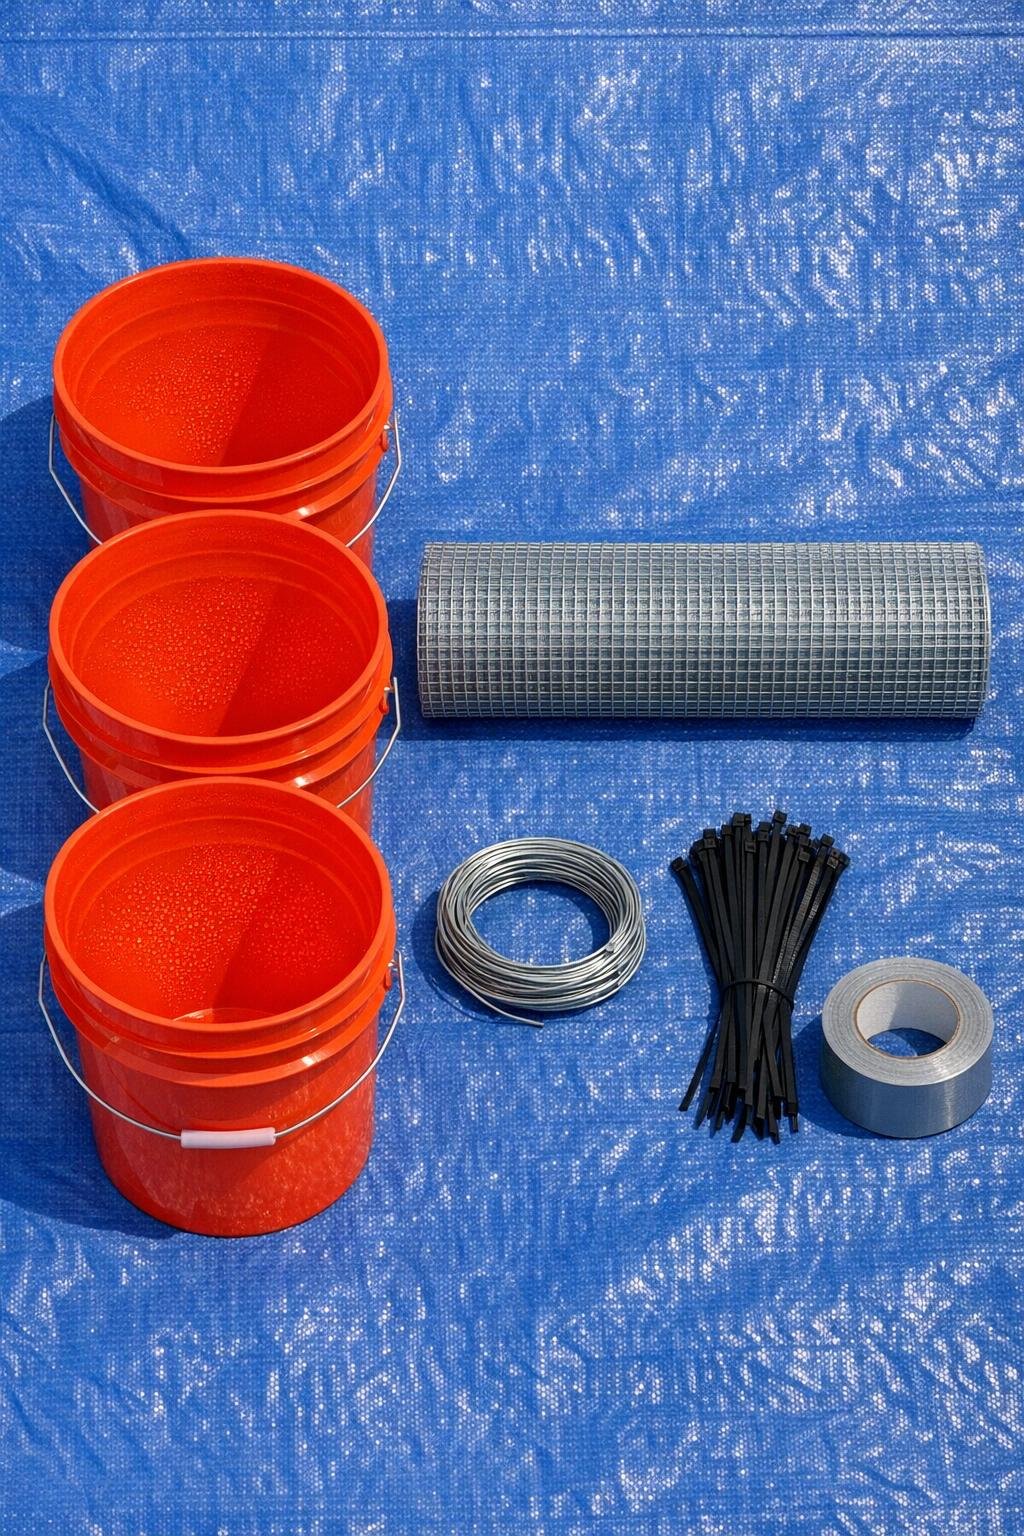
Materials
Instructions
1. Wash and dry the three buckets, then mark a cut line around the bottom inside edge of two of them so you remove only the base and keep the full sidewall intact.
2. Cut the bottoms out of those two buckets with a utility knife, jigsaw, or oscillating tool, then trim any ragged plastic so the cut edges are as even as you can make them.
3. Wrap duct tape over the freshly cut rims on both bottomless buckets so the edges are safer to handle and the finished bin looks neat and polished.
4. Set the third bucket down as the base, then stack one bottomless bucket on top of it and the second bottomless bucket above that to make one tall cylinder roughly 42 inches high.
5. Drill or punch 4 evenly spaced holes around each bucket seam, about 1 inch down from the rim, and fasten the stacked buckets together with zip ties pulled tight.
6. Measure the full height and outside circumference of the stacked bucket column, then cut a piece of 1/2-inch hardware cloth long enough to wrap around it with a 2-inch overlap; for most buckets, a piece about 42 inches tall by 39 inches wide works well.
7. Roll the hardware cloth around the outside of the bucket stack, keeping the bottom edge flush with the base bucket and the top edge even with the top rim.
8. Secure the hardware cloth seam first with utility wire or zip ties every 4 inches, then tie the mesh to the bucket stack at the top, middle, and bottom so it hugs the shape without bowing out.
9. Fold or snip back any sharp wire ends at the overlap, then cover those spots with small strips of duct tape so sleeves and gloves do not catch while you work.
10. Add 3 or 4 extra ties around the top rim area to stiffen the opening, because that top edge takes the most pressure when you stuff in dry stalks and armloads of leaves.
11. Set the finished bin where you do your cleanup, and load it with fallen leaves, perennial trimmings, pulled annuals, and light brush; the solid bucket base catches small bits while the wire sides keep the whole bin light and breathable.
12. When it is full, drag or carry it short distances by the bucket rims, or tip the contents into compost, a trailer, or a larger yard cart; use the optional bungee across the top if you are moving loose debris through a windy patch.
Variations & Tips
For lighter lifting: If you prefer less weight when full, make the bin with just two buckets total—one whole base and one bottomless top—but keep the same hardware cloth wrap for strength.
For extra capacity: Use the full three-bucket height exactly as written if you clean up big perennial borders or a vegetable patch; that taller body really shines when you are gathering fluffy, bulky debris that compresses down.
For easier emptying: Do not over-tighten every mesh tie to the bucket walls at the very bottom; leaving just a little give makes it easier to tip and shake out packed leaves.
For wet material: This bin is best for dry or slightly damp garden waste, not soggy soil or heavy mulch. If you load it with wet compostables, keep the trips short so the seams are not strained.
For a cleaner finish: Black zip ties tend to disappear visually against the mesh and make the whole thing look tidier. I have learned over the years that a practical project still feels better to use when it looks finished on purpose.
To protect hands and sleeves: Always run your gloved hand around the mesh seam before calling it done. One tiny wire point can find you faster than a rooster in a bad mood.
Best use in the garden: I like to park this near the place I am cutting back flowers, then fill it as I go instead of making little piles all over the yard. It saves steps, saves backtracking, and by the end of the afternoon the whole place looks as if I had more help than I really did.