
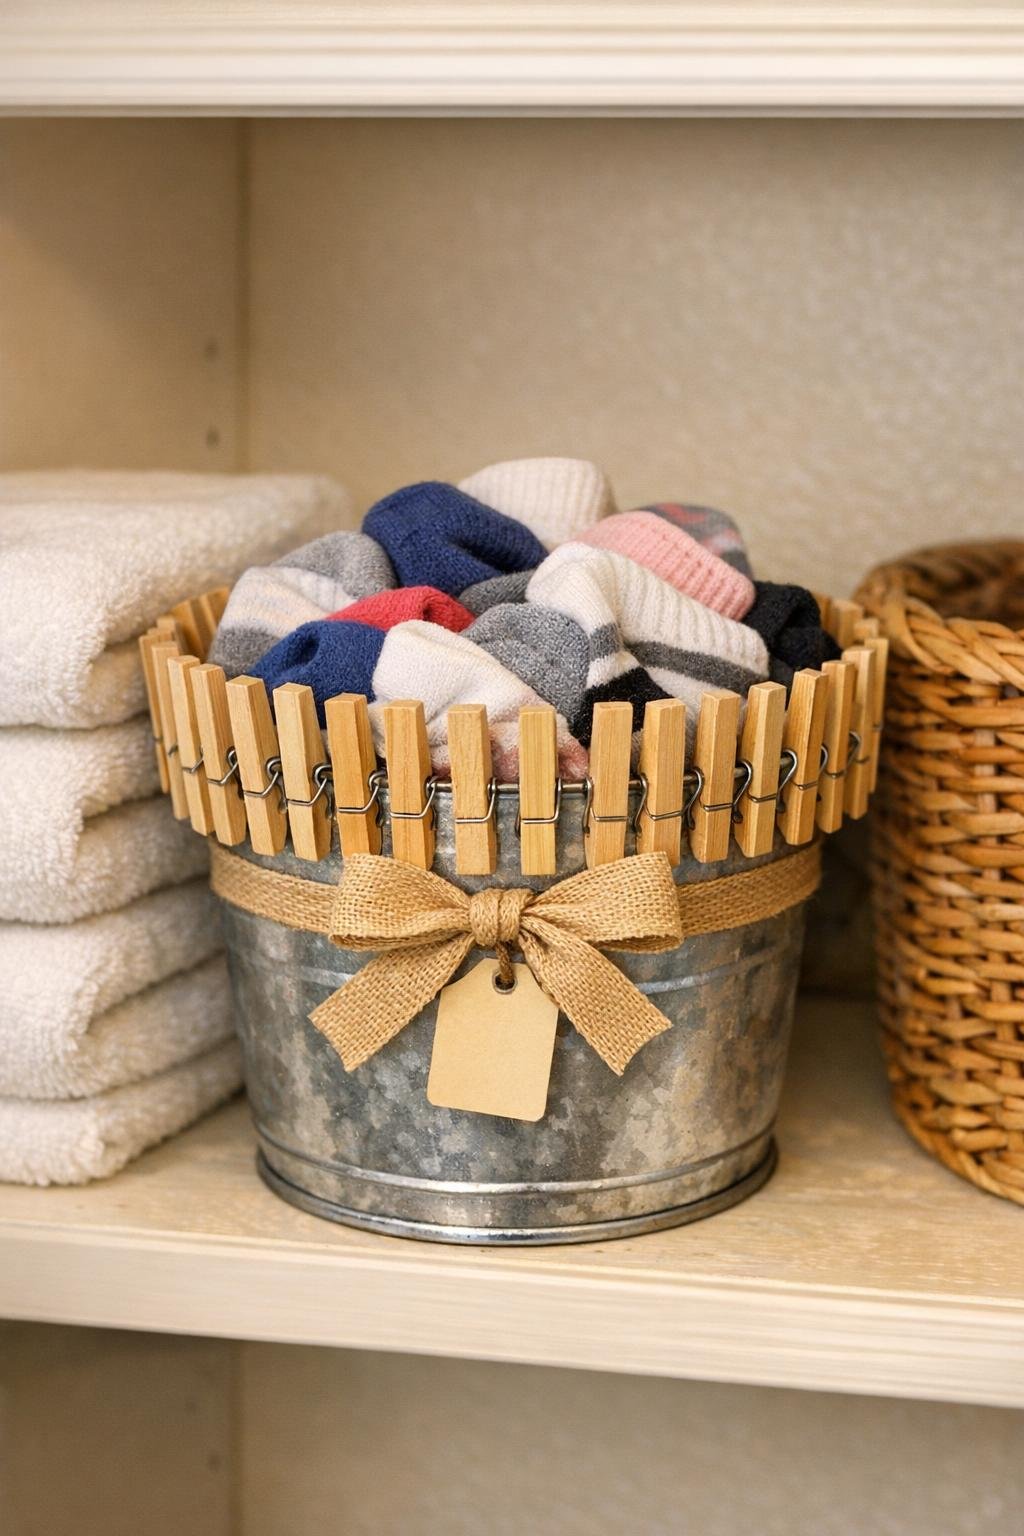
If your laundry room seems to collect lonely single socks the way mine does, this little lost sock bin is one of those quick projects that actually earns its spot. It starts with a small galvanized bucket and a ring of wooden clothespins clipped right around the rim, which gives you an easy place to park unmatched socks while also keeping the whole thing cute enough to leave out in plain sight.
I love projects like this because they take almost no time, use simple supplies, and solve a real household problem. If you want a handy organizer for the top of the washer, a shelf, or a folding counter, this is an easy afternoon DIY that looks polished without asking for a lot of effort.
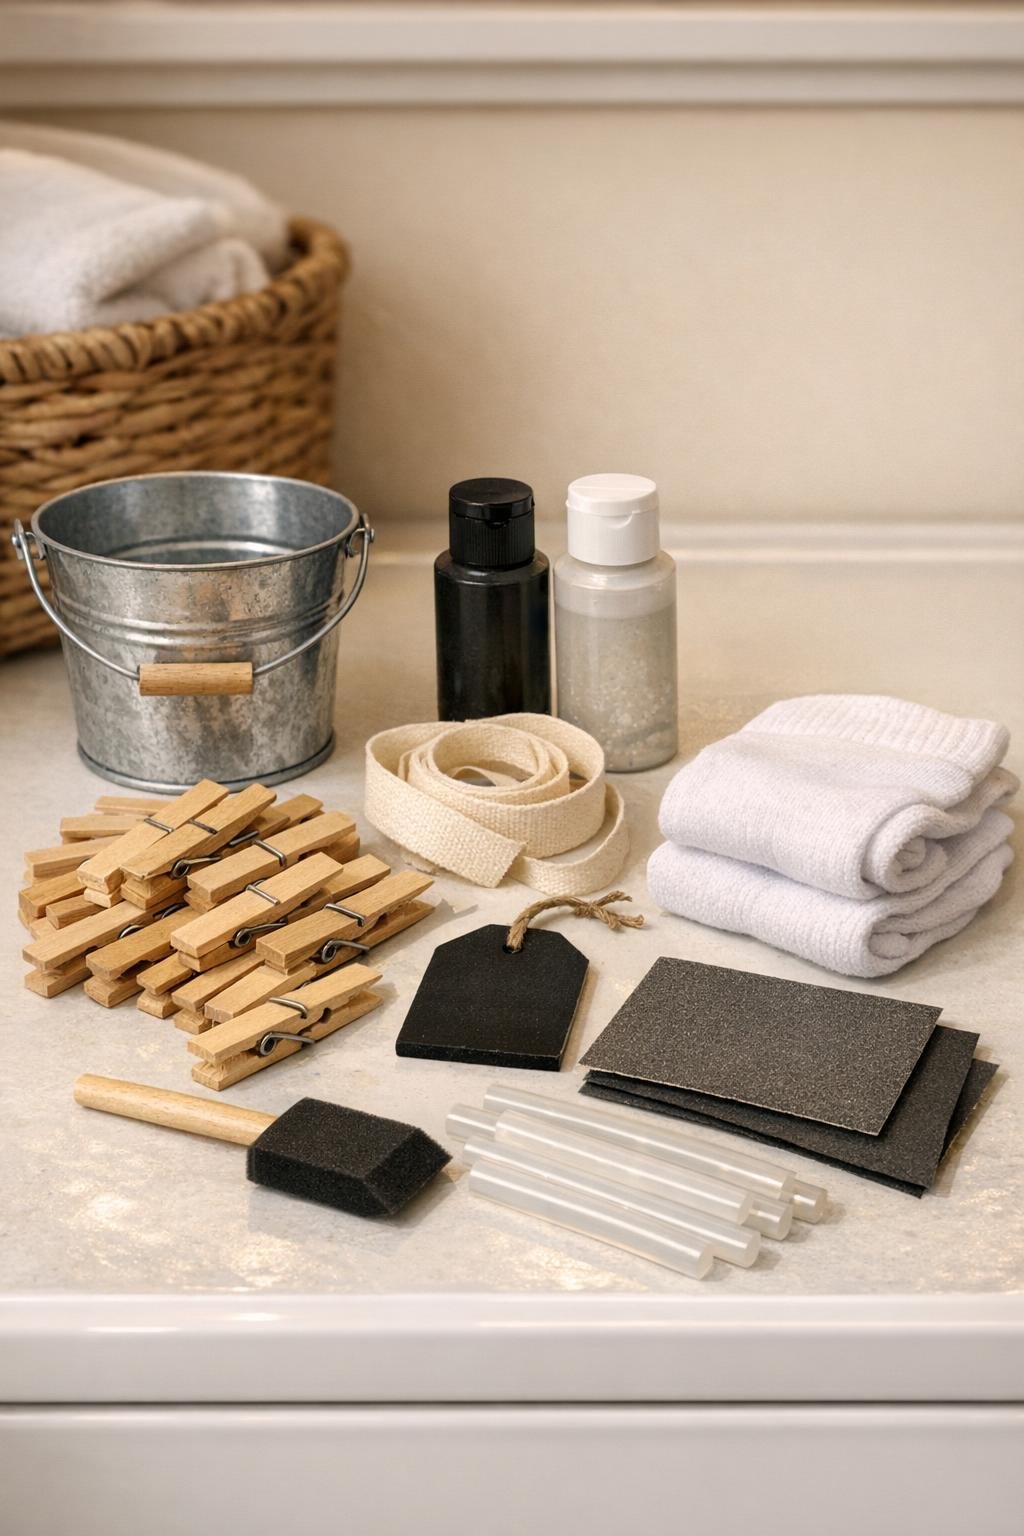
Materials
Instructions
1. Wipe down the galvanized bucket with a damp cloth and let it dry fully so the rim and sides are clean before you start decorating.
2. Lightly sand the outside of the bucket in a few spots where you want a softer, less shiny look, then dust it off with a dry cloth.
3. Paint the chalkboard or wood tag black if needed, using a thin even coat, and let it dry completely.
4. Spray or brush a light coat of clear matte sealer over the tag and let it cure so it holds up better in a busy laundry room.
5. Clip the wooden clothespins all the way around the bucket rim, spacing them snugly side by side until the rim looks full and evenly covered.
6. Adjust the clothespins so the tops line up neatly and the spring openings all face the same direction for a cleaner finished look.
7. Tie the ribbon around one side handle or around the upper bucket body in a simple bow, keeping it small enough that it does not get in the way of the clothespins.
8. Hot glue the tag to the front of the bucket or hang it from the ribbon if your tag has a hole, then let the glue set for a minute.
9. Fill the bucket with unmatched socks, rolling a few loosely near the top so the bin looks generous and easy to use from day one.
10. Set the finished lost sock bin on a shelf, washer, or folding station, and clip freshly found singles right onto the clothespins around the rim until their matches turn up.
Variations & Tips
For a cleaner farmhouse look: Leave the clothespins natural and use an unbleached cotton ribbon. I like this version when the laundry room already has baskets, wood tones, or white storage jars.
For more color: Paint the clothespins before clipping them on, using white, black, sage green, or soft blue. Let them dry fully first so they do not stick or smear against the bucket.
If your bucket is smaller: Start with 18 to 20 clothespins and test-fit them around the rim before buying more. You want the rim to look full, not sparse, because that fuller edge is what makes the project look finished.
To make it more functional: Use the outside clothespins to hold tiny laundry notes, stain reminders, or a missing-sock checklist. That little extra use is exactly the kind of thing that helps me stay on top of laundry during a busy workweek.
For a no-glue option: Choose a tag with a hole and tie it directly onto the ribbon or bucket handle. It is just as cute and makes swapping seasonal accents really easy.
Placement tip: Keep the bin where you naturally sort or fold clothes. I’ve learned that if the solution sits right where the problem happens, I’m actually consistent about using it.