
I have a soft spot for old light fixtures, especially the ones folks set out at the curb thinking their best days are behind them. Around here, I’ve learned that if something still has a little sparkle left in it, there’s usually a second life waiting. This project turns those rescued chandelier pieces into something eye-catching and elegant, with plenty of shimmer and movement, but it’s still simple enough for an afternoon at the kitchen table.
If you’ve got a stash of old chandelier crystals or picked up a box of them at a flea market, this is a wonderful way to use a generous pile instead of letting them sit in a jar. The shape is easy to build, the supplies are straightforward, and the finished piece catches light in that lovely old-fashioned way that makes a porch, window, or garden corner feel a little more special.
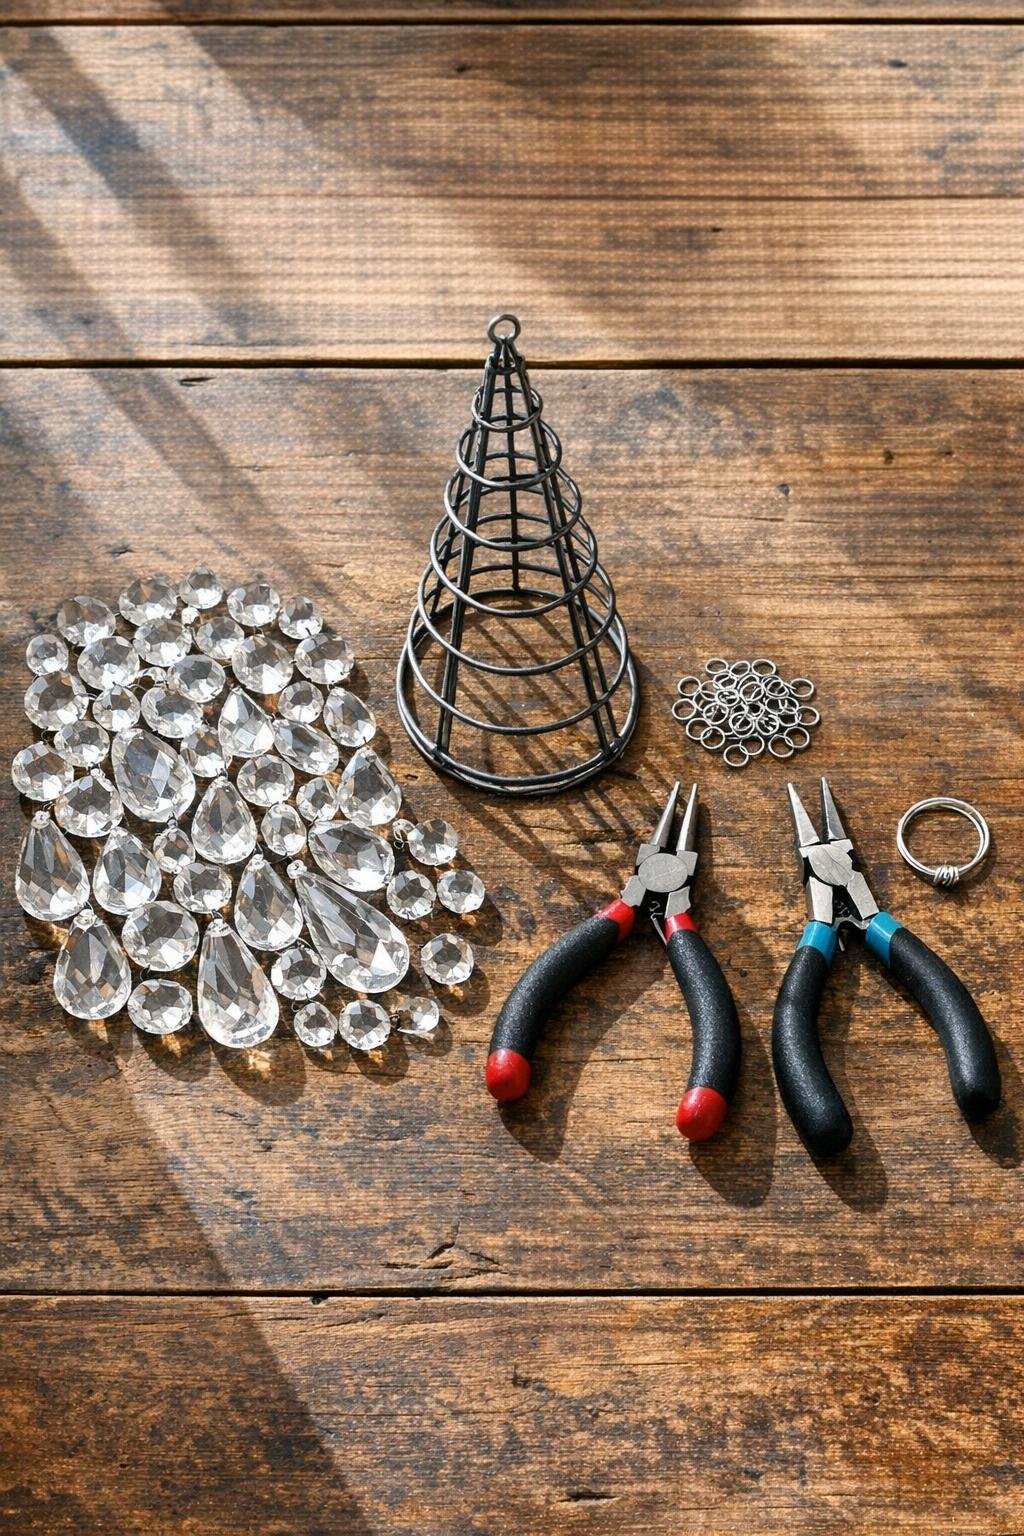
Materials
1 wire cone topiary form, 12 to 14 inches tall
Instructions
1. Wash the chandelier crystals in warm water with the dish soap, rinse them well, and dry them with a soft cloth so every facet will catch the light cleanly.
2. Sort the crystals into three groups by size—large, medium, and small—so the finished shape looks full and balanced instead of patchy.
3. Set the wire cone topiary form upright with the wide end down, and check that it sits evenly; this helps you space the crystals in tidy rows as you work.
4. Cut or prepare the craft wire and twist it securely at the narrow top of the cone to make a centered hanging loop about 2 inches tall.
5. Open a jump ring by twisting it sideways with the two pliers, slide on one large crystal, and attach it to the bottom ring of the cone; close the jump ring snugly so there’s no gap.
6. Continue adding large crystals all the way around the bottom ring, placing them close together so the base looks lush and gives you a strong, sparkling foundation.
7. Move up to the next wire row and attach another round of large and medium crystals, staggering them between the crystals below so the coverage looks dense and layered.
8. Keep filling the cone row by row with medium crystals through the center section, using the jump rings to hang each crystal so it swings freely and reflects light from every angle.
9. As the cone narrows, switch to the smaller crystals and continue spacing them closely, checking every few rows that the shape still looks even from all sides.
10. Fill any thin spots with extra small crystals, especially near the upper third and around the back, until the whole piece has an abundant, even sparkle.
11. Gently shake the form and close any jump rings that loosened, then wipe the crystals one last time to remove fingerprints and bring back their shine.
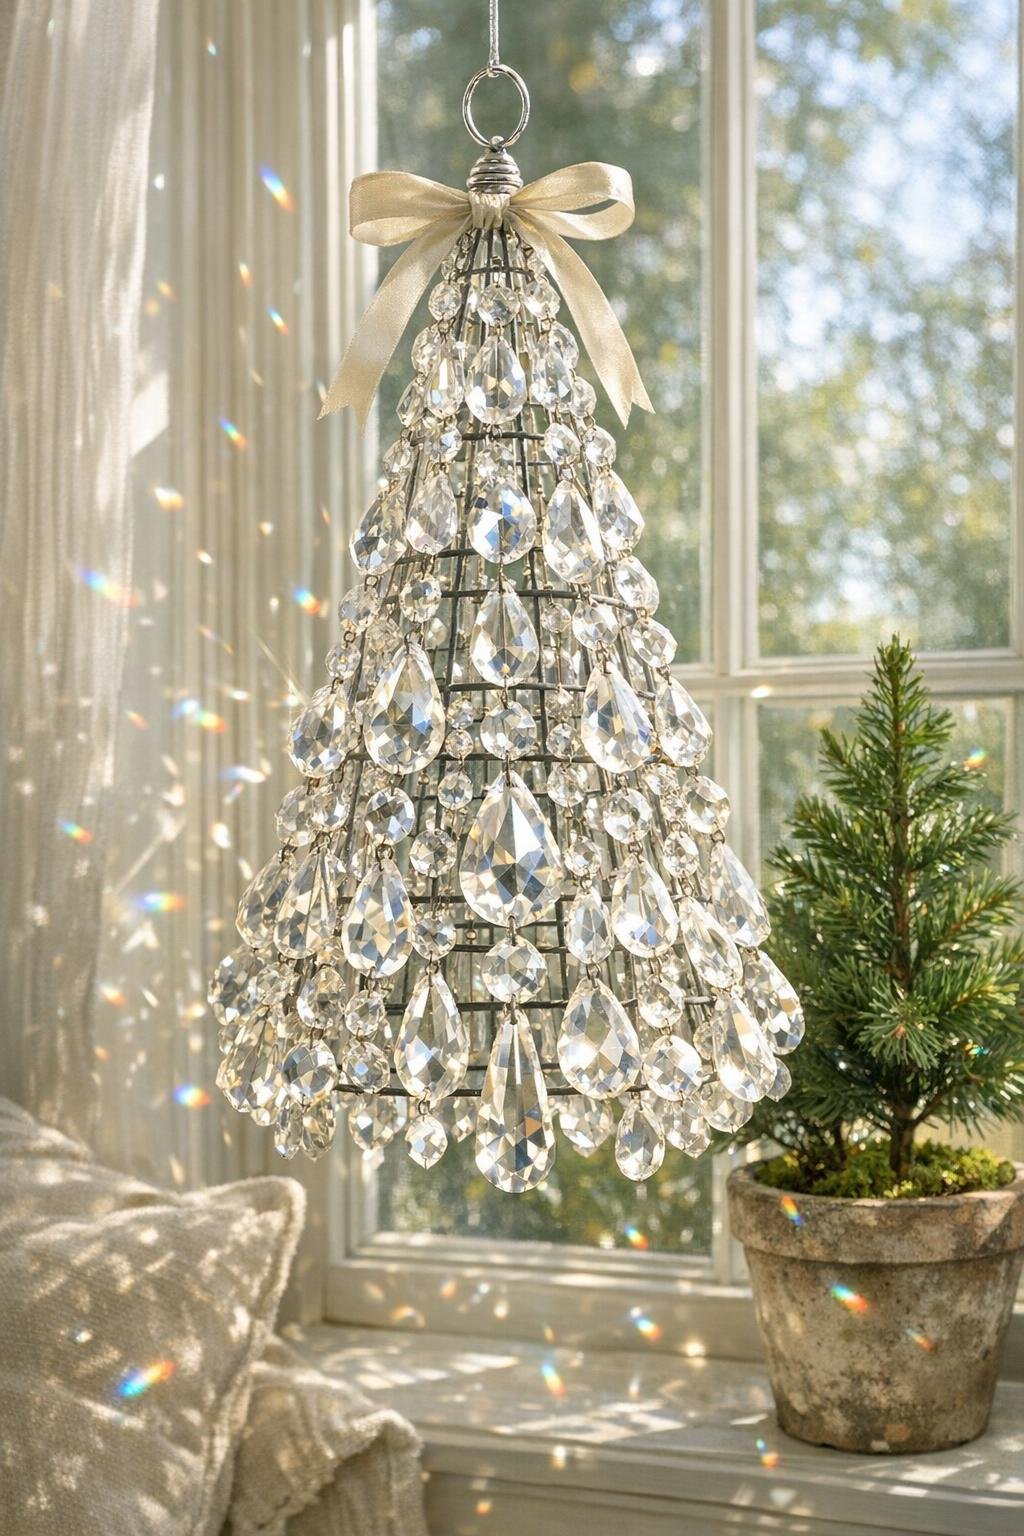
12. Hang the finished piece from an S-hook or ceiling hook in a bright spot where it can move slightly and catch the light beautifully.
Variations & Tips
For more fullness: If your crystals are on the small side, use 70 to 80 pieces instead of 60 so the cone looks rich and generously covered.
For a vintage look: Mix in a few amber or smoky prisms if you have them; that little bit of color gives the piece the feeling of an old parlor lamp in the best possible way.
For outdoor use: Hang it only in a covered porch or protected gazebo so the metal parts do not rust quickly and the crystals stay clean longer.
For easier assembly: Open a batch of jump rings partway before you begin; I find that little bit of prep makes the whole project move along nicely.
For the prettiest display: Morning sun or late afternoon light will give you the most sparkle, and a spot near a window where a breeze can turn it gently is especially lovely.
If your crystals don’t match: That’s perfectly fine. Old chandelier pieces often come in mixed shapes, and once they’re arranged by size and layered on the cone, the variety makes the finished piece look collected and charming rather than fussy.