
When an old artificial Christmas tree starts shedding or looking tired, I hate seeing all that perfectly usable greenery go straight to the trash. Those branch tips are still sturdy, nicely shaped, and just begging to become something charming. This project turns them into a sweet winter display that looks much more special than the effort involved, which is exactly my favorite kind of craft.
If you like easy seasonal decorating, thrifted-style crafts, or little projects you can finish in an afternoon at the kitchen table, this one is for you. I especially love that it uses simple supplies and a bit of repetition to create a full, polished result that looks darling on a mantel, entry table, or holiday centerpiece.
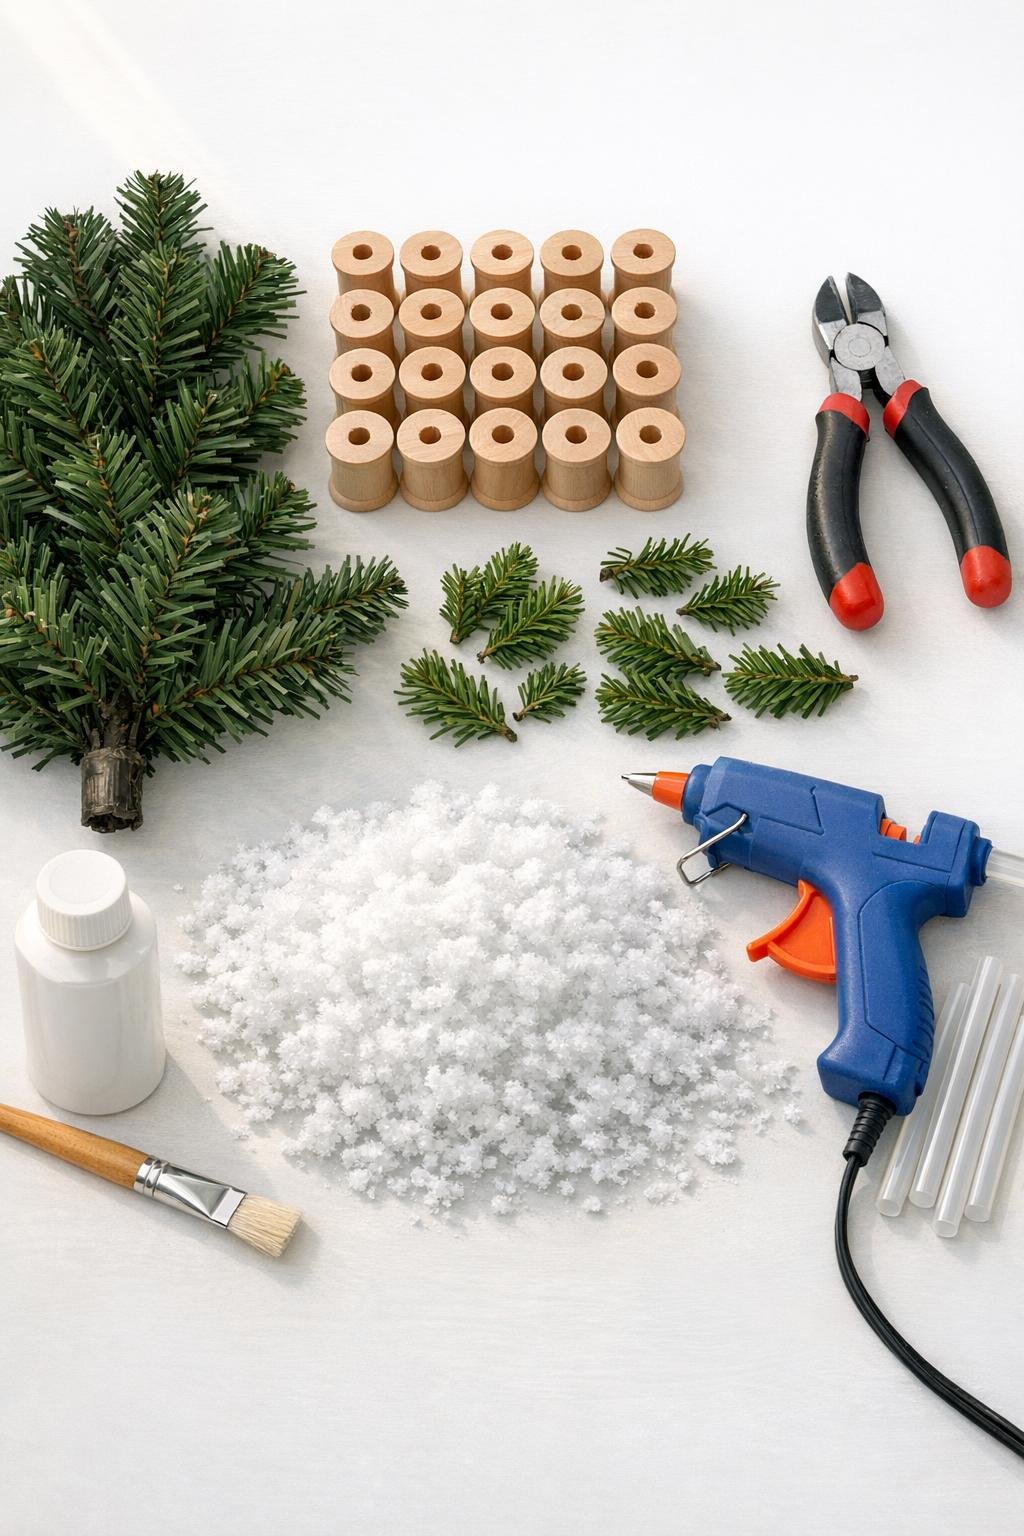
Materials
1 old fake Christmas tree, with at least 24 usable branch tips
Instructions
1. Cover your work surface with wax paper or a craft mat, then sort through the old tree and pull out 24 branch tips that are nicely shaped and varied in height for a fuller display.
2. Use wire cutters to snip each tip free with a stem about 1 to 1 1/2 inches long, keeping the cut as straight as you can so it seats neatly in the spool hole.
3. Brush a coat of white paint over all 24 wooden spools, including the top rims and sides, and let them dry completely before moving on.
4. Fluff each evergreen tip with your fingers, spreading the needles evenly so every piece looks like a tiny tree instead of a flat clipping.
5. Add a bead of hot glue into the center hole of one spool, then immediately press in one evergreen stem and hold it upright for a few seconds until it grips.
6. Repeat with the remaining spools, mixing tall, medium, and short tips throughout so the finished group has a layered, village-like skyline.
7. Trim any stems that sit too high or look crooked, then give each little tree a final fluff so the branches hide the stem and the proportions feel balanced.
8. Pour faux snow onto a paper plate or tray, then brush a thin line of hot glue around the top rim of each spool and dip or sprinkle on faux snow for a soft snowy base.
9. Lightly dab a few branch tips with tiny dots of hot glue and pinch on a little faux snow here and there, keeping it delicate so the greenery still shows through.
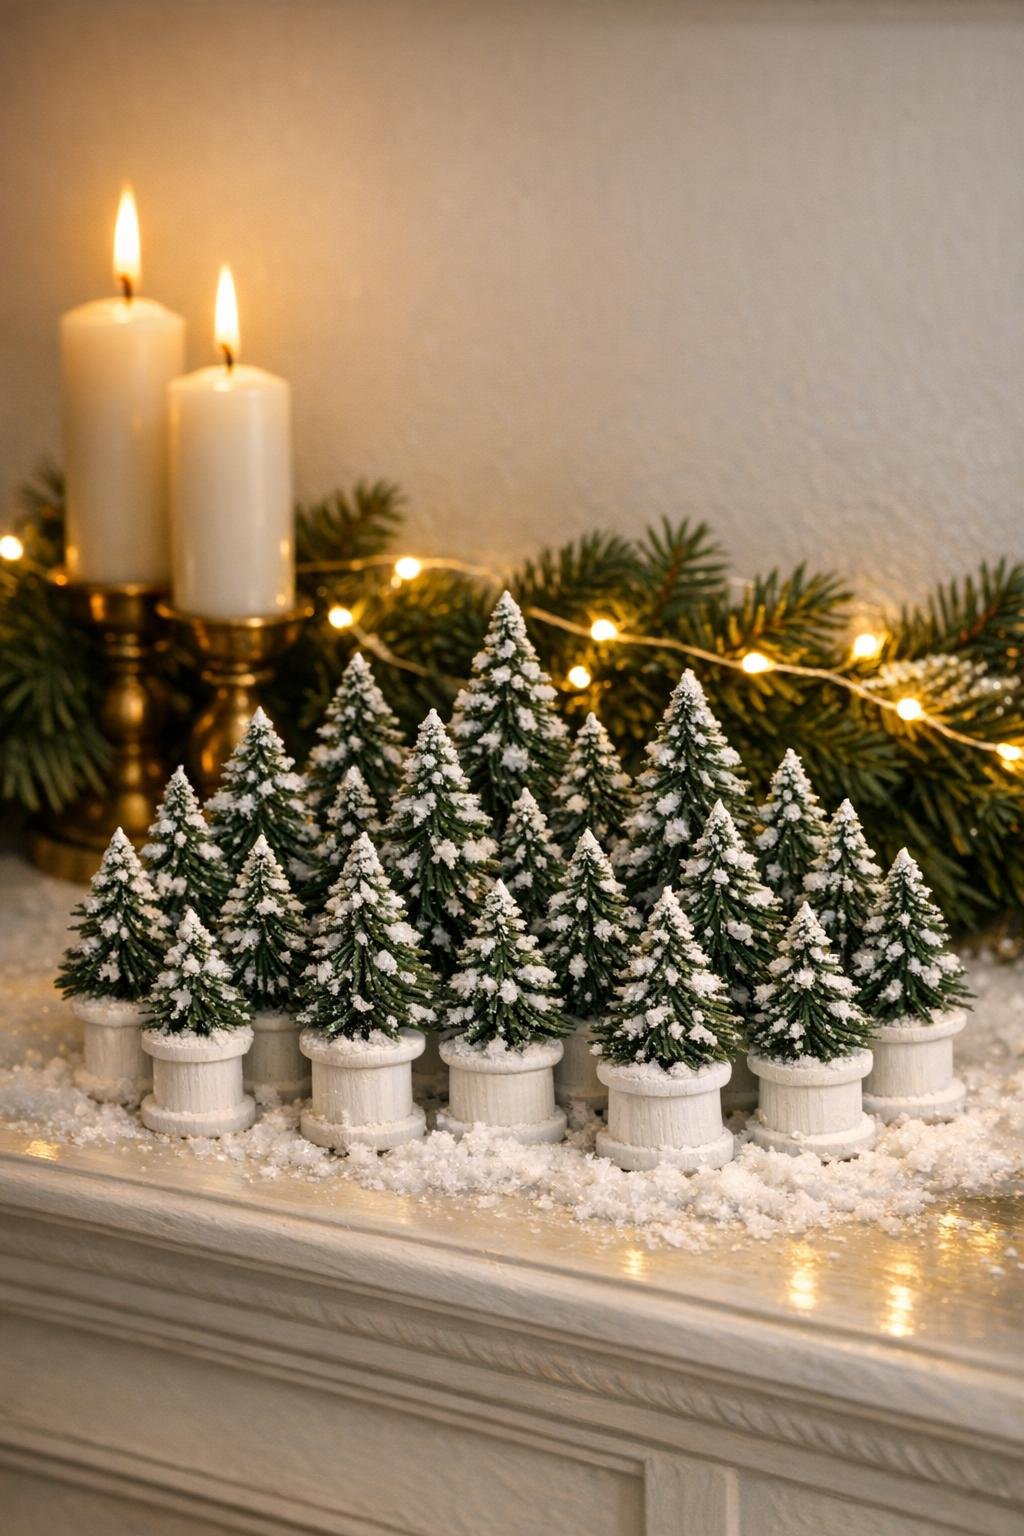
10. Arrange all 24 pieces together in a tight cluster on a mantel, tray, or tabletop, placing the tallest trees toward the back and center and filling the front with the shorter ones for a generous, full display.
Variations & Tips
For a fuller display: If your branch tips are on the skinny side, tuck two smaller clippings into one spool instead of one. I do this for a few of the center trees so the whole arrangement looks lush and abundant.
For a more vintage look: Dry-brush a little extra white paint over the edges of the spools after the first coat dries. That chalky finish makes them feel like sweet old-fashioned bottle brush trees without needing extra supplies.
For picky decorators: In my house, everybody likes something a little different, so I keep some trees plain green and frost only a few more heavily. That way the display still feels snowy and festive without becoming overly glittery or fussy.
If the spool holes are too large: Wrap the bottom of a stem with a tiny bit of hot glue, let it cool for a few seconds, and then insert it. That creates a snugger fit and keeps the tree standing straight.
If the stems are too loose or uneven: Snip them shorter little by little instead of all at once. A shorter stem often stands more securely and gives the mini tree a nicer proportion with the spool base.
Display tip: These look best grouped closely rather than spread far apart. Think of them like a family-style centerpiece on a holiday table—the fullness is what makes them feel special.
Make-ahead tip: You can cut and paint the spools one day, then glue in the greenery and add snow the next. Breaking it up makes this a very easy afternoon project, especially during the busy holiday season.