
There’s a particular satisfaction in turning something headed for the discard pile into holiday décor that looks soft, layered, and far more expensive than it is. I’m always a little reluctant to part with old sweaters anyway—good knits have personality—so this project is one of my favorite ways to give them a second life without needing any special crafting skills.
This is a wonderful afternoon project for anyone who wants cozy seasonal decorating on a budget. If you can cut, roll, and glue, you can make this, and because you’re using four sweaters over simple paper forms, you end up with a fuller, more styled display instead of one lonely piece that gets lost on a mantel.
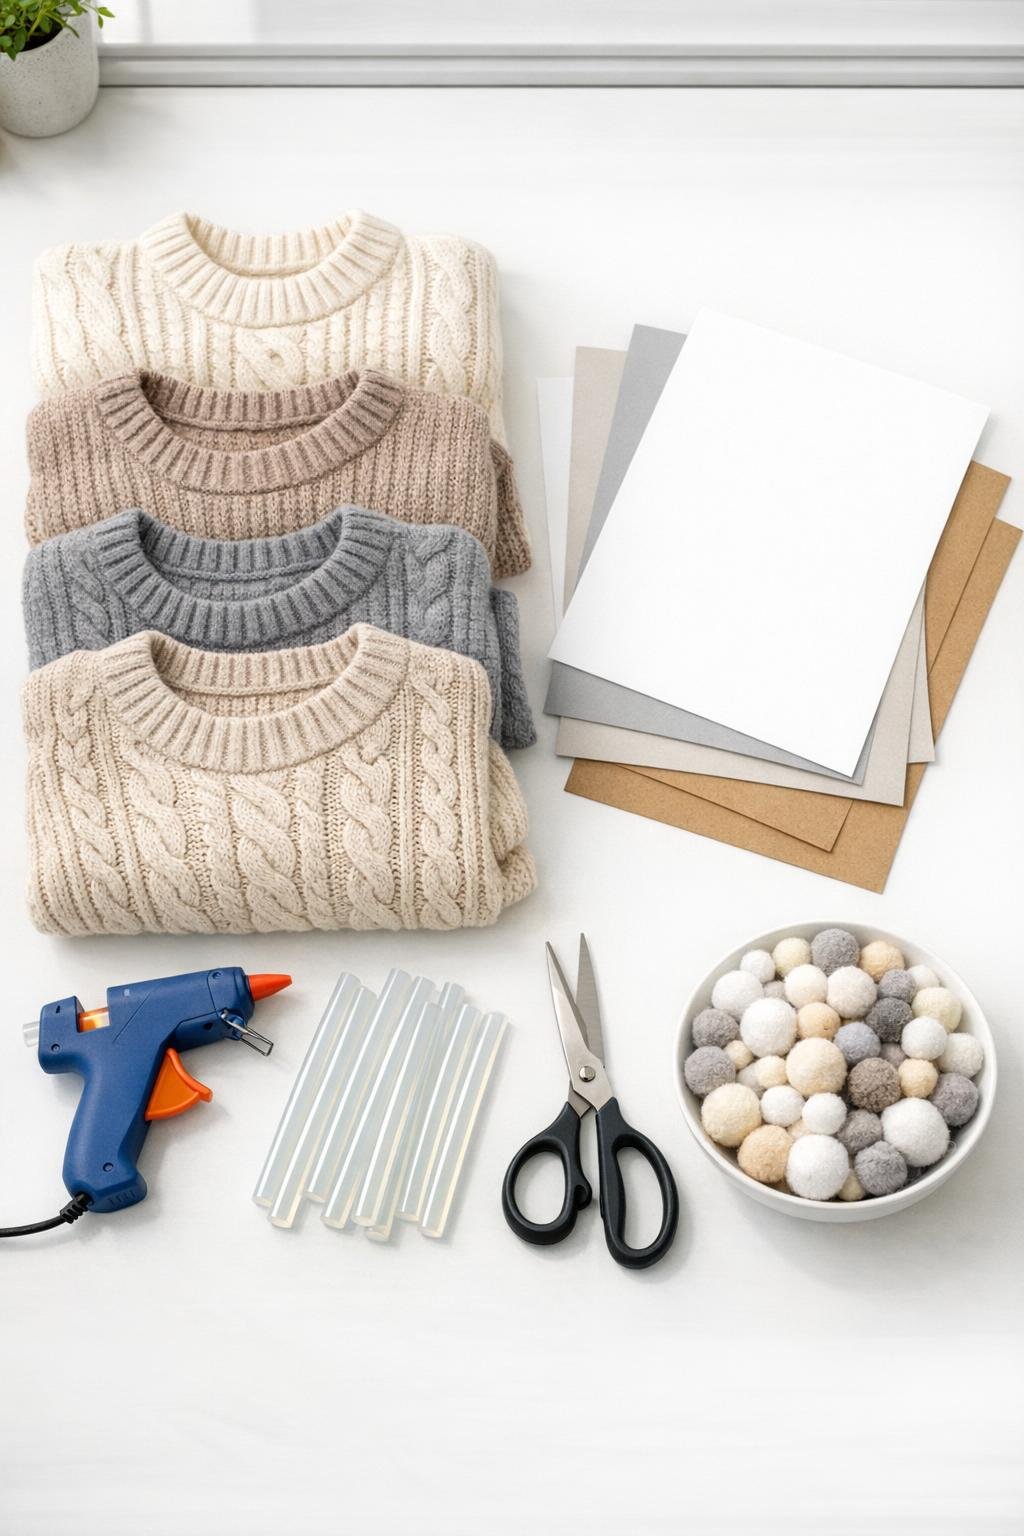
Materials
4 old sweaters, adult size, preferably in different knit textures
Instructions
1. Roll one sheet of poster board into a tall cone about 16 inches high with a 5- to 6-inch base, then hot-glue the seam and hold it in place until set. Repeat with the remaining poster board to make four cones in slightly varied heights for a more interesting grouped display.
2. Stand each cone upright and trim the bottom edge so it sits flat without wobbling. Keep the heights around 12, 14, 16, and 18 inches so the finished set looks full and staggered.
3. Lay out the sweaters and choose sections with the prettiest knit patterns, such as cables, ribs, or fuzzy textures. Cut off the sleeves and side seams so you have wide usable panels for covering the cones.
4. Wrap a sweater panel around the widest part of the first cone to check fit, placing the stretchiest direction around the cone rather than up and down. Cut the panel so it overlaps by about 1 inch at the seam.
5. Slide the knit over the cone from the top if the piece is tube-shaped, or wrap it around and glue one vertical edge down first if it’s a flat panel. Pull it snug so the knit hugs the cone smoothly, then glue the overlap closed.
6. Gather the extra sweater fabric at the top opening, trim away bulk if needed, and glue the remaining fabric neatly into the cone. This keeps the top tidy and gives you a clean place for a pom pom topper.
7. Fold the bottom edge under by about 1/2 inch and glue it inside the base so the raw cut edge disappears. Repeat the covering process for the other three cones, varying the sweater textures and colors for a collected, layered look.
8. Glue small pom poms along the surface of each cone, spacing them evenly or clustering them like snowy ornaments. Use about 5 to 6 small pom poms per tree, and save the larger ones for the tops.
9. Add one medium pom pom to the top of each cone, pressing it into the glued opening so it looks finished from every angle. If you like a fuller look, add an extra ring of small pom poms near the base of the tallest cone.
10. Set the trees together and rotate them until the colors and textures feel balanced, with the tallest in back and the smallest in front. Trim any stray threads, remove visible glue strings, and let everything cool completely before displaying.
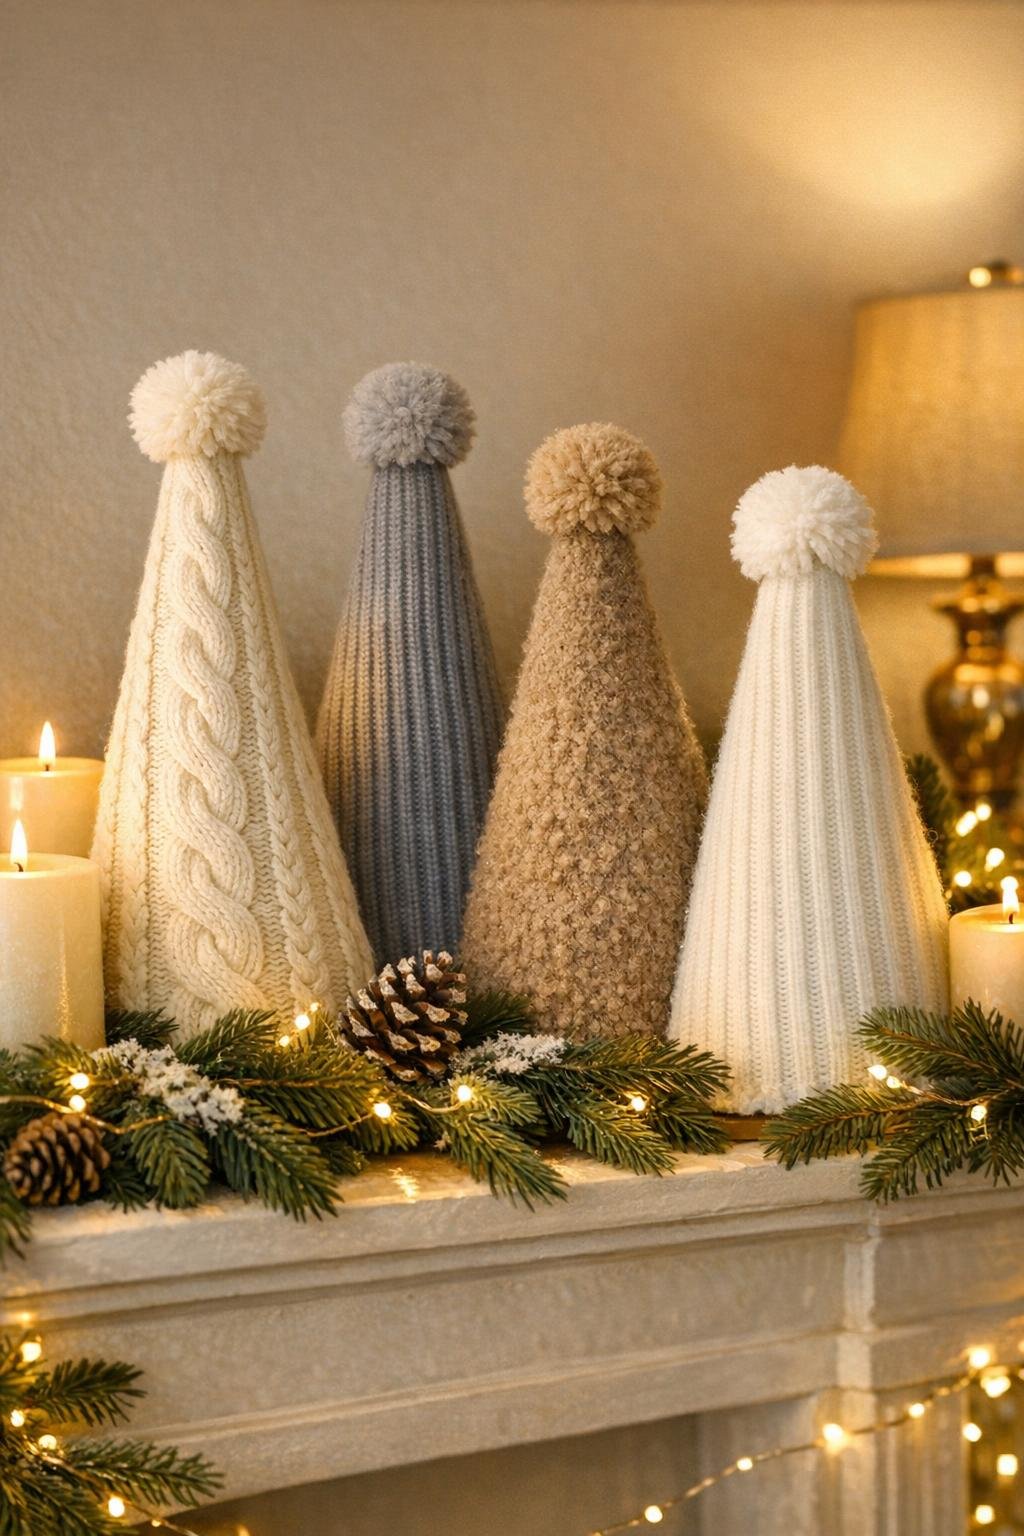
Variations & Tips
Color Story: I like using sweaters in one family of colors—creams, grays, oatmeal, and soft brown—because it makes the group look intentional. If your sweaters are more mixed, tie them together with pom poms in a single color.
Texture Mix: The prettiest sets usually combine different knits rather than four identical sweaters. Cable knit, ribbed knit, and fuzzy chenille together give the display depth, much like layering ingredients with different textures in a good salad.
Easy Fit Trick: Sweater sleeves are perfect for smaller cones because they already have a tapered shape. I use the body sections for the larger cones and save sleeves for the shortest ones.
No Pom Poms: If you don’t have pom poms, finish the tops with small fabric bows or rolled sweater rosettes. Both keep the soft look and cover the gathered top neatly.
Cleaner Edges: Trim bulky seams and thick hems off before wrapping the cones. Less bulk means the knit lies flatter and the final shape looks more polished.
Display Tip: These look best grouped tightly rather than spread apart. Nestle the four together on a mantel, dining sideboard, or entry table so the varying heights read as one lush arrangement.