
If you’re anything like me, the minute December hits, you want one handmade gift that looks extra special without turning your kitchen into a full production line. This little project is exactly that. You start with a simple baking soda mixture pressed into ice cube trays, and with just a few easy finishing touches, it turns into a polished Christmas-ready gift that feels thoughtful, useful, and honestly a lot prettier than the effort would suggest.
I love projects like this because they fit into real life. I can mix a batch after dinner, unmold everything the next morning, and have a few giftable sets ready before the weekend. If you want an easy holiday make that feels festive, practical, and a little bit luxurious, this one is such a good choice.
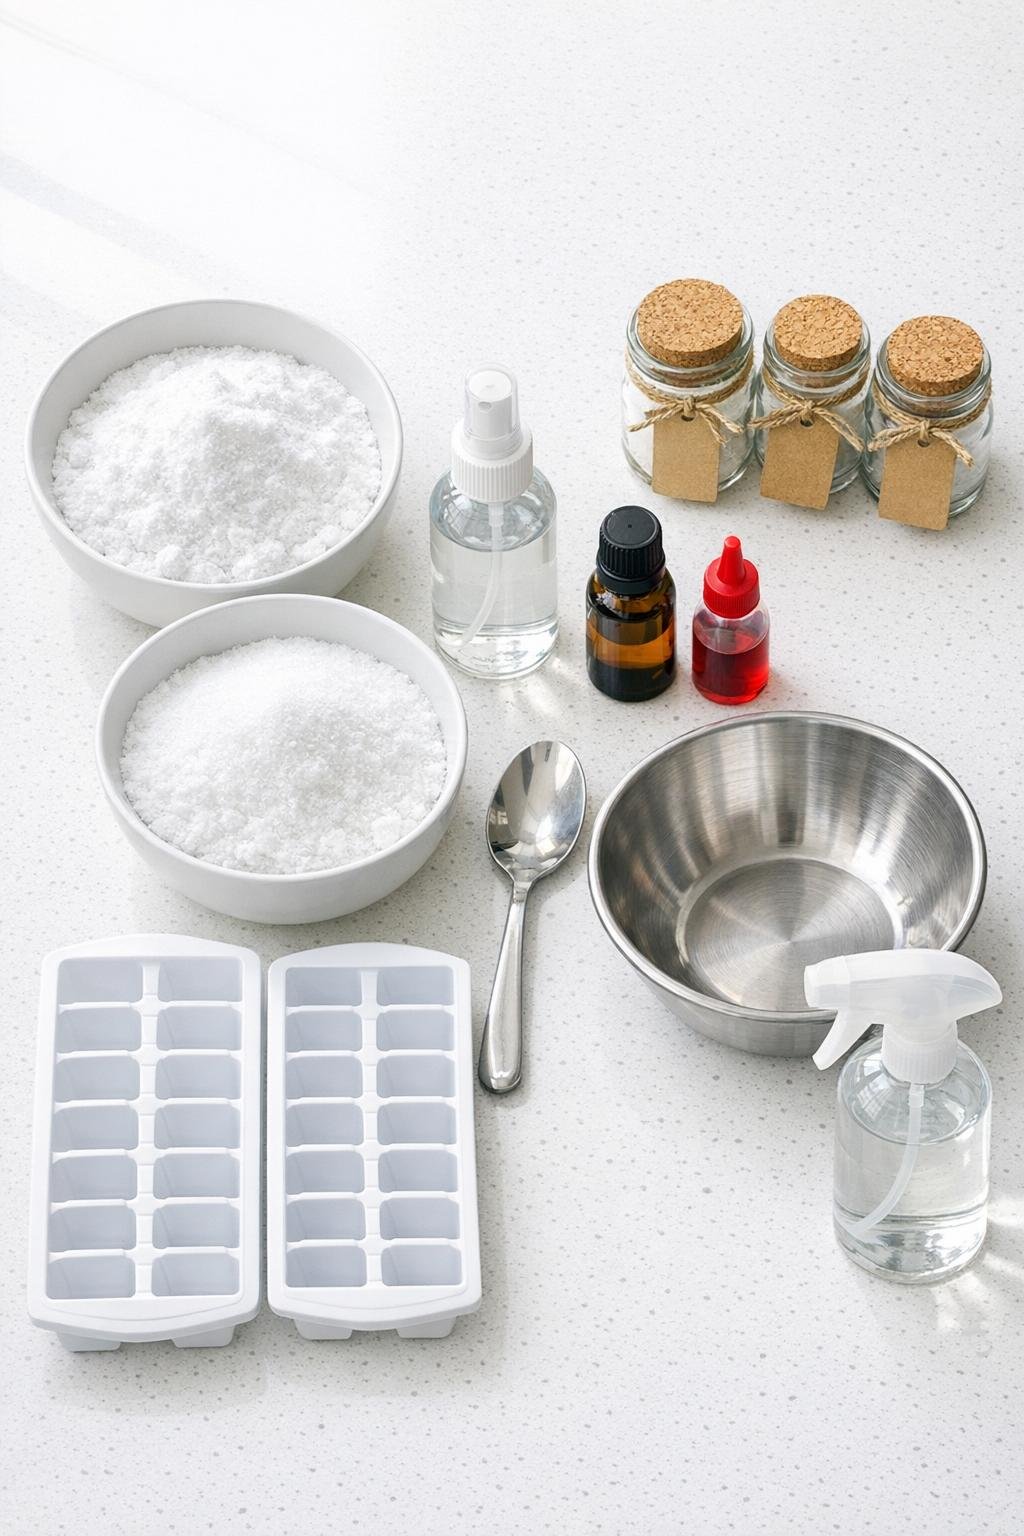
Materials
2 cups baking soda
Instructions
1. Add the baking soda and citric acid to a medium mixing bowl, then stir with a spoon until the mixture is completely combined and there are no lumps.
2. Add 25 to 35 drops of peppermint essential oil and stir again so the scent is evenly distributed through the dry mixture.
3. Scoop about 1 cup of the mixture into a separate small bowl and add 6 to 8 drops of red food coloring to that portion, mixing until the color is evenly tinted a soft holiday pink-red.
4. Lightly mist the white mixture with witch hazel, stirring after every 1 to 2 sprays, until it feels like damp packable sand that holds its shape when squeezed.
5. Repeat with the red mixture, spraying lightly and stirring just until it holds together; don’t soak it or the mixture will start fizzing too soon.
6. Spoon a small amount of red mixture into the bottom of each ice cube tray well, then add white mixture on top to create a striped peppermint-candy look.
7. Press each well down firmly with the back of the spoon, packing the mixture tightly all the way to the corners so the steamers unmold cleanly and hold their shape.
8. Continue filling and packing all the wells in both trays, slightly overfilling each one before pressing flat so you get full, thick steamers instead of skimpy ones.
9. Let the trays sit at room temperature for 12 to 24 hours until the steamers feel hard and dry to the touch.
10. Gently twist the trays and pop the steamers out one at a time, handling them carefully so the corners stay crisp.
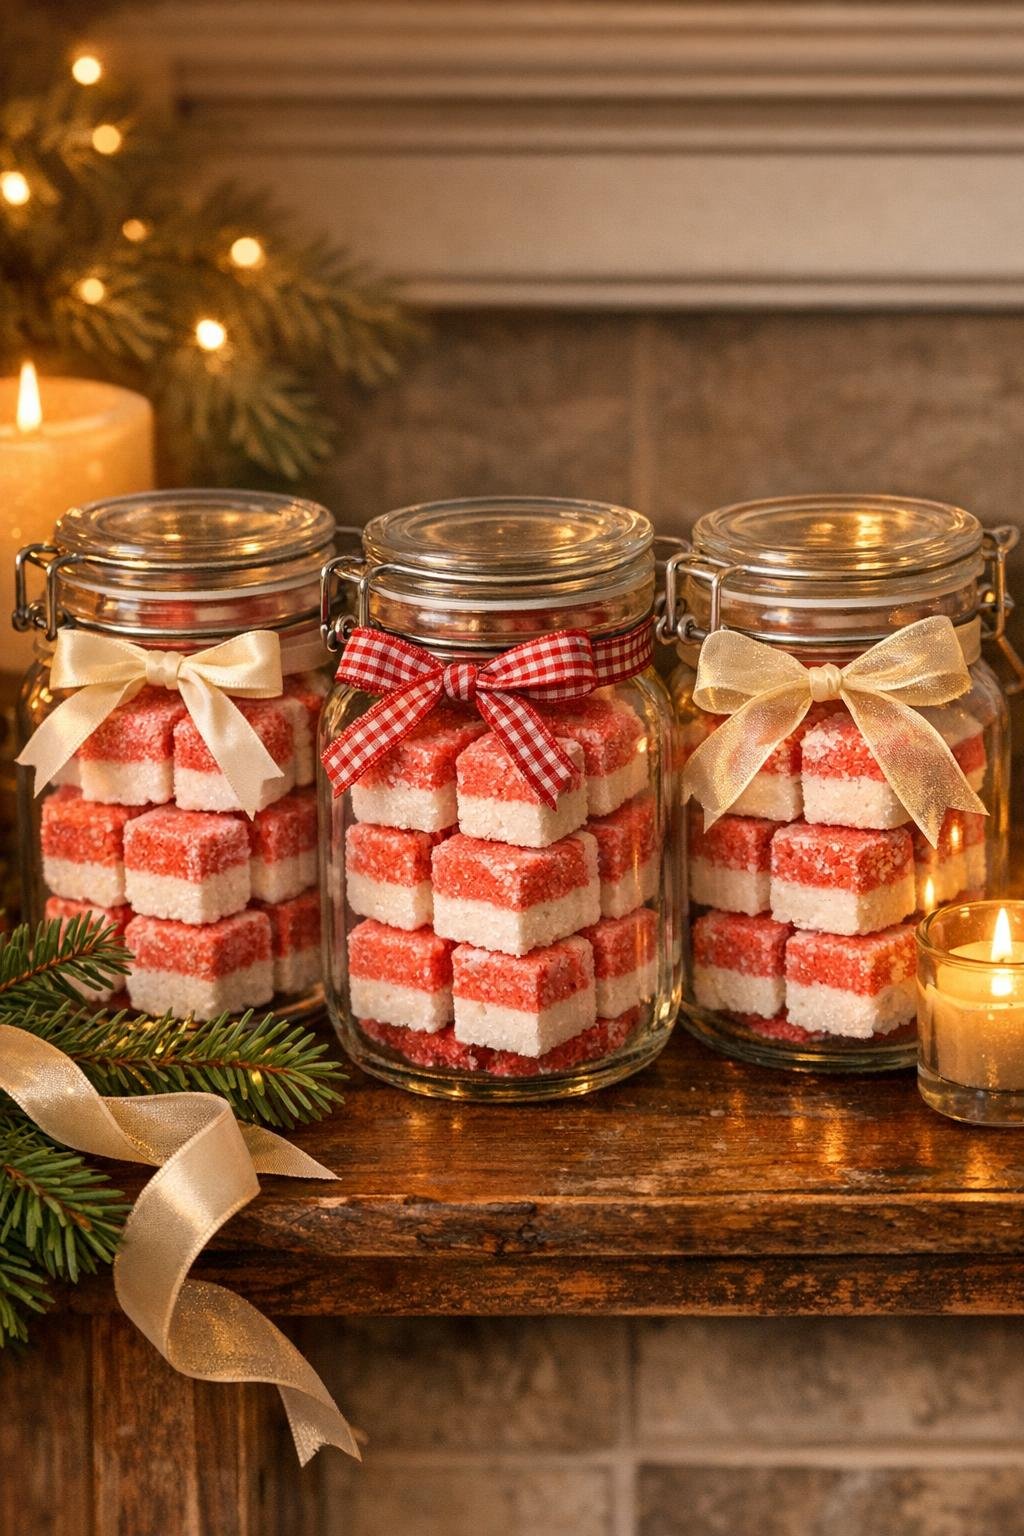
11. Stack the finished steamers into the three glass jars, arranging the prettiest pieces toward the outside so the red-and-white layers show through the glass.
12. Tie each jar with an 18-inch piece of twine and add a gift tag for a simple finished look that feels ready to give.
Variations & Tips
Make the color softer: If you want a prettier candy-cane look, use fewer drops of red food coloring for a pale pink instead of a deep red. I think the lighter color looks especially nice through glass jars.
Don’t overspray: This is the biggest tip. Add witch hazel very slowly, because once the mixture is too wet, it can expand, fizz, or dry unevenly.
Pack firmly for clean edges: I’ve made the mistake of being too gentle here, and the cubes came out crumbly. Press hard with the spoon so the finished steamers look solid and gift-worthy.
Use smaller jars if needed: If your jars are a little shorter or narrower, just make sure each one still looks full. A generously packed jar always looks more polished than one with lots of empty space.
Add a layered jar arrangement: For the prettiest presentation, alternate the direction of the cubes as you stack them. That shows off the red-and-white striping from every angle.
Store them dry: Keep the jars tightly closed and stored away from humidity until gifting time. Bathrooms are fine once they’re being used, but for storage, a dry cabinet works best.
Gift note idea: If you’re attaching tags, write a quick note telling the recipient to place one steamer on the shower floor out of the direct stream of water. It’s a small touch, but it makes handmade gifts feel especially thoughtful.