
There are a few crafts I come back to every winter because they give maximum cozy payoff for very little effort, and this is one of them. If you have a few empty glass jars, a stack of used dryer sheets, and about half an hour after work, you can turn everyday leftovers into something that looks softly snowy and surprisingly pretty once the lights go on.
I love projects like this because they feel forgiving. The torn edges, the overlap, and the slightly cloudy texture are exactly what make the finish work, so there’s no pressure to be precise. If you’re decorating on a budget, need an easy centerpiece, or just want a low-stress evening craft with a mug of something warm nearby, this one is absolutely worth making.
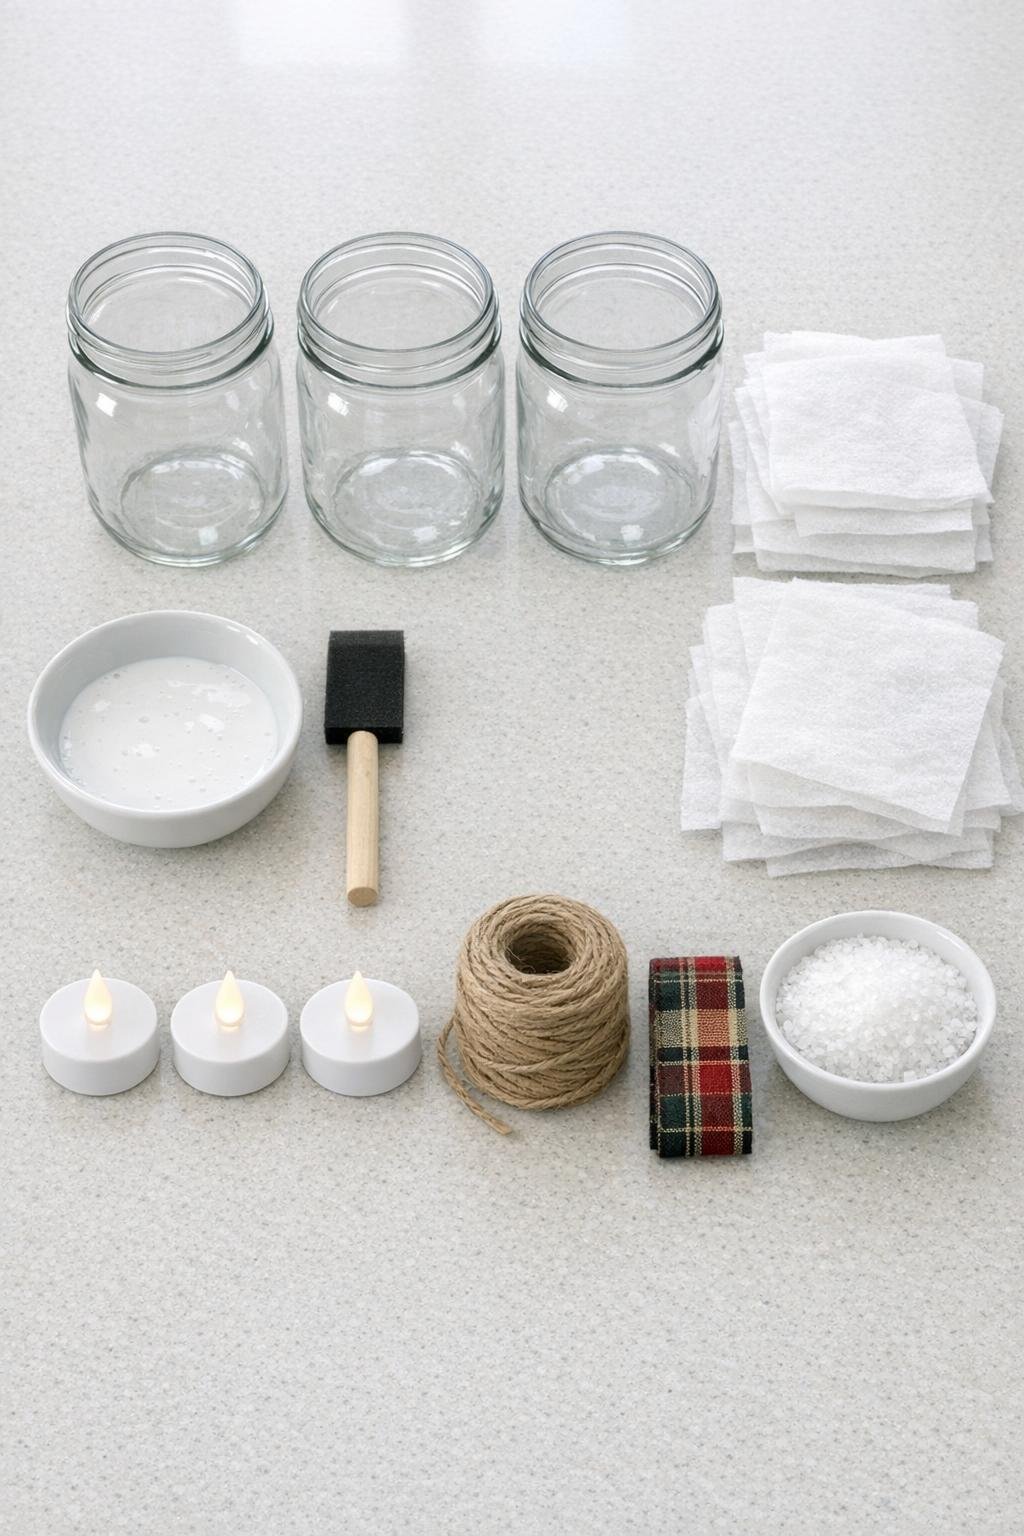
Materials
3 empty glass jars, 16 to 24 ounces each, washed and labels removed
Instructions
1. Wash and dry the jars completely, then remove any sticky residue so the dryer sheets can lie flat against the glass. If I’m using pasta sauce jars, I usually wipe them with a little rubbing alcohol at the end to get them squeaky clean.
2. Mix the white school glue and water in a small dish until smooth and brushable. Tear the dryer sheets into uneven pieces about 2 to 4 inches wide so you’ll get a soft, layered patchwork instead of hard straight lines.
3. Brush a thin coat of glue onto one section of the first jar, then press on a torn dryer sheet piece and smooth it lightly with your fingers. Add more pieces, overlapping the edges, until that section looks cloudy and mostly covered.
4. Keep working around the jar, brushing glue under each piece and patting down any lifted corners without flattening all the texture. Leave a few wrinkles and soft ridges because they catch the light beautifully once the jar is lit.
5. Brush a very light topcoat of thinned glue over the entire covered jar to seal the layers together. Don’t soak it; too much glue can make the finish look slick instead of softly frosted.
6. If you want a snowy sparkle, sprinkle a light pinch of Epsom salt onto a few still-damp areas near the lower half of the jar and around some seams. I like to keep it subtle so the texture still reads as frosted glass first, glittery snow second.
7. Repeat the layering and sealing process for the other two jars, using about 4 dryer sheets per jar for full, dense coverage. Set all three jars aside to dry for 1 to 2 hours, until the outside feels firm and papery rather than tacky.
8. Wrap twine around each jar neck 3 to 5 times and tie a simple bow, or knot on a plaid ribbon for a warmer cabin-style look. If the jars have screw-top threads, nestle the twine or ribbon right below them so the trim stays in place.
9. Place one LED tea light inside each jar and turn it on to check the glow. If any spot looks too thin or too clear, glue on one more small dryer sheet piece and let it dry before lighting again.
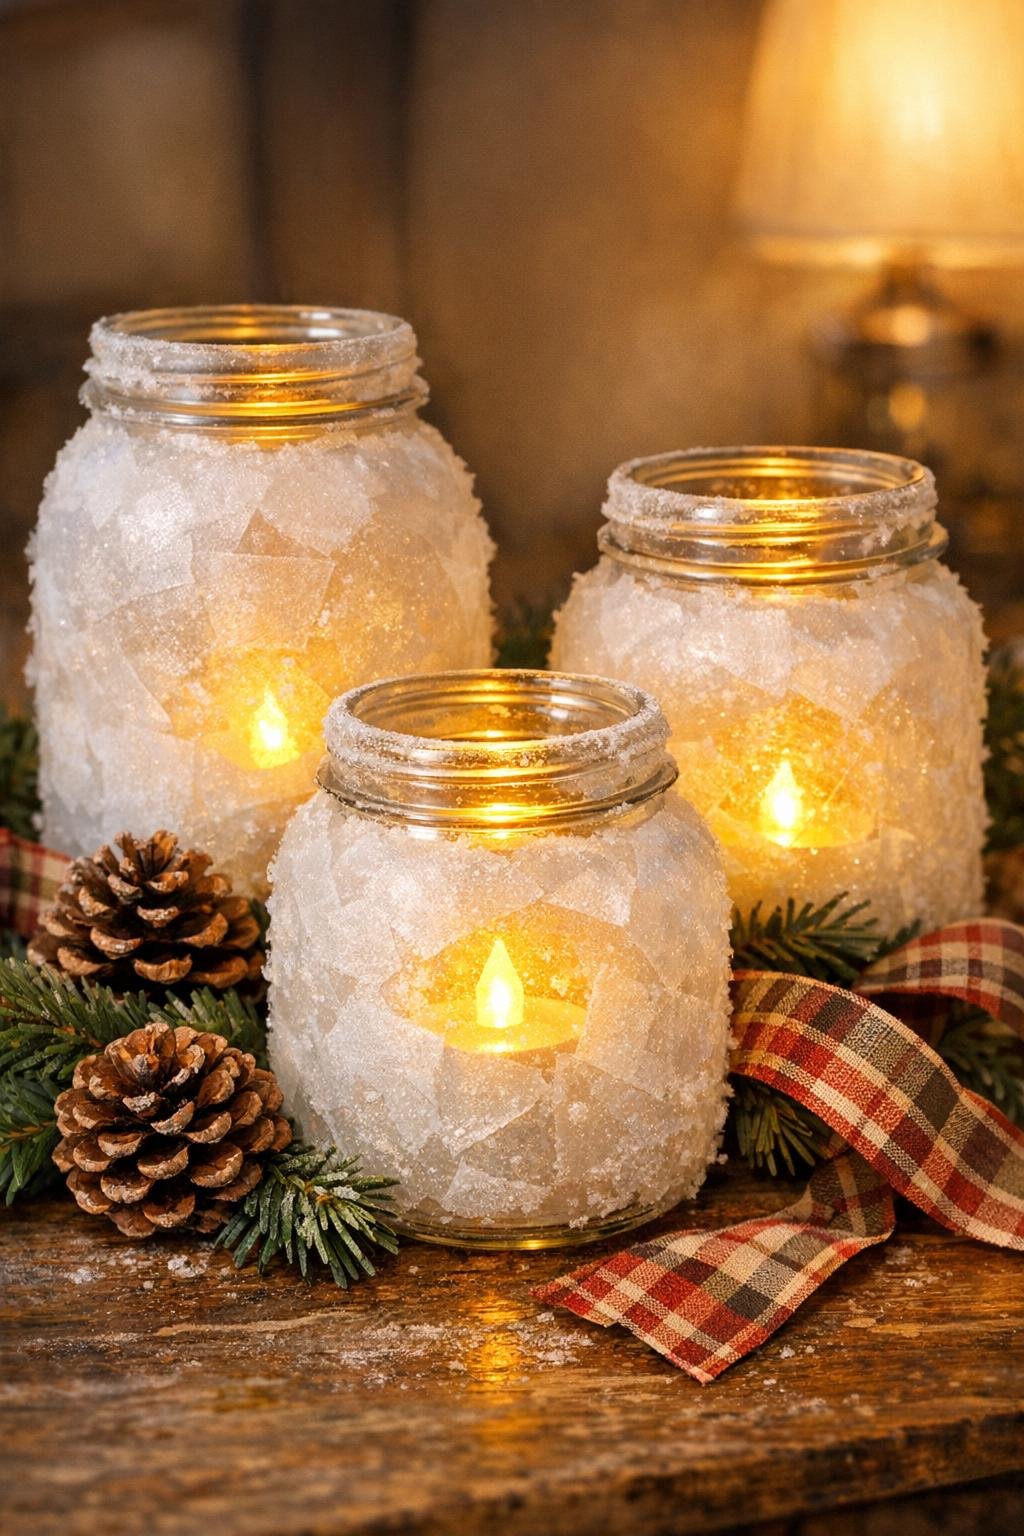
10. Group the jars together on a tray, windowsill, mantel, or dining table so the heights and textures play off each other. They look best clustered tight enough to feel like a little winter moment instead of three random jars.
Variations & Tips
Use matching jars: If you want a cleaner, centerpiece-style look, use three jars with similar height and width. I’ve mixed pasta jars and mason jars before, and it still works, but matching shapes definitely make the finished set feel more polished.
Keep the layers thin: One of the easiest mistakes is piling on too much glue. A thin coat underneath and a light sealing coat on top will keep the texture soft and snowy instead of gummy.
Try a ribbon-and-twine combo: For extra detail, tie twine first and then add a short strip of plaid ribbon in a knot over it. It takes maybe thirty extra seconds and gives the jars that finished “I totally meant to style these” look.
Only use LED lights: Because the outside is covered with dryer sheet and glue, skip real candles entirely. LED tea lights give the same cozy glow without any worry.
Make them look fuller in a display: If you’re putting these on a table, I like setting them on a small tray with greenery or tucking them beside a bowl of ornaments. It’s the same trick I use in my kitchen when I want simple things to feel intentional after a long workday.
Save your dryer sheets ahead of time: Used dryer sheets are perfect because they’re already softened and slightly fuzzy, which helps the frosted finish. I keep a little stash in the laundry room in winter so I can make a quick batch whenever I want an easy seasonal update.