
There is something mighty satisfying about turning a stack of old Christmas cards into something you’ll want to bring out year after year. I’ve always had a hard time tossing cards with pretty angels, winter churches, holly borders, and those sweet old-fashioned greetings, so this is the sort of project that feels both thrifty and sentimental in the best way.
If you can roll paper, use a stapler, and work a glue gun carefully, you can make this. It’s simple enough for a quiet afternoon at the kitchen table, but the finished piece has that lush, old-time holiday charm that looks far fancier than the effort it takes. I especially love how the colors and images from the cards peek out in layers, like a little patchwork of Christmases past.
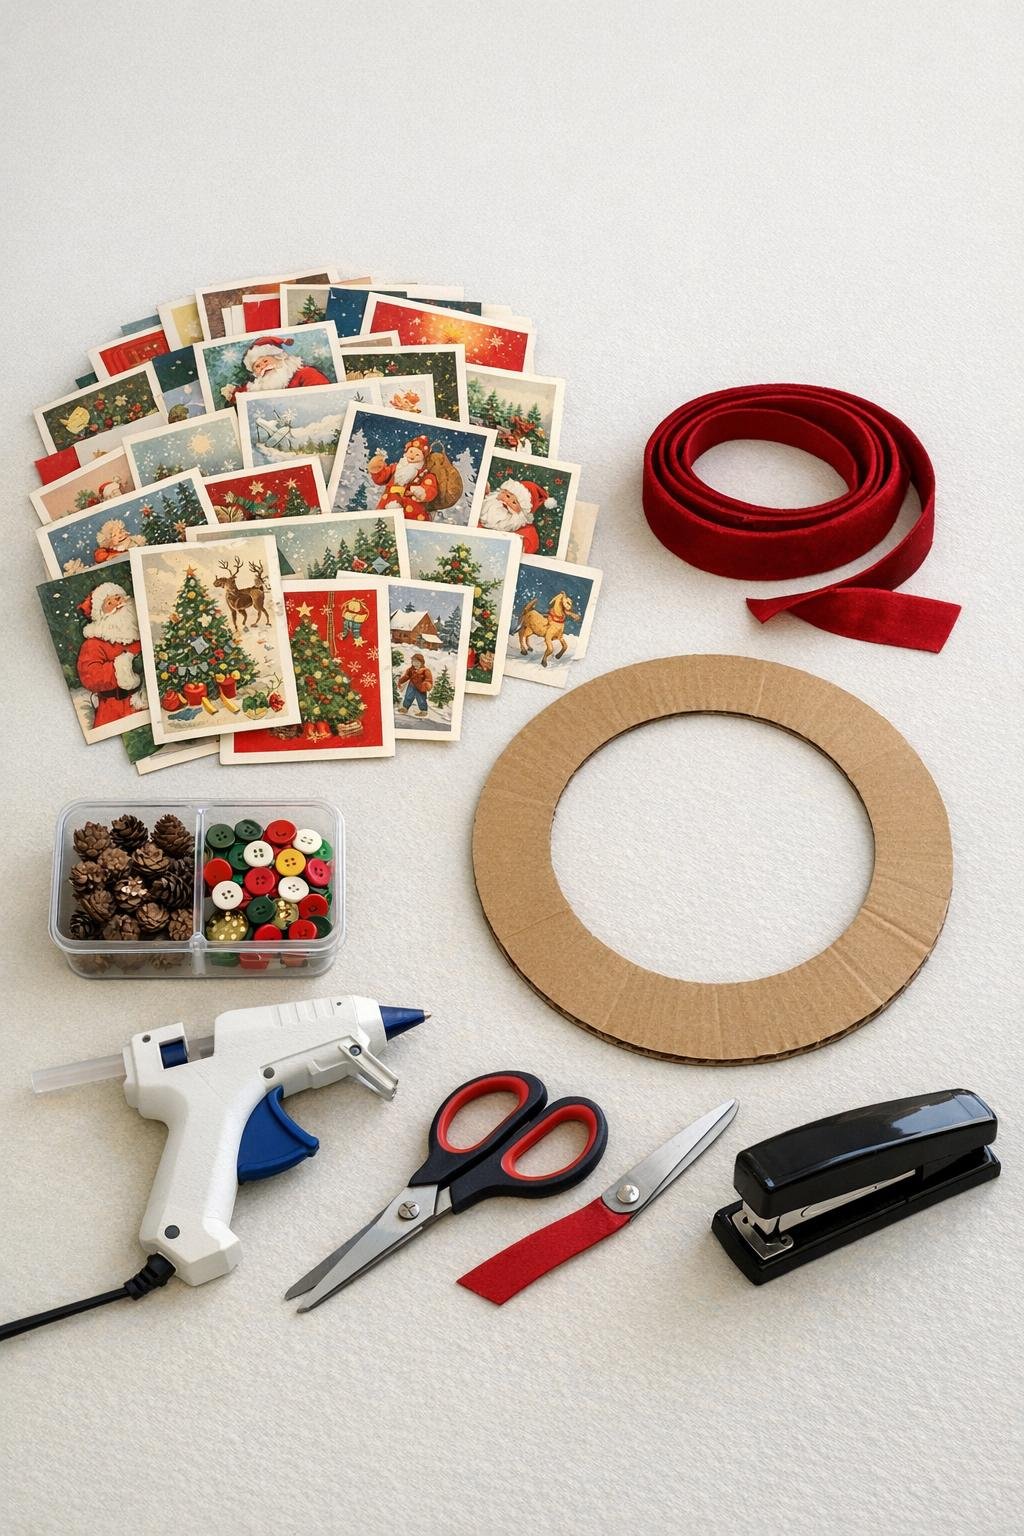
Materials
30 old Christmas cards, standard assorted sizes, enough to roll 30 full cones
Instructions
1. Sort through the Christmas cards and choose 30 with strong color and nice imagery on the front; save especially pretty Victorian-style scenes, holly, snow, and gold details for the most visible outer layer.
2. If any cards are oversized, trim them down only if needed so they roll neatly; most standard cards can be used as they are for a nicely full wreath.
3. Roll each card diagonally or corner-to-corner into a tight cone with the printed side facing out, then staple near the wide end to hold the shape.
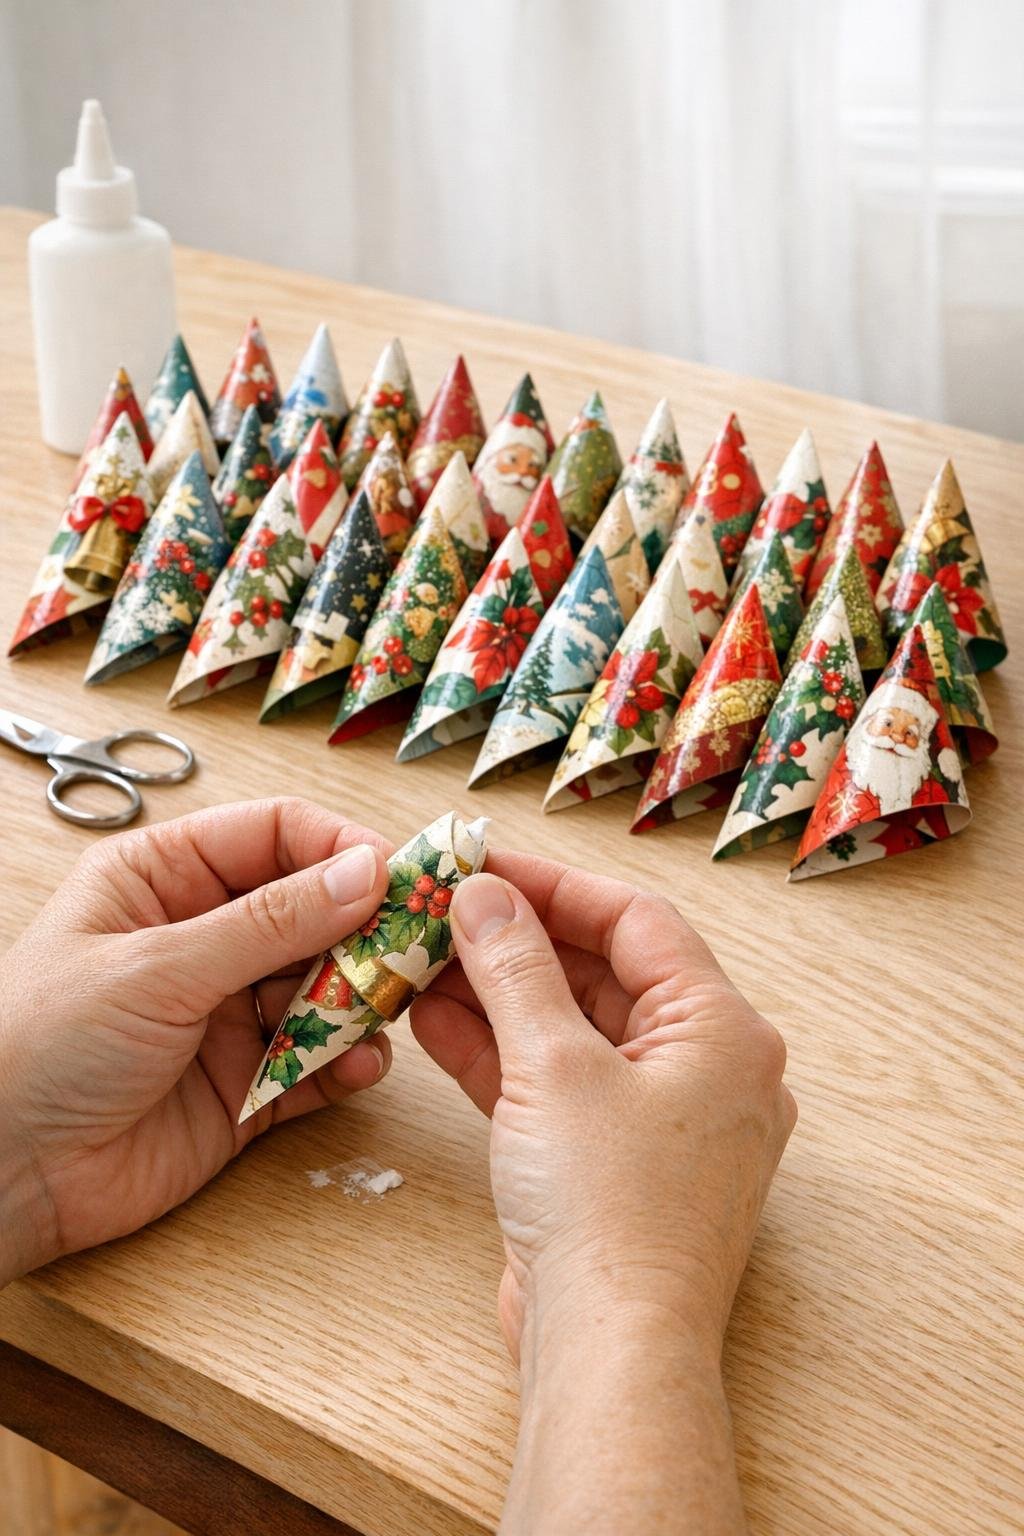
4. Make all 30 cones before assembling the wreath so you can balance the colors and patterns as you go; set aside the 6 prettiest cones for the top layer.
5. Lay the 12-inch cardboard ring flat on the table and test a circle of cones around the outside edge, adjusting spacing until the points radiate outward evenly.
6. Hot glue 14 cones around the outer edge of the ring, slightly overlapping the wide ends so the cardboard is covered and the wreath looks full.
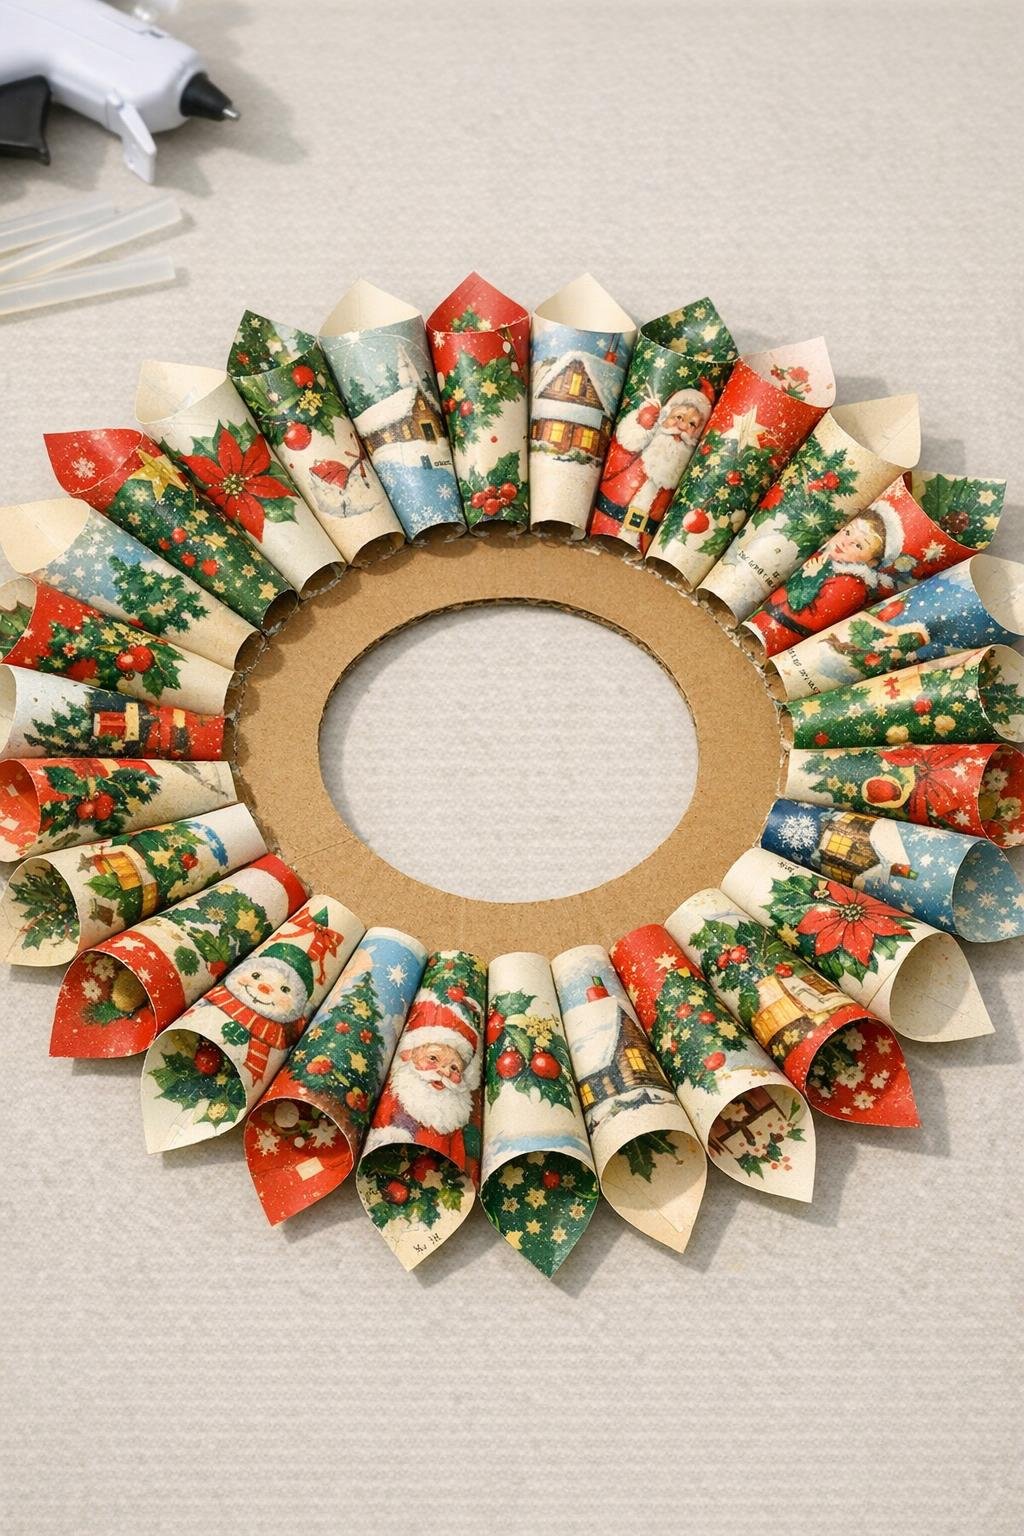
7. Glue 10 more cones in a second layer, placing them between the outer cones and angling them slightly inward to build depth and hide any gaps.
8. Glue the remaining 6 cones in the center area, nesting them closely so the wreath has that rich, full rosette look instead of a flat ring.
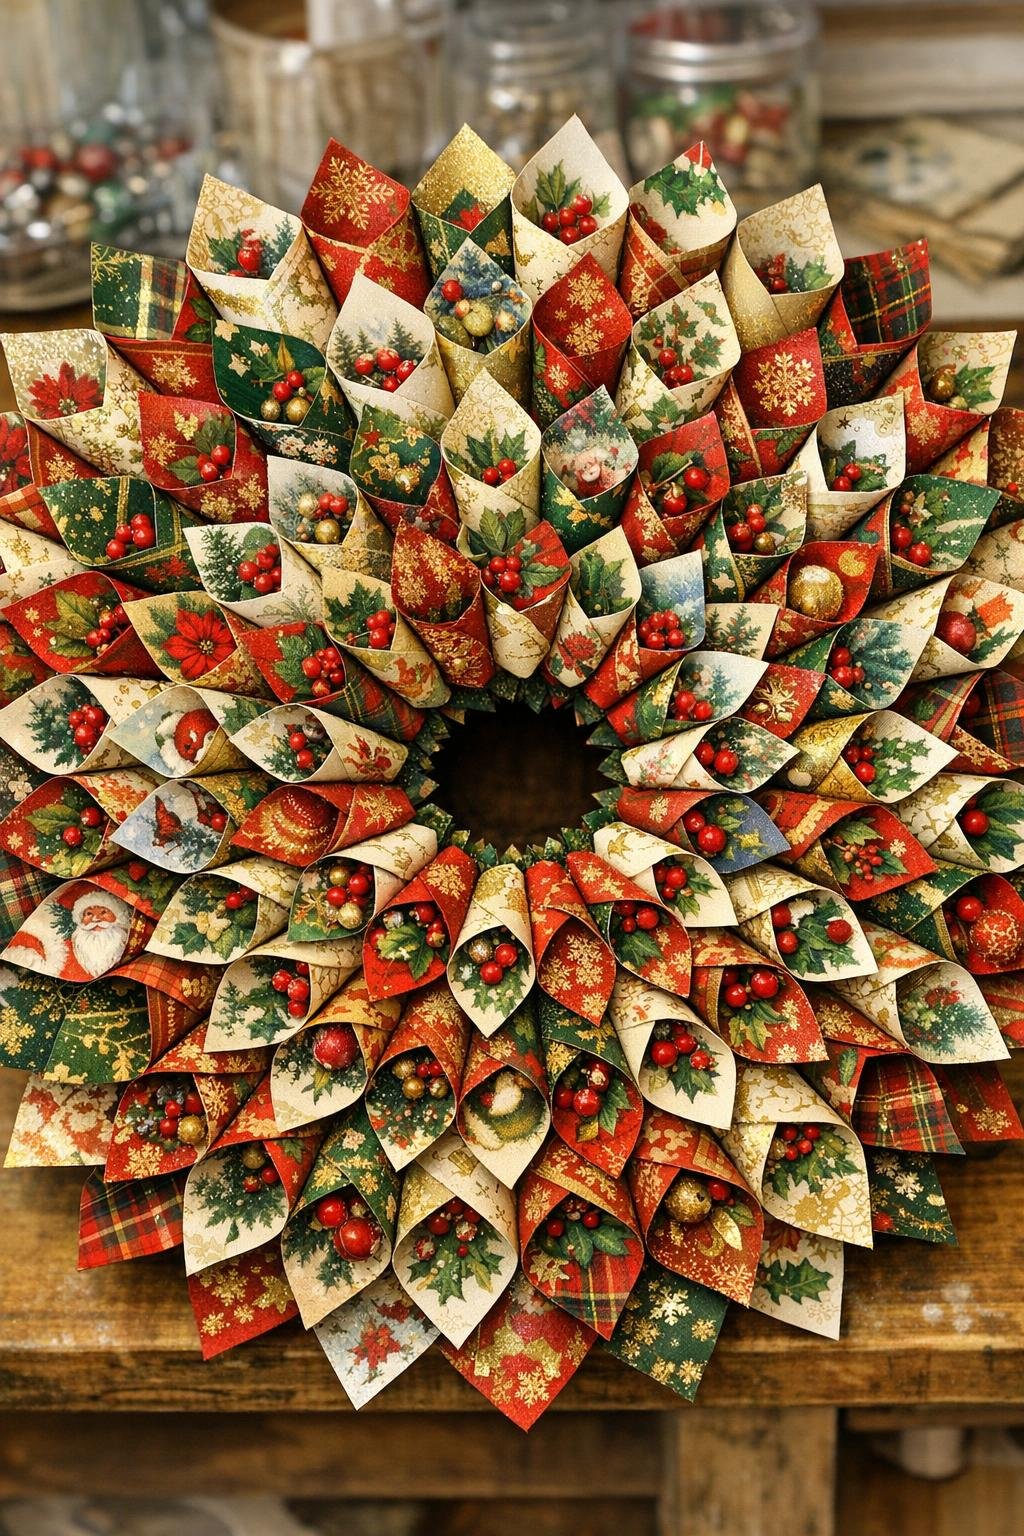
9. Glue mini pinecones or buttons into the center opening in a tight cluster, covering the staples and giving the middle a tidy finished look.
10. Cut a 20-inch length of the red velvet ribbon, loop it for a hanger, and glue or staple it securely to the back top of the wreath.
11. Use the remaining ribbon to tie a small bow and glue it at the top or bottom of the wreath, wherever your card images look most balanced.
12. Let all the glue cool completely, then fluff and nudge the cones into place so the circle looks even and generously filled from every angle.

Variations & Tips
For a more Victorian look: Choose cards with roses, angels, Father Christmas, sheet music prints, and muted reds and greens. A slightly mismatched collection often looks more charming than a perfectly coordinated one.
If your cards are thin: Roll them tighter and staple a little closer to the edge so the cones hold their shape. You can also add a dot of hot glue inside the seam before stapling.
For fuller coverage: Tuck in 4 to 6 extra small cones made from card backs or trimmed leftovers anywhere the wreath looks bare. I’ve learned over the years that holiday projects nearly always benefit from one more layer.
Center options: Mini pinecones give a warm old-country feel, while buttons make it look a little more parlor-pretty. If you have a grandmother’s button tin, this is a lovely place to use a few special ones.
Hanging tip: If you use a cardboard ring, make the ribbon hanger extra secure with both staples and hot glue. That little bit of reinforcement goes a long way, especially if the wreath will be stored and reused.
Storage tip: Lay the wreath flat in a shallow box with tissue paper around the edges so the cones don’t get crushed. Kept dry and out of direct sunlight, it should last for many Christmas seasons.