
There’s something mighty satisfying about turning the plainest little household things into something that looks fit for a holiday centerpiece. I’ve always had a soft spot for projects like that—the kind where you stand back at the end and think, “Well now, who would ever guess that started with three humble mixing bowls?” This one is especially good for folks who enjoy a little sparkle and don’t mind an afternoon with a glue gun.
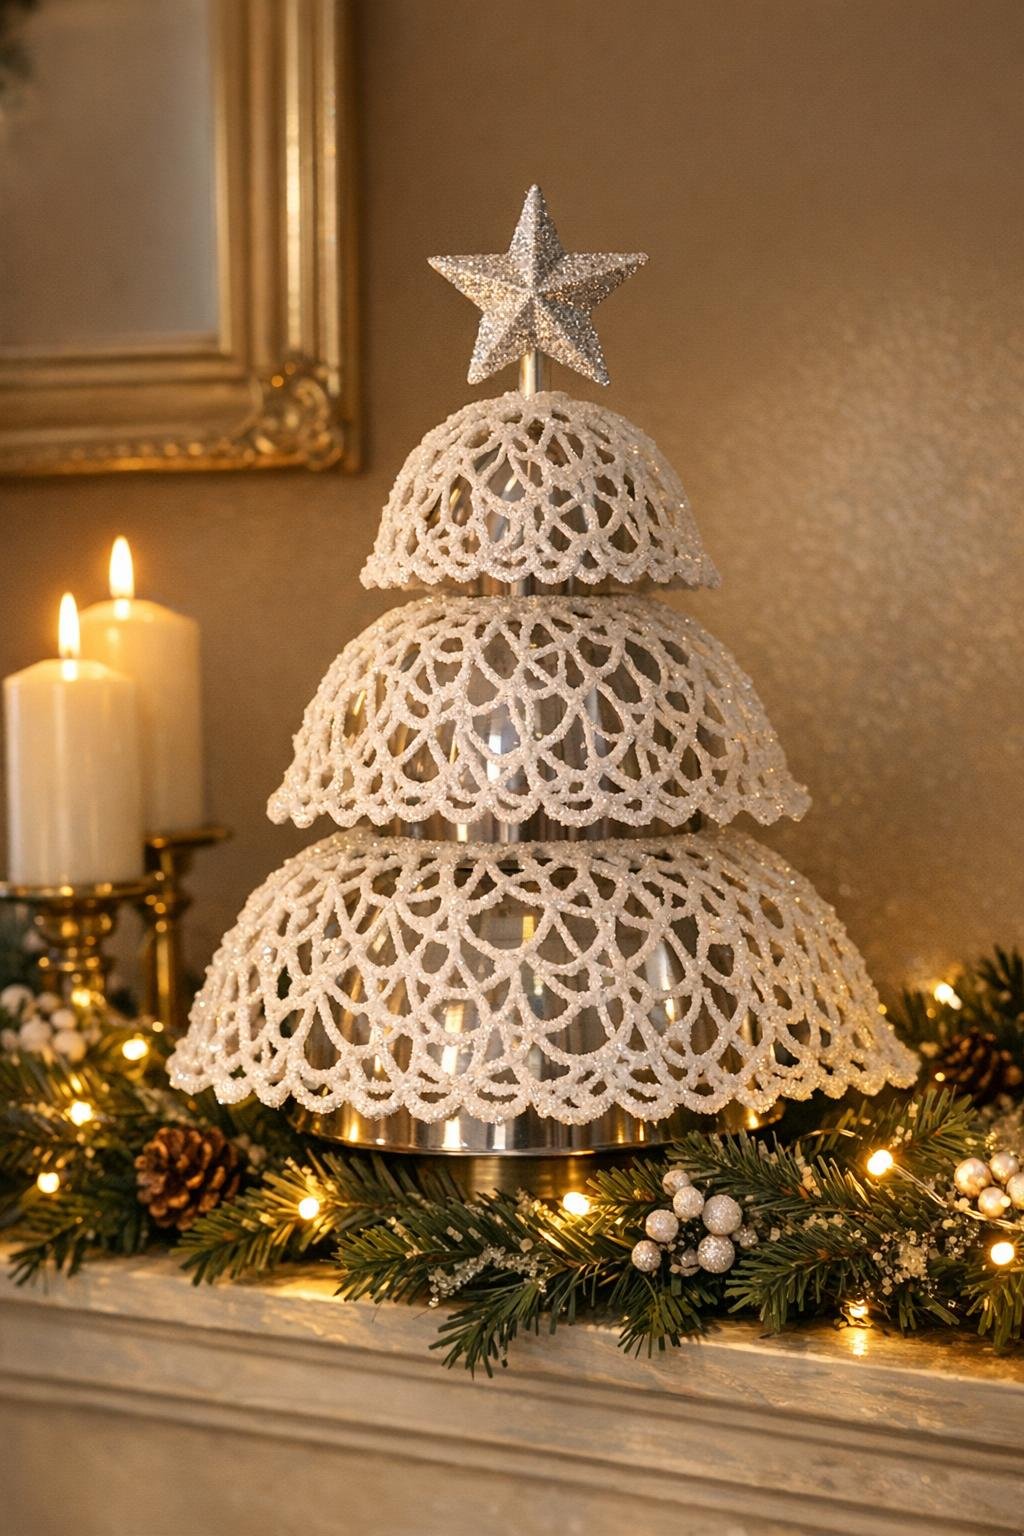
If you like easy Christmas crafts that look far fussier than they really are, this is a lovely one to try. The shape does most of the work for you, and the layers build up into something airy, lacy, and dramatic without needing fancy tools or hard-to-find supplies. I’d set this on a mantel, an entry table, or right in the middle of a holiday buffet where it can catch the light.
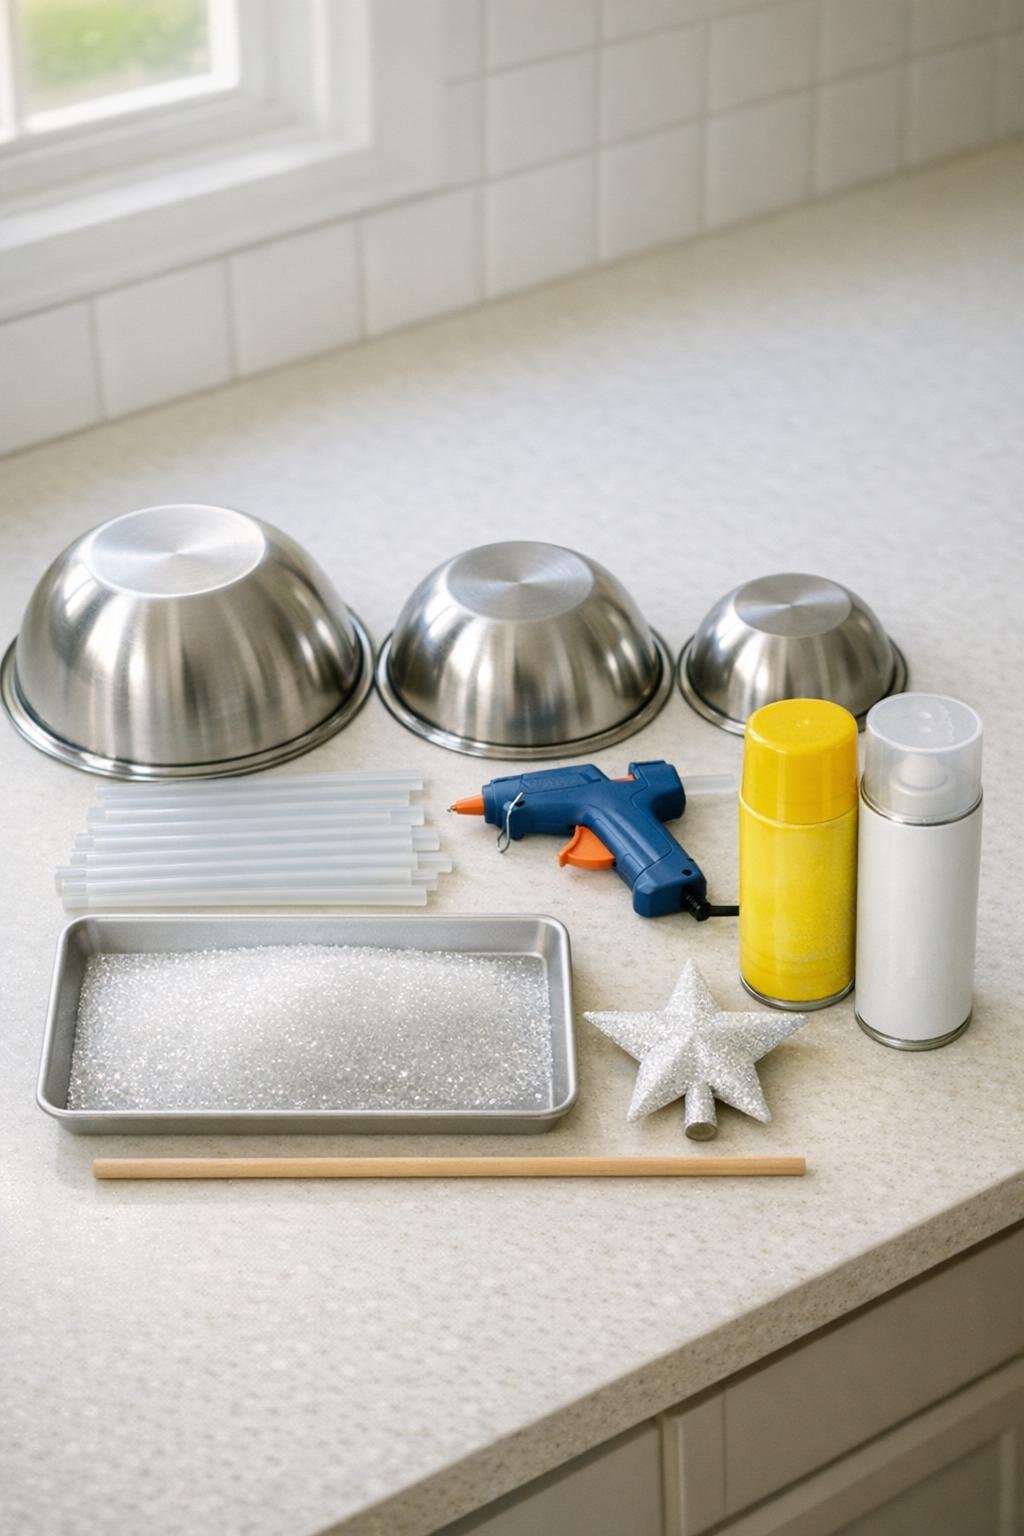
Materials
Instructions
1. Wash and dry the three mixing bowls well, then turn them upside down and lightly coat the outside bottoms and sides with cooking spray, wiping away any drips so only a thin slick layer remains.
2. Set the largest bowl upside down on parchment paper and begin drawing loose, looping hot glue lines all over the outside, letting the lines cross and connect until you have a sturdy lace shell with very few gaps larger than 1 inch.
3. Add a second pass of glue anywhere the design looks flimsy, especially around the lower edge and near the center top, then let the bowl sit until the glue is fully cool and firm.
4. Repeat the same looping glue pattern on the medium and small bowls, keeping the coverage generous so each dome can hold its shape when lifted off.
5. Gently peel the cooled glue domes off the bowls, easing around the edges first and then lifting from the top; trim away any stringy glue threads with scissors if needed.
6. Cut the wooden dowel to fit if necessary, then test-stack the three glue domes from largest to smallest so they form a tall tree shape with even spacing and a straight center line.
7. Spray-paint all three glue domes and the dowel white in light coats, covering every shiny clear spot, and let them dry completely before handling again.
8. Pour the white and iridescent glitter into a shallow tray, brush or drizzle a fresh thin layer of hot glue in small sections over each white dome, and immediately sprinkle glitter heavily so the surface looks snowy and full.
9. Coat all three domes the same way, tapping off the excess between sections, and add an extra dusting on the edges and intersections so the lace pattern really catches the light.
10. Run the dowel through the center openings and glue the largest dome at the base, the medium dome above it, and the smallest dome at the top, overlapping them slightly so they read as one full tree rather than three separate pieces.
11. Glue the star topper onto the top of the dowel, then add a few extra glue dots and a pinch of glitter anywhere the tree needs more fullness or sparkle.
12. Finish with a light coat of clear acrylic sealer to help hold the glitter in place, let everything dry thoroughly, and display the piece where it can shine without being bumped around.
Variations & Tips
For extra sparkle: Mix chunky iridescent glitter with the fine glitter just on the outer edges and top dome. That catches the light beautifully without making the whole piece look heavy.
If your glue lines collapse: Let each section cool before adding too many new loops over it. I’ve found a patient hand works better than trying to rush all the scribbling at once.
For a fuller look: Don’t be shy about the glue pattern. The prettiest result comes from lots of overlapping loops and swirls, especially around the rim of each dome where the tree needs visual weight.
Color change: Silver spray paint under the glitter gives a frosty, icy look, while champagne or pale gold makes it feel dressed up for a more formal holiday table.
Display tip: If you’re setting this on a buffet or entry table, nestle it on a small bed of faux pine or a round mirror. That little finishing touch makes the sparkle bounce around twice as much.
Storage: Keep the tree in a tall box with tissue tucked around the sides, not pressed into the lace openings. Hot glue holds nicely, but gentle storage will keep those airy details from getting bent.