
There are a few projects that feel almost too simple for how striking they turn out, and this is one of them. You start with plain paper cones, a layer of plastic wrap, and lots of loose hot-glue scribbles, and the transformation is surprisingly beautiful. I love crafts like this because they look special enough for holiday decorating, winter parties, or a cozy mantel, but the actual process is very manageable.
If you like easy, hands-on decorating projects that don’t require perfect precision, this one is for you. I especially recommend it if you want something lightweight, inexpensive, and dramatic once the room gets dim. I’ve made versions of these while helping kids with school projects and while decorating for family gatherings, and the best results always come from being generous with the glue so the finished shape feels airy but still sturdy.
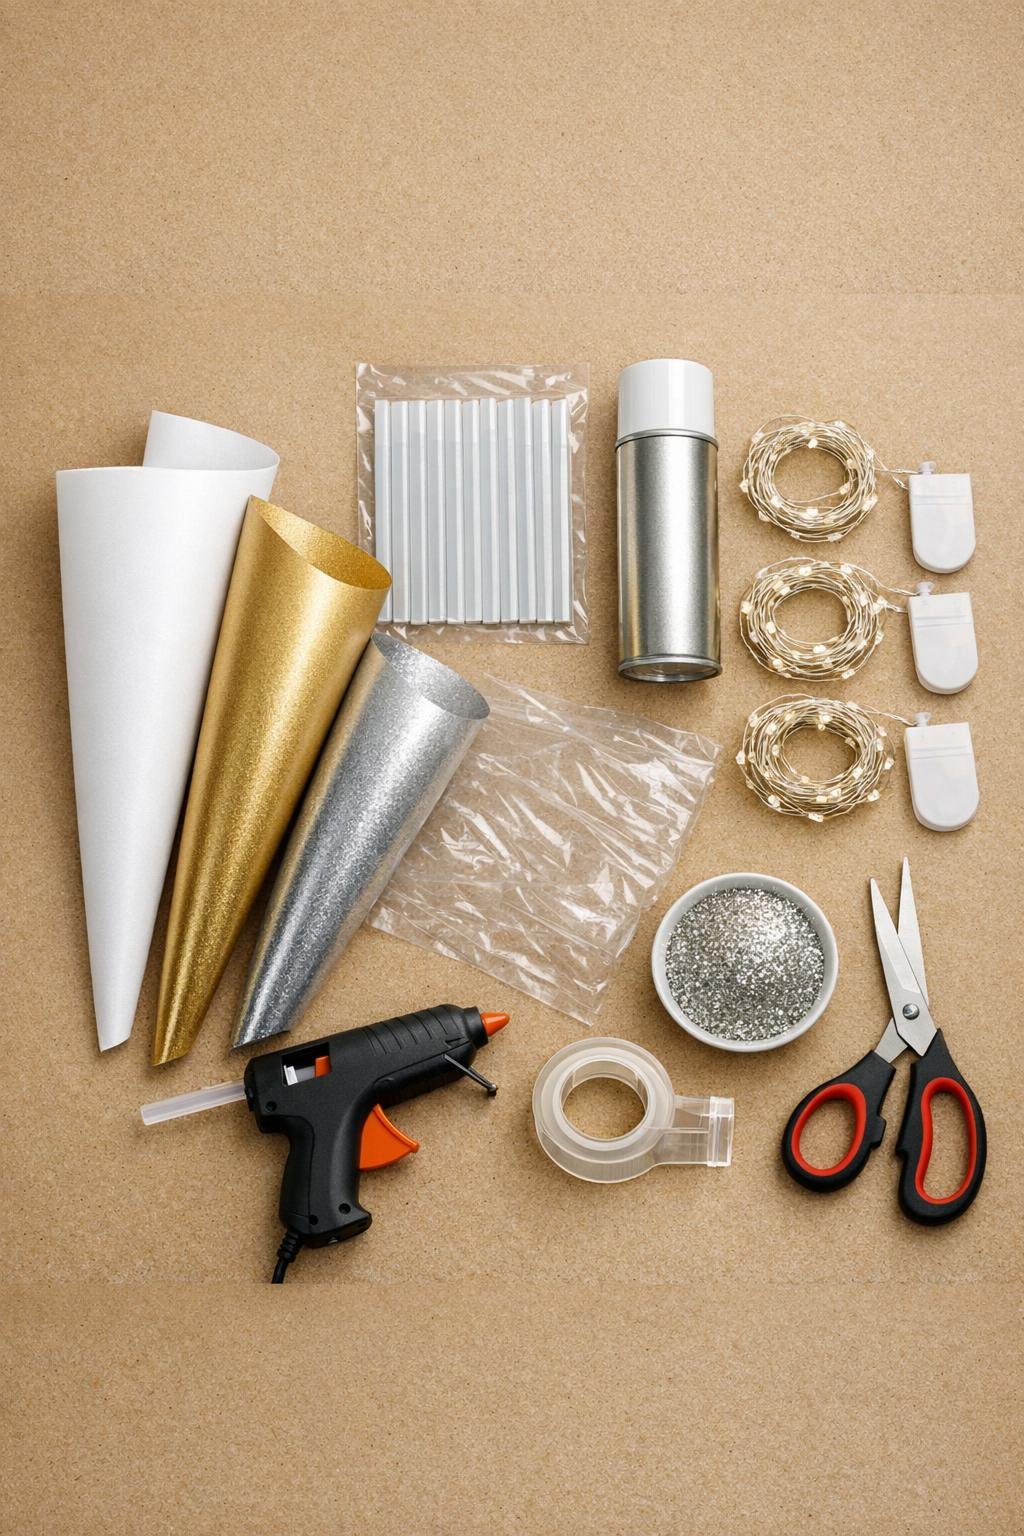
Materials
Instructions
1. Roll the 3 poster board sheets into cones in small, medium, and tall sizes, then tape the seams firmly so each cone holds its shape. Trim the bottoms flat so the cones stand upright without wobbling.
2. Wrap each cone completely in clear plastic wrap, overlapping the layers so no paper is exposed. Twist or tuck the wrap at the tip and smooth it around the sides so the glue will release later.
3. Heat the glue gun fully, then begin at the base of the tallest cone, drawing loose looping lines around the cone and gradually working upward. Keep the lines connected so you create an open lace shell instead of separate strands.
4. Add more glue in crisscrossing sweeps, especially around the bottom third and the middle, until the cone looks generously webbed and stable. Leave small open spaces throughout, but don’t make it sparse or the shell will feel flimsy.
5. Repeat the same scribble-glue pattern on the medium and small cones, using slightly tighter loops near the tips so they keep a clean tree shape. Let all 3 glue shells cool completely for 10 to 15 minutes.
6. Gently twist and squeeze each paper cone to loosen it, then slide the poster board form out from the glued shell. Peel away all the plastic wrap from the inside so you’re left with hollow freestanding lace cones.
7. Trim away any long glue strings with scissors, and add a few extra glue lines anywhere the structure looks too open or weak. If you want sparkle, lightly dust glitter onto fresh glue accents or plan to add it over paint in the next step.
8. For a snowy or metallic finish, spray the cones lightly with white or gold paint in thin coats, turning them as you work for even coverage. While the final coat is still slightly tacky, sprinkle on a light layer of glitter if you’d like a little shimmer.
9. Coil one string of battery fairy lights inside each cone, keeping the battery pack near the back at the base where it can be hidden but still reached. Tuck a few bulbs up toward the top so the whole cone glows evenly from bottom to tip.
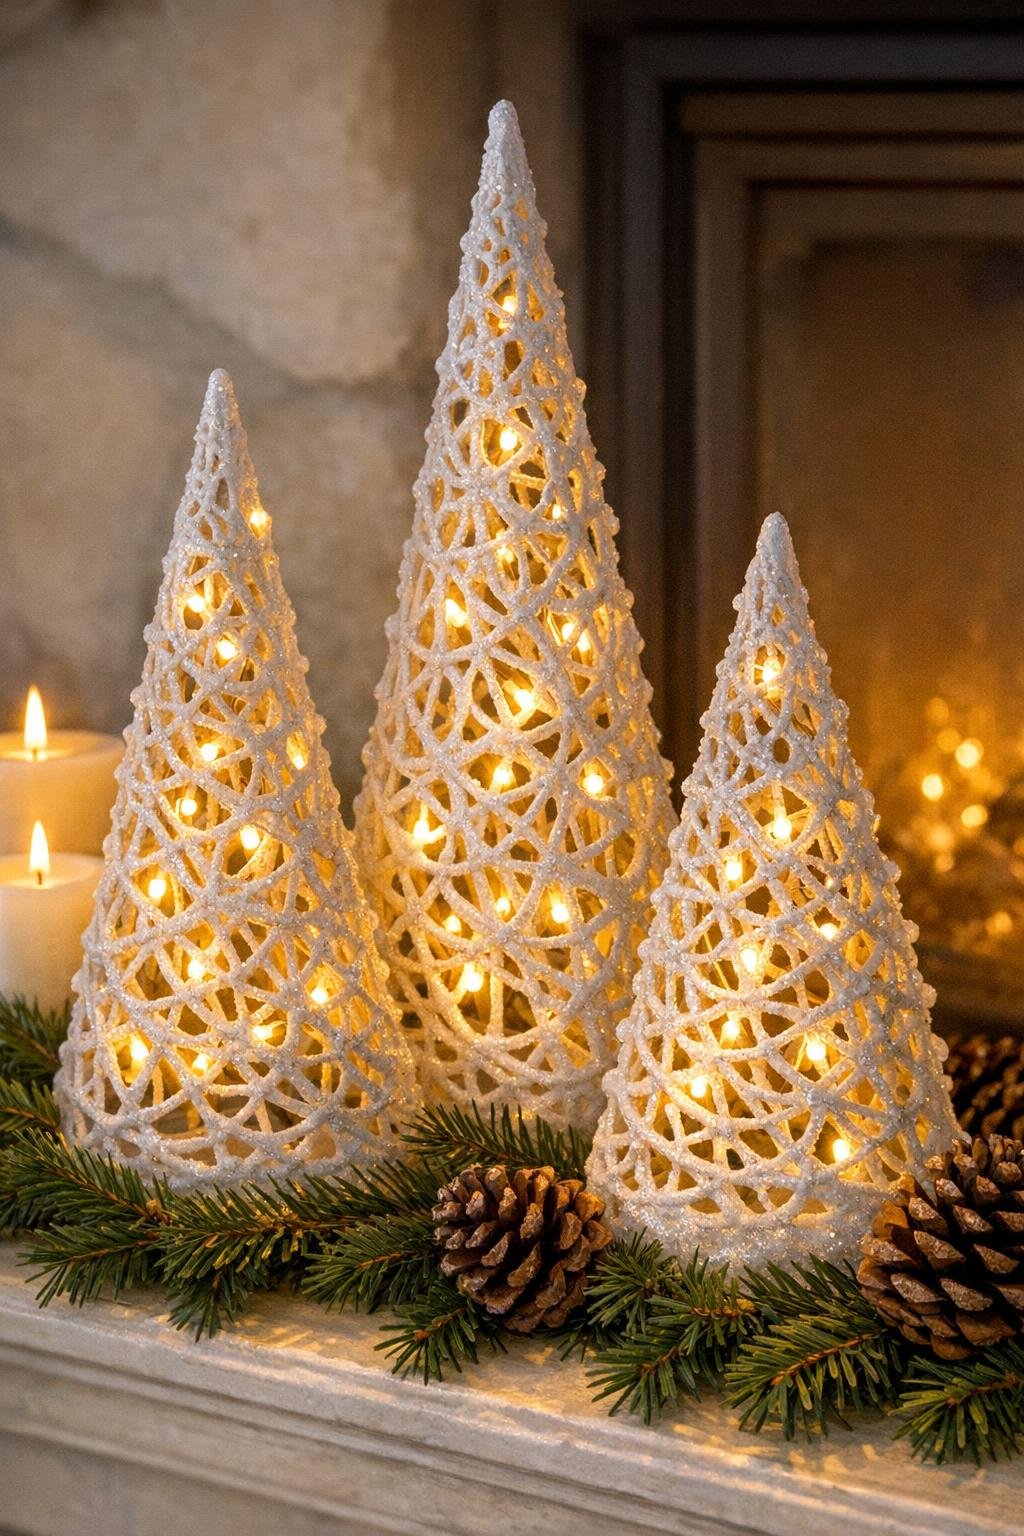
10. Arrange the 3 finished cones together with the tallest in back and the smallest in front, then switch on the lights and adjust the strands until the glow looks full and balanced. If needed, add a tiny dot of hot glue inside the base to keep a battery pack from shifting.
Variations & Tips
Foam cone shortcut: If you’re using 3 foam cones instead of poster board, wrap them in plastic wrap the same way and build the glue directly over them. I still like removing the cones afterward so the trees stay lightweight and glow better.
Color choice: White gives a snowy, soft look, while gold feels dressier and a little more glamorous. In my house, white is easier to blend with the rest of our winter decorations, especially when I’m already using warm lights and greenery.
For picky decorators: If not everyone in your family likes glitter, leave one tree plain, make one matte white, and add sparkle only to the tallest tree. That way the set still looks coordinated without being overly shiny.
Make them sturdier: The trick is layering enough glue, especially around the base and through the middle. If a cone feels bendy when you remove the form, just lay it on its side and add a few more connected loops before painting.
Best lighting result: Use warm white fairy lights for the coziest glow and spread the strand instead of stuffing it into one clump. I usually turn the lights on before I’m fully done arranging them so I can see where the dark spots are.
Where to display them: These look lovely on a mantel, buffet, entry table, or as a dining table centerpiece. I like grouping the three together on a tray or runner so they feel intentional and easy to move.
Storage tip: Because the glue shells are lightweight, nest them carefully in a box with tissue paper around them and remove the batteries before packing away the light strands. They hold up nicely if you don’t crush the sides.