
There’s something deeply satisfying about taking the most ordinary dollar-store supply and coaxing it into something that catches the light like cut crystal. This project starts with a pile of clear plastic spoons and a steady squeeze of hot glue, then builds into a delicate ornament that looks far more special than its parts would suggest. If you enjoy easy assembly projects with a dramatic payoff, this one is wonderfully approachable.
I like crafts like this for the same reason I love a good pantry recipe: a humble ingredient can become unexpectedly elegant with the right technique. This project is ideal for winter decorating, gift toppers, keepsake ornaments, or a sweet handmade accent for a mantel or small tree, and it’s simple enough for a patient beginner while still being polished enough to feel truly gift-worthy.
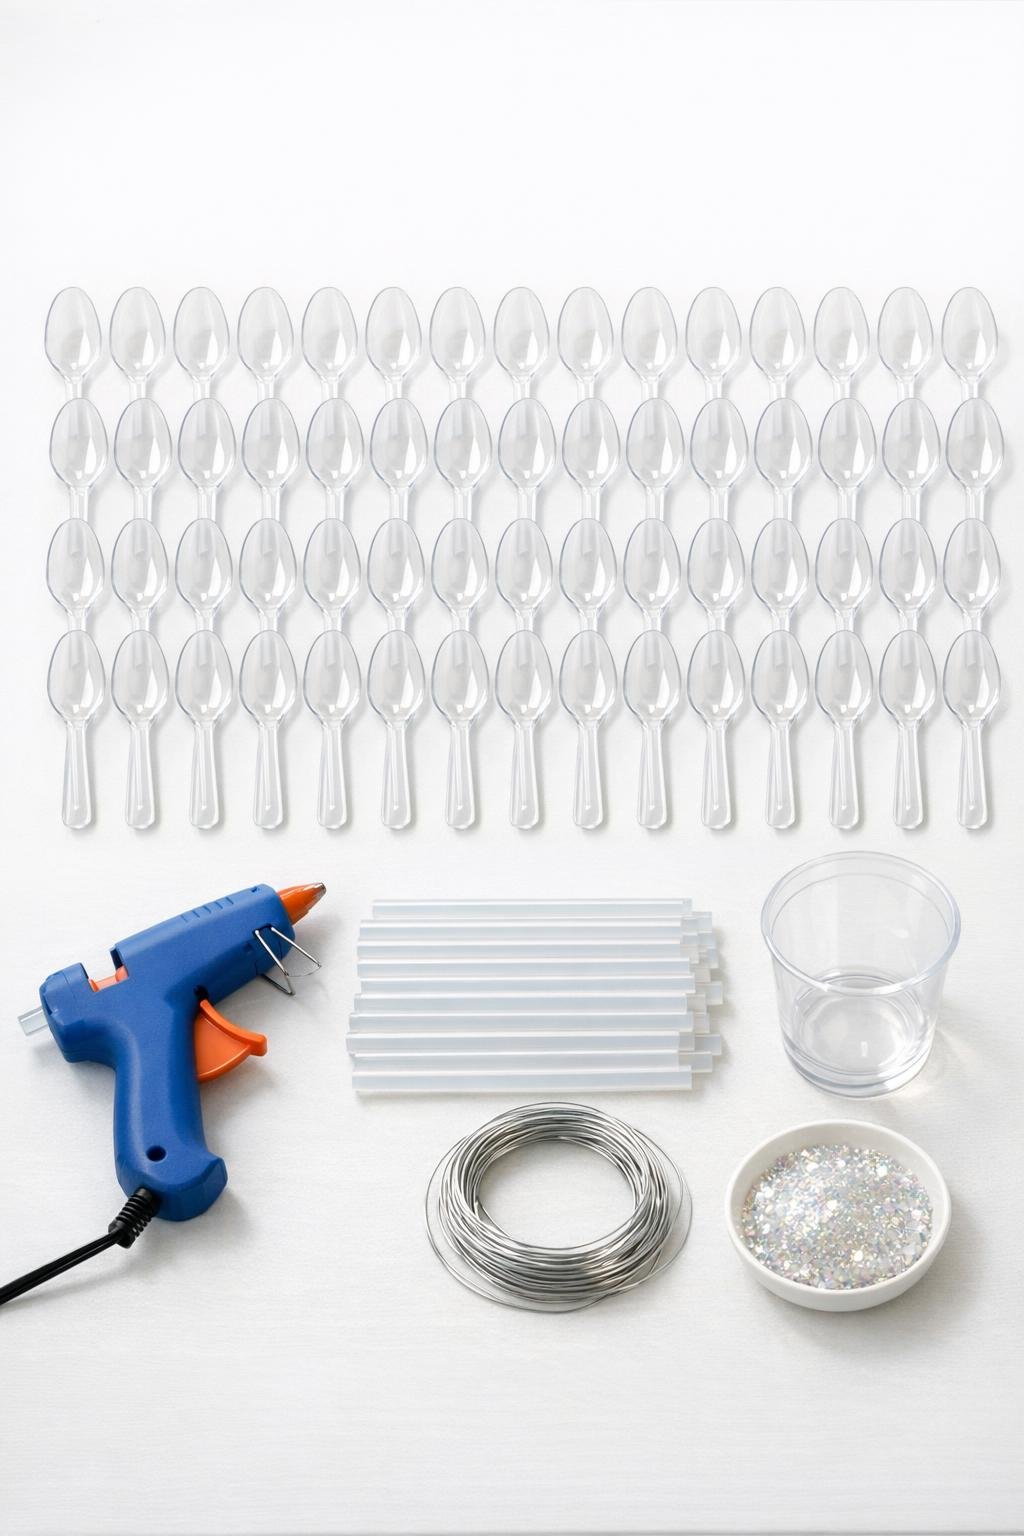
Materials
48 clear plastic spoons, full-size disposable spoons
Instructions
1. Cover your work surface with parchment paper or a silicone mat, plug in the glue gun, and line up all 48 spoons bowl-side up so you can work assembly-line style.
2. Fill the bowl of each spoon with a rounded puddle of clear hot glue, stopping just shy of the rim so the glue settles into a smooth domed insert. Work in rows and let the spoons cool completely until the glue turns firm and glassy.
3. Sprinkle iridescent glitter lightly over the glue in 24 of the spoons while the surface is still tacky, leaving the other 24 clear for contrast and sparkle. Tap off any excess once the glue has set.
4. Cut the handles off 40 spoons, trimming as close to the bowl as possible so you’re left with smooth oval “petals.” Save 8 spoons with their handles attached for the center body, wings, and hanging support.
5. Cut the rim off the clear plastic cup, then cut down the side and trim out a 3-inch-tall smooth oval for the angel’s head and upper torso. Round the edges with scissors so there are no sharp corners.
6. Bend the craft wire into a 3-inch loop for hanging, twist the ends together, and hot glue the twisted end to the back of the plastic cup torso near the top. Cover that glued area with one whole spoon, bowl facing outward, to lock the hanger in place.
7. Glue two whole spoons vertically to the front and back of the lower torso with the handles pointing down to begin the body and create a sturdy center line. Add two more whole spoons diagonally on the back, bowl sides out, to start the wings.
8. Build the skirt by gluing trimmed spoon bowls around the lower body in a full first row, overlapping the edges slightly and alternating clear and glittered pieces. Use 12 to 14 spoon bowls in this row so the shape looks full and flared rather than narrow.
9. Add a second skirt row above the first with 10 to 12 more trimmed spoon bowls, staggering the seams like shingles for dense coverage. Keep the bowls tilted slightly outward so the dress catches the light from multiple angles.
10. Finish the dress with a third, shorter top row of 6 to 8 spoon bowls around the waist and chest, closing any visible gaps. Press each piece for a few seconds until set so the body stays symmetrical.
11. Expand the wings by gluing 8 trimmed spoon bowls to each side on the back, layering from the center outward in two arcing rows. Mix plain and glittered bowls so the wings look airy and luminous instead of solid.
12. Cut a narrow strip from the leftover cup plastic, curl it gently, and glue it across the top of the head area as a simple halo or hair band. If you like extra sparkle, dust a tiny bit more glitter onto the warm glue.
13. Fill any thin spots with the remaining spoon bowls, especially at the shoulders, outer wings, and hemline, until the angel looks balanced and generously covered from every angle. Let the entire piece cool undisturbed for 10 minutes.
14. Hang the ornament and check the silhouette; if one side droops, add a small bead of hot glue behind that section as a hidden brace. Once the glue is fully hardened, your piece is ready to display.
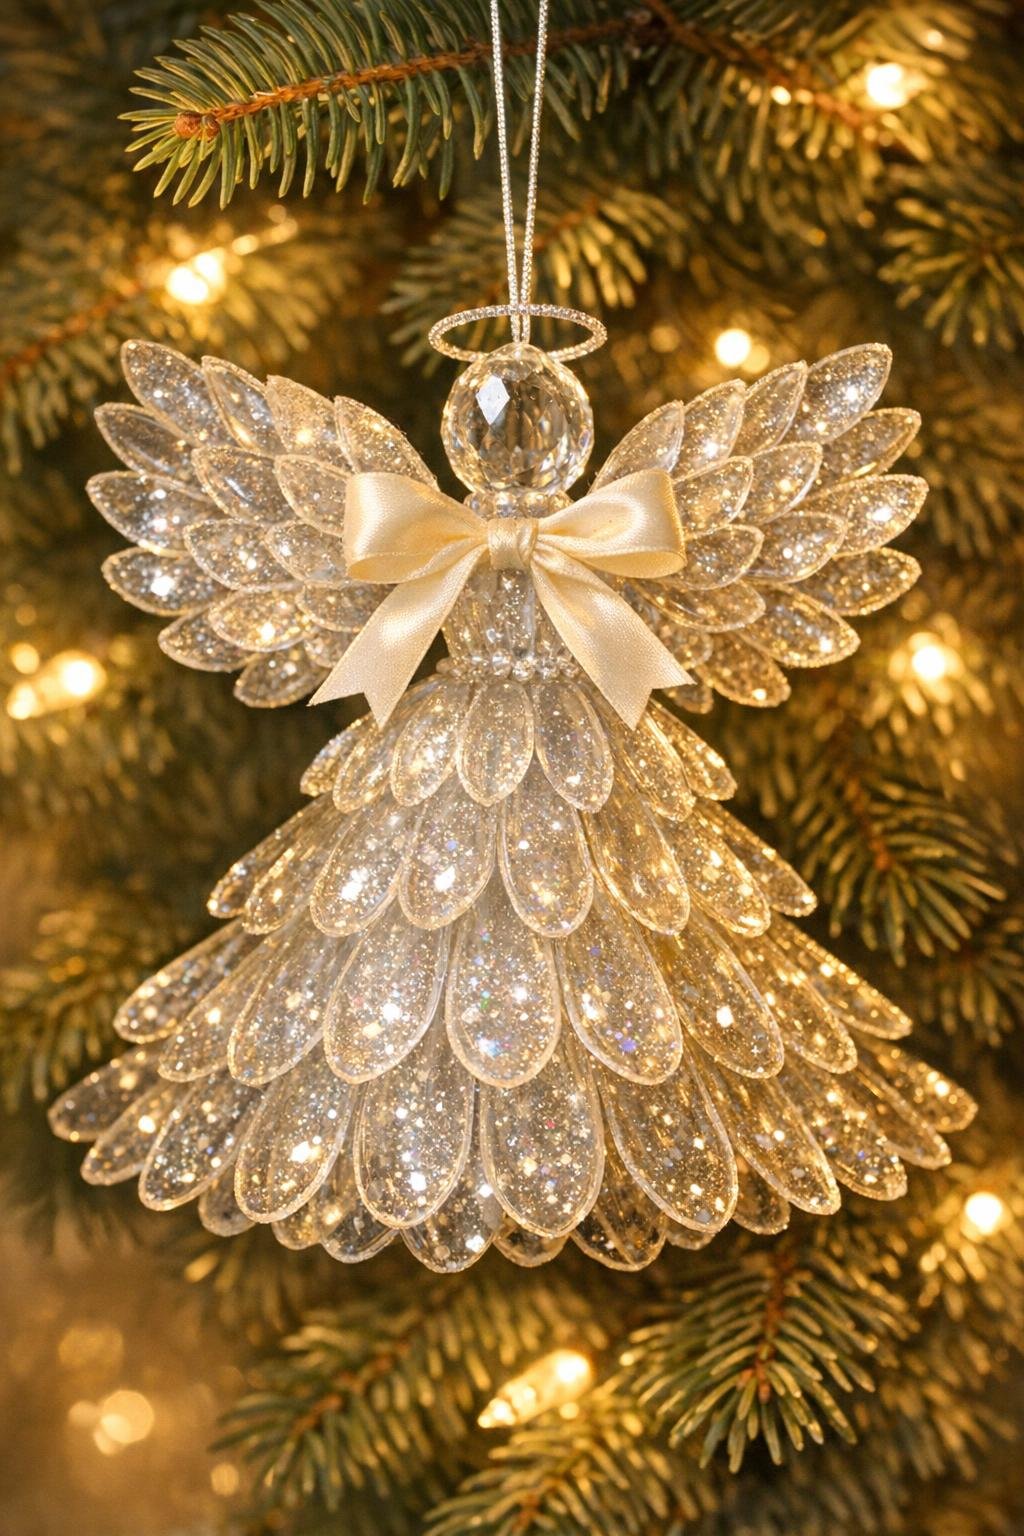
Variations & Tips
For a fuller gown: If your spoons run slightly small, use the cup plastic to cut one extra backing circle for the skirt base, then glue your first row to that before attaching it to the body. It makes the bottom edge read much more lush.
For cleaner glue “crystals”: Low-temperature glue gives you more control and usually dries clearer in plastic spoons. If a spoon gets stringy, let it cool fully and peel away the fine threads before assembly.
For more shimmer: I prefer glitter in only part of the spoons because it lets the clear ones do the heavy lifting visually, much the way a cook knows not every ingredient should shout at once. The contrast makes the finished piece brighter and more dimensional.
For a tree ornament: Keep the project exactly as written and hang it from a sturdy inner branch. If you want it for a wreath or wall hook instead, make the hanger loop 5 inches long so it drops neatly into view.
To make it look more polished: Add a tiny satin bow at the neck or a single faux pearl at the center chest after assembly. Those little finishing touches make a simple dollar-store craft look intentional rather than improvised.
For safe storage: Wrap the angel loosely in tissue and store it in a box where the wings won’t be pressed flat. Hot glue and thin plastic hold up well, but they can bend if packed too tightly.