
There are a few craft projects that make people stop mid-sentence and ask, “Wait, what is that made from?” and this is one of them. Starting with a pile of inexpensive clear plastic forks and a little hot glue, you can build a sparkling winter decoration that looks icy, light-catching, and far fancier than its humble materials would suggest.
I love projects like this for the colder months, especially when I want something dramatic without needing complicated tools or hard-to-find supplies. If you enjoy dollar-store crafts, table decorations, or winter décor with a little shimmer, this one is very doable. The trick is simply repeating one easy step enough times to get that full, magical payoff.
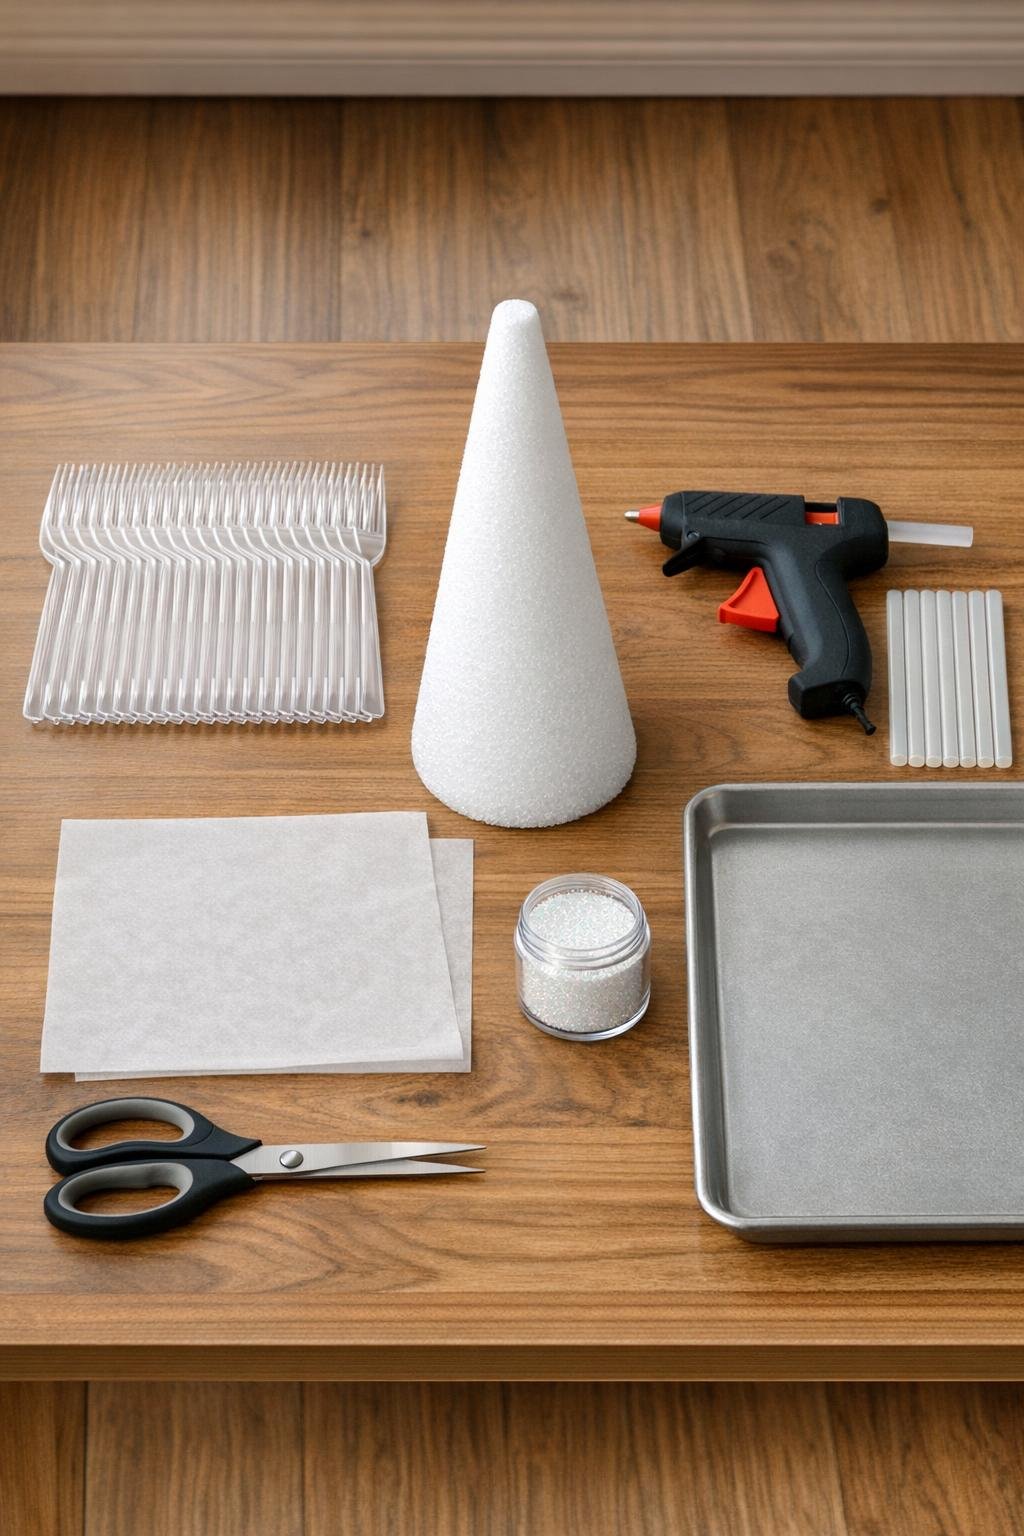
Materials
Instructions
1. Cover your work surface with scrap paper, set out the parchment-lined baking sheet, and plug in the glue gun so it’s fully hot before you begin.
2. Arrange the 50 clear forks in tight rows on the parchment paper with the tines facing up, just like a little assembly line, so you can work quickly while the glue flows smoothly.
3. Starting at the base of one fork’s tines, slowly squeeze hot glue in thin lines between the tines and slightly beyond the tips to create drippy icicle shapes; repeat until all 50 forks have a generous icy fill.
4. While the glue is still warm on every few forks, sprinkle iridescent glitter lightly over the glued tines so it sticks to the surface without turning cloudy or heavy.
5. Let the forks cool completely for 10 to 15 minutes, then gently lift each one from the parchment paper and check that the glue icicles are firm and cleanly set.
6. Cut the handles off 20 forks right where the wider fork head begins, leaving the full fork heads for the lower layers of the tree.
7. Cut the handles off another 20 forks about 1 inch below the fork heads, giving you a small stem on each piece that helps with angled gluing through the middle section.
8. Leave the final 10 forks full length for the upper section and topper area, where the longer handles make placement easier as the cone narrows.
9. Begin at the bottom edge of the foam cone and hot glue the short fork-head pieces around the base, overlapping them slightly so the tines flare outward and create a full first ring.
10. Add a second and third ring above the base, staggering the forks so the seams are covered and the cone starts looking dense instead of striped.
11. Switch to the medium stem pieces for the middle of the cone, gluing each row at a slight upward angle and overlapping the previous row by about one-third for lush coverage.
12. Continue building upward in tight rings, turning the cone as you go and filling any thin spots right away with an extra fork piece so no foam peeks through from the front.
13. Use the full-length forks near the top, tucking the handles into the narrowing cone with hot glue so the upper section stays full without bulky gaps.
14. For the very top, glue 3 to 5 of the longest fork pieces upright in a tight cluster, then angle 2 or 3 more around them to create a pointed icy crown.
15. Dust a final light coat of glitter over any fresh glue lines, then let the whole piece sit undisturbed for at least 20 minutes before moving it.
16. Set the finished piece on a mantel, dining table, entry table, or winter centerpiece tray where the light can shine through the clear layers and show off all that sparkle.

Variations & Tips
For extra sparkle: Mix fine silver glitter with the iridescent glitter if you want a frostier, brighter finish that really pops at night under lamplight.
If you want a taller tree: Move up to a 15- or 16-inch foam cone and plan on using 70 to 80 forks so the coverage still looks rich and full instead of skimpy.
For picky decorators: In my house, everybody likes to “vote” on how much glitter is enough, so if you have family members who prefer less shimmer, keep some forks plain and mix them in for a cleaner ice look.
Make it steadier: If your cone feels lightweight, glue it to a small round wood slice or sturdy coaster before adding the forks so it has a more secure base on a table or mantel.
Hide glue strings: Once the project is fully cooled, gently pull away any fine hot glue threads with your fingers or the tip of the scissors for a tidier finished look.
Color option: A whisper of pearl white spray on the finished tree can soften the clear plastic look, but spray lightly so the fork texture and icy glue details still show through.
Storage tip: Wrap the tree loosely in tissue paper and store it upright in a tall box, because the layered fork tips can catch if they’re pressed into something tight.