
I love a garden helper that solves a real problem and still looks charming tucked between plants. This little end-of-season bulb planting depth marker starts with cut squares of wire hardware cloth, then uses two inexpensive dollar store finds to turn them into sturdy, reusable markers that help you remember exactly how deep to plant tulips, daffodils, alliums, and smaller bulbs next fall.
If you’re the kind of gardener who has stood in the chilly autumn air trying to remember whether that bulb needed 3 inches or 6, this is the kind of project that earns its keep year after year. It’s simple, practical, and polished enough that neighbors really do ask where you found it, especially once the wire is shaped neatly and the finished markers are dressed up with clean labels and a protective finish.
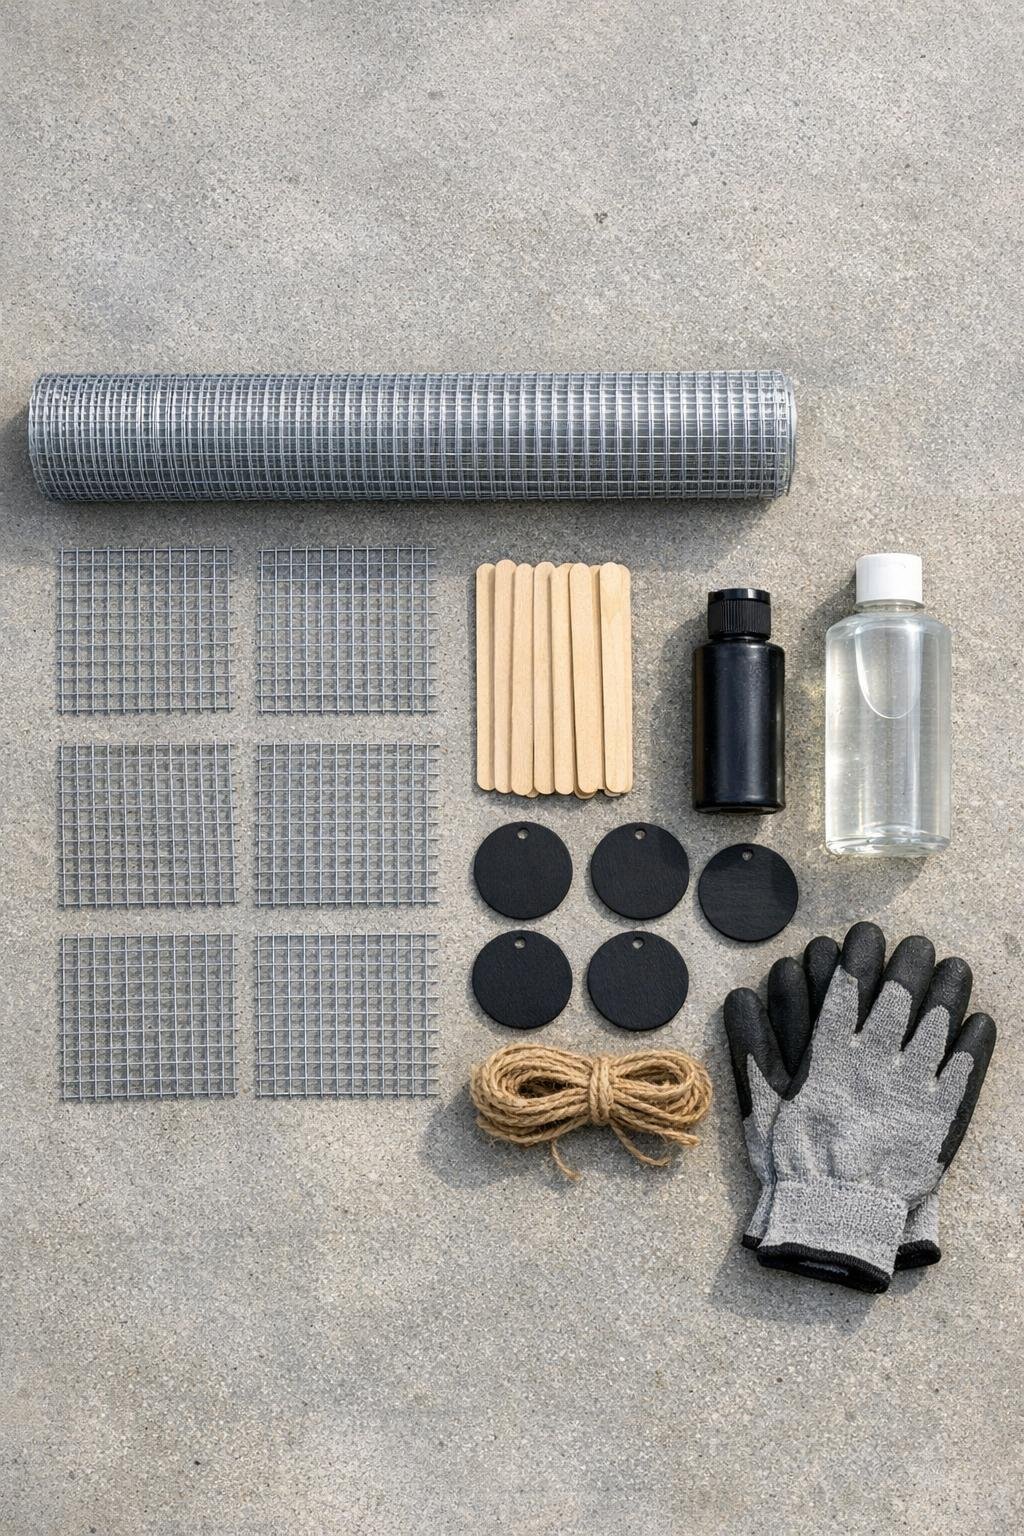
Materials
Instructions
1. Cut the hardware cloth into 8 squares, each 4 inches x 4 inches, using tin snips, and trim away any extra sharp points sticking out past the grid.
2. Fold the bottom row of each wire square under by one grid opening to create a smoother edge, then gently curve the square around a jar or can so it forms a shallow open scoop.
3. Lightly sand one side of each craft stick, then paint the sticks black and let them dry completely so they look more finished and coordinate with the tag tops.
4. Seal the painted craft sticks with a light coat of outdoor topcoat and let them dry; this extra step helps them hold up through damp soil and winter storage.
5. Paint the edges or front surface of the chalkboard-style tags if needed for a uniform finish, then write planting depths on them with the white paint pen, such as 2", 3", 4", 5", 6", 7", 8", and 9".
6. Hot glue one painted craft stick to the back of each wire scoop, centering it vertically so about 3 inches extends below the scoop to form the stake.
7. Reinforce the connection by threading a short piece of jute twine through the wire grid and around the craft stick near the top and bottom of the scoop, then knot it tightly on the back.
8. Attach one labeled tag to the top of each craft stick with hot glue, or tie it through a hole with jute if your tag style has one, keeping the label facing forward and easy to read.
9. Add a final light coat of outdoor sealer to the finished markers, avoiding heavy buildup on the written label, and let everything cure fully before putting them into the garden.
10. Use each marker as a planting-depth guide by setting the wire scoop at soil level and pressing the stake down beside your bulb hole; dig until the bottom of the hole aligns with the depth written on the marker, then store the set together when the season ends.
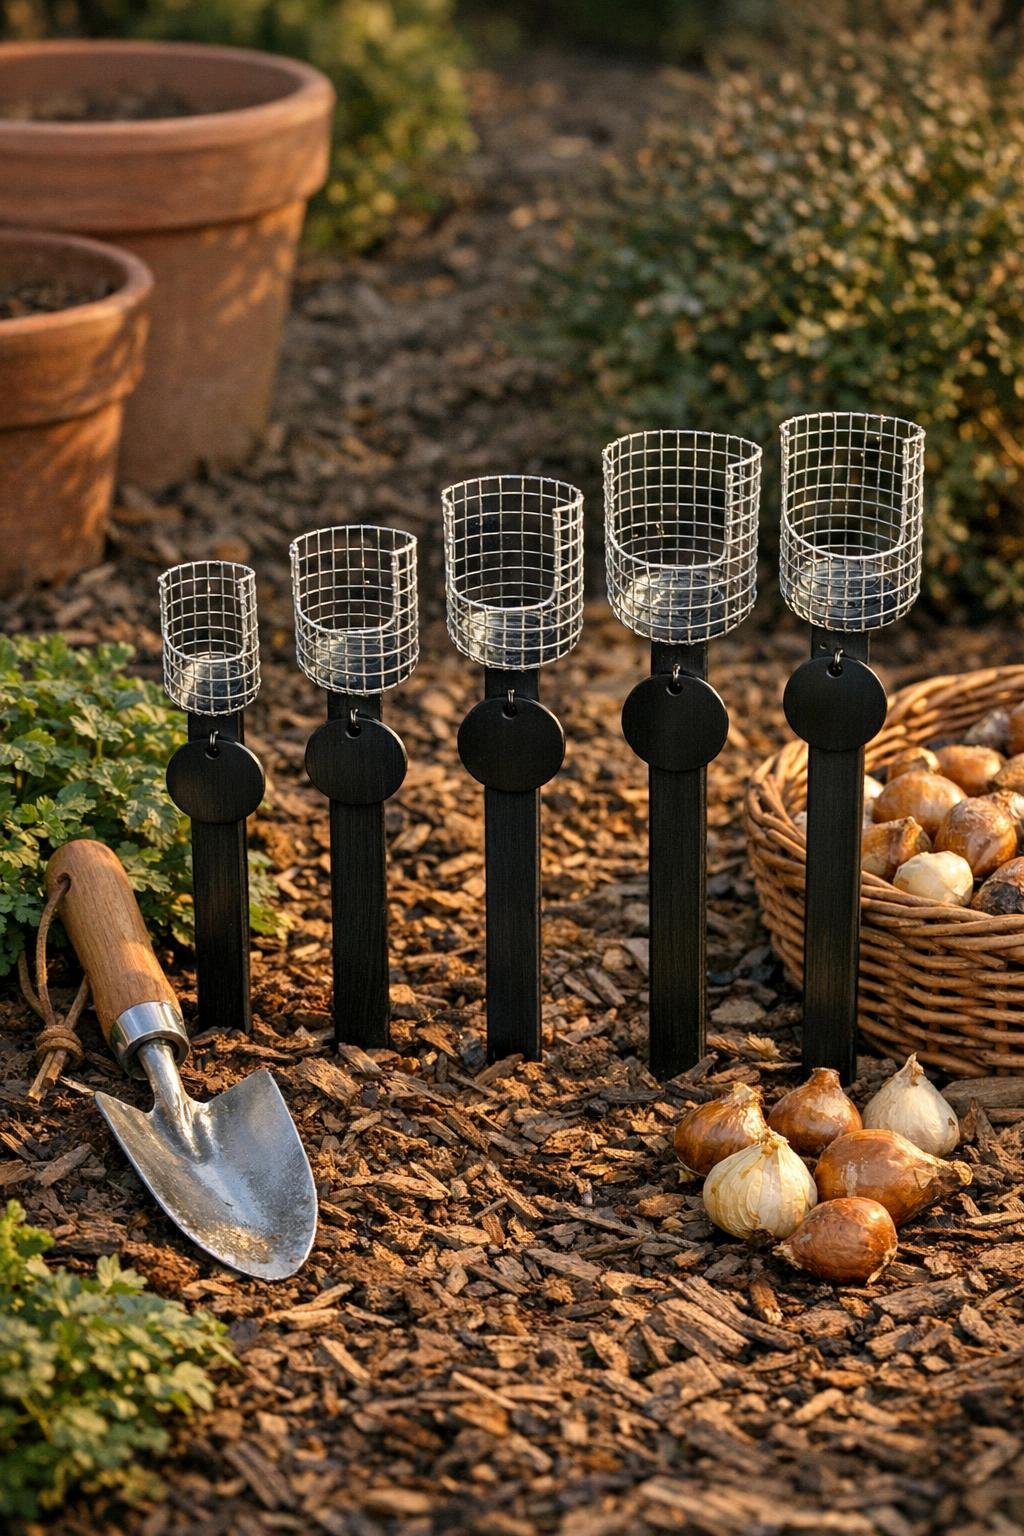
Variations & Tips
For specific bulb groups: Make one set just for large bulbs with 6-inch to 9-inch markers and a second set for smaller bulbs with 2-inch to 5-inch markers. I like separating them this way because it speeds up planting when my hands are cold.
If you want brighter visibility: Paint the tops of the stakes in deep green, rust, or cream instead of black. Those colors still look garden-appropriate but are easier to spot in a crowded shed or planting basket.
For longer life: If your dollar store tags are thin MDF or cardboard-based material, give them two coats of sealer instead of one. In Midwest weather, a little extra protection goes a long way.
To make them gift-worthy: Bundle the full set with a ribbon and pair it with a bag of bulbs and a hand trowel. It’s one of those practical gifts that looks surprisingly thoughtful.
For easier measuring: Keep the depth numbers in a logical sequence and make the wire scoops all the same width. Consistent sizing makes the set feel store-bought even though it came together from very humble materials.
Safety tip: Always wear gloves when cutting and shaping hardware cloth, and run your fingers carefully along every cut edge before finishing. Any sharp point left behind is easy to snip off early and annoying to discover later.