
There are a few holiday crafts that make me stop mid-scroll, and this is one of them. Melting clear pony beads inside star cookie cutters turns a handful of basic supplies into something glassy, sparkly, and honestly way more expensive-looking than it has any right to be. If you want a project that feels festive without requiring a giant craft haul or advanced skills, this one is such a good weekend win.
I also love that it fits real life. You can lay everything out, fill the cutters in one go, and then assemble the finished pieces pretty quickly once they cool. It’s a great craft for anyone who likes simple steps with a dramatic payoff, especially if you want a holiday decoration that catches the light and looks magical on a shelf, entry table, or mantel.
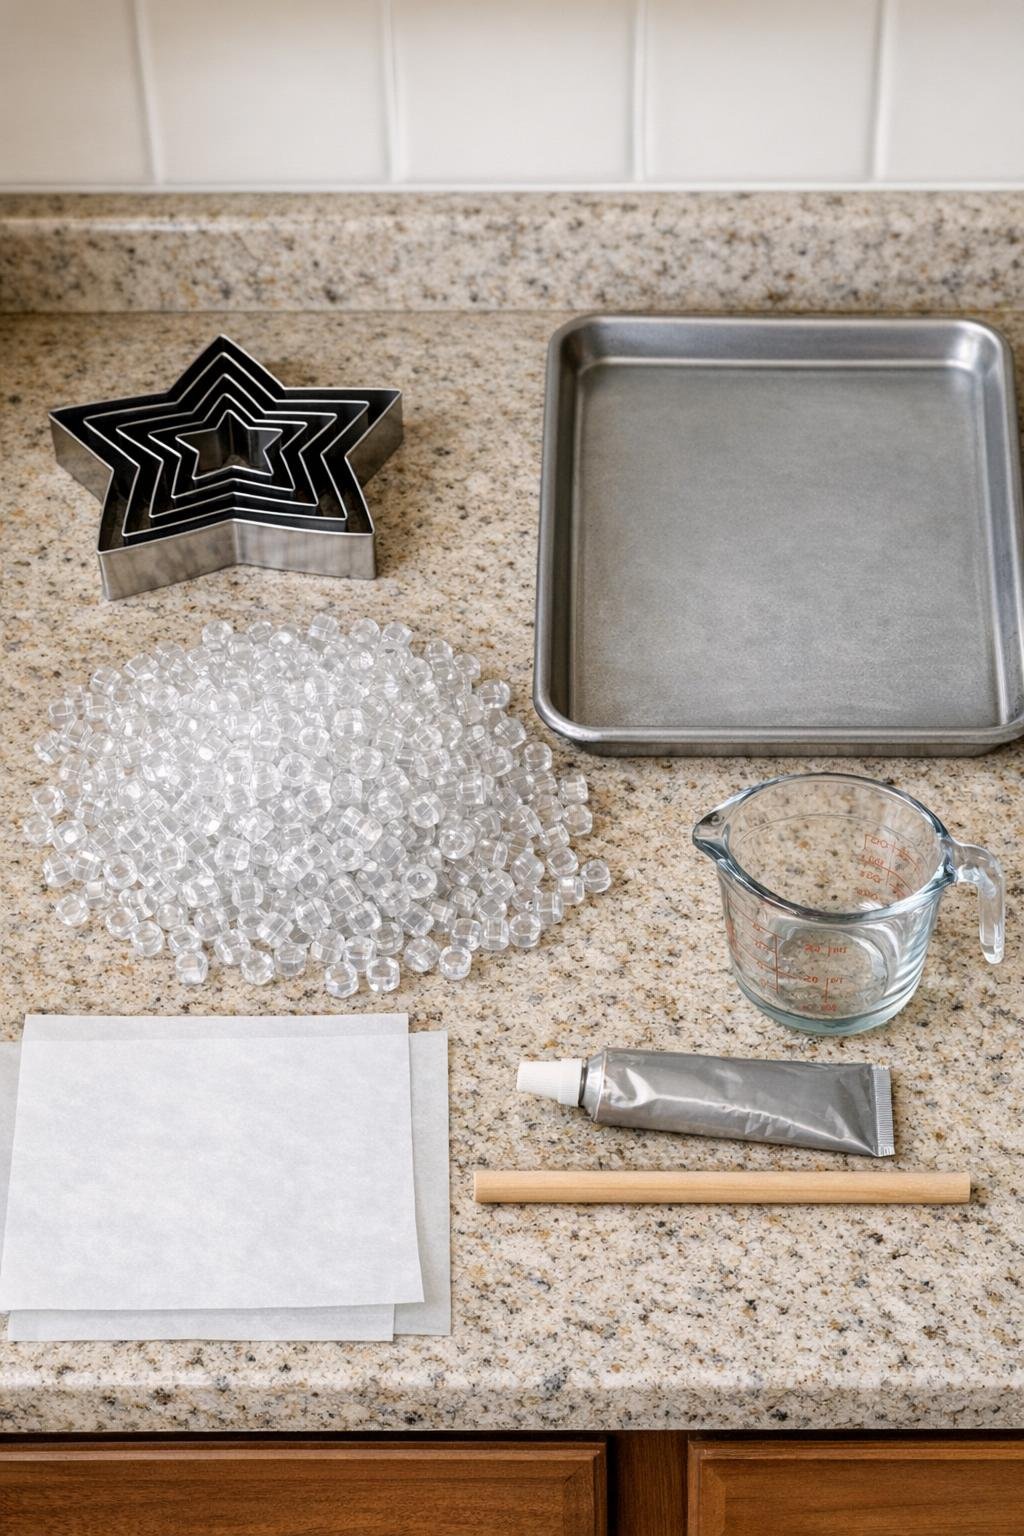
Materials
Instructions
1. Preheat your oven or covered outdoor grill to 400 degrees F, and line the metal baking sheet with parchment paper. Set the 7 star cookie cutters on the sheet from largest to smallest, leaving a little space between each one.
2. Pour clear pony beads into each cookie cutter until the beads are packed in a single even layer and sit level with the top edge. Add extra beads into any gaps so the stars look full all the way into the points.
3. Bake for 20 to 30 minutes, just until the beads melt together into solid clear stars with small open bubbles still visible. Watch closely near the end, because you want smooth fused shapes without browning.
4. Remove the tray and let the stars cool completely on the baking sheet for 20 to 30 minutes. Once cool, gently press each piece out of its cookie cutter.
5. Trim the wooden dowel to 12 inches if needed, then lightly sand both ends smooth. Wipe the dowel and the centers of the stars with a little rubbing alcohol so the glue bonds well.
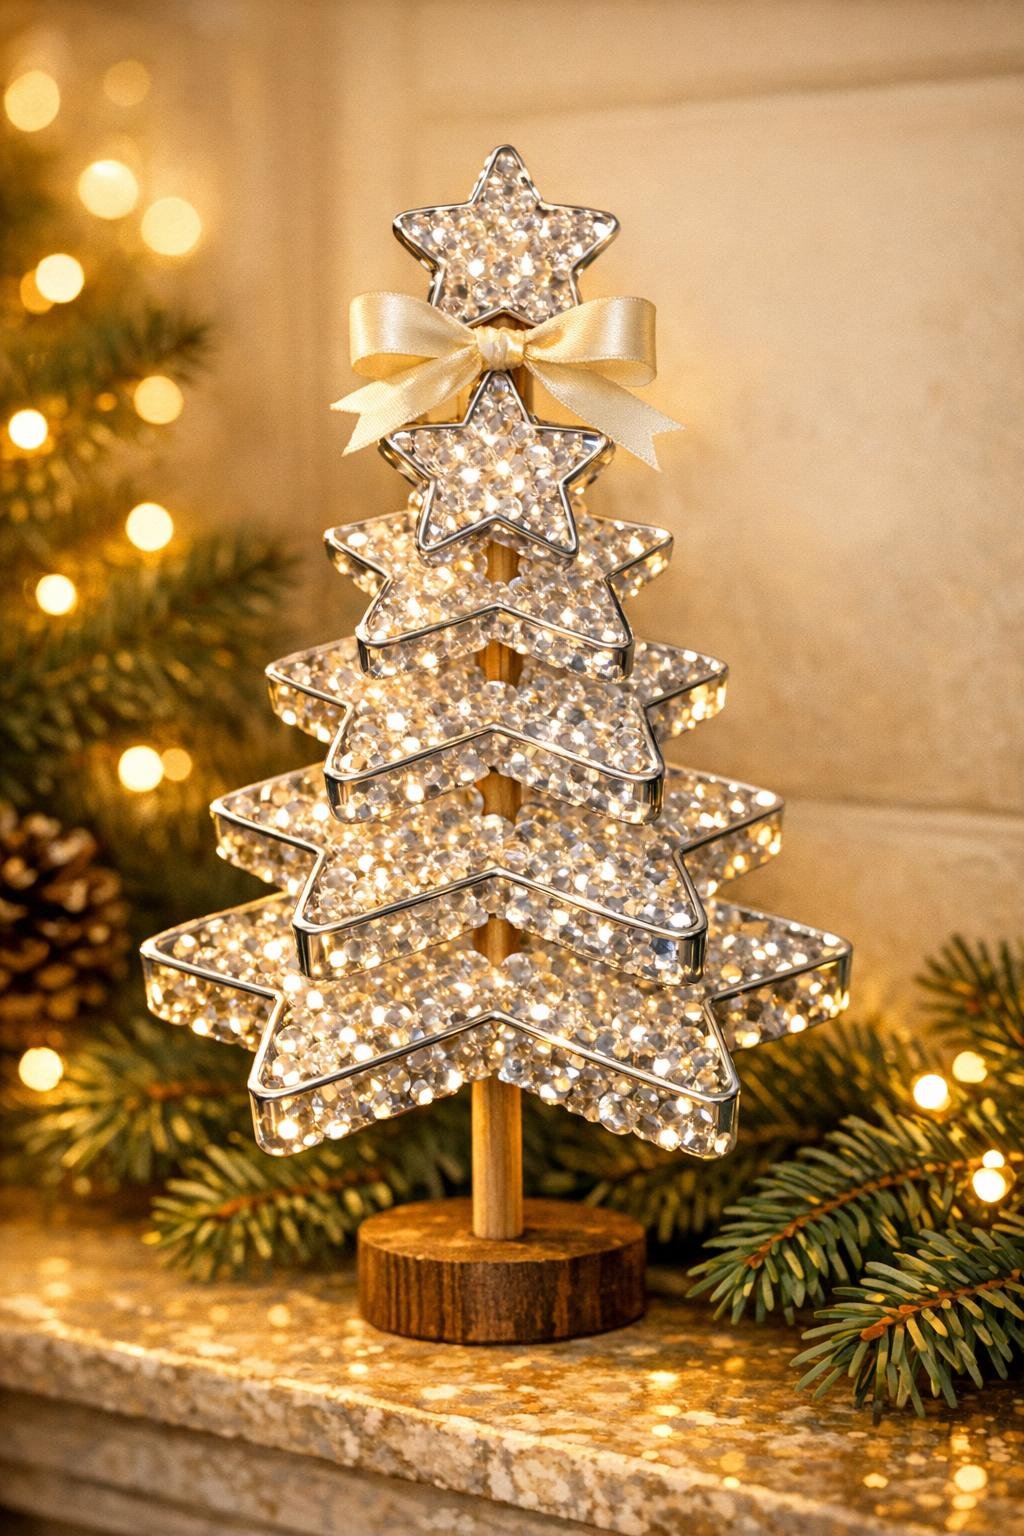
6. Stack the stars from largest to smallest to test the arrangement, rotating each one slightly so the points stagger and create a full layered look. When it looks balanced, note the order so assembly goes quickly.
7. Glue the largest star flat to the bottom end of the dowel, centering it carefully, and hold it steady until it grips. Add the next star above it with a generous ring of E6000, rotate it slightly, and continue stacking all 7 stars upward in graduated size.
8. Let the glued stack cure upright for the full time listed on your glue, ideally overnight, so the piece becomes stable. If you want extra sparkle, lightly mist the edges with iridescent glitter spray after the glue has set.
9. Finish with a small narrow ribbon bow near the top if you like, keeping it delicate so it doesn’t hide the bead stars. Style the piece where it can catch lamplight, window light, or twinkle lights for the best crystal-like effect.
Variations & Tips
Add shimmer: Clear beads are beautiful on their own, but a very light coat of iridescent glitter spray makes the edges catch the light even more. I’d keep it subtle so you still see that pretty melted bead texture.
Use an outdoor grill: If you’re sensitive to the smell of melting plastic, a covered grill works well for this project. I like that option when I’m crafting on a busy weekend and already have the kitchen in use.
Pack the points well: The star tips are the easiest place to end up with thin spots. I always nudge a few extra beads into each point before baking so the finished shapes look full and crisp.
Rotate every layer: Slightly turning each star is what gives the finished piece that fuller, dimensional look. If you stack them all in the same direction, the result is still pretty, just not nearly as magical.
Make the base extra sturdy: If you want to display it somewhere kids or pets might bump it, glue the dowel onto a small painted wood round first, then attach the largest star around that base. It adds support without changing the look much.
Try a frosted version: Mix mostly clear beads with a small handful of translucent white pony beads in each cutter for a soft icy effect. It still keeps the glassy look, but with a little more snowy dimension.
Plan your display spot first: This project really comes alive near twinkle lights, a lamp, or a sunny window. I learned the hard way that a sparkly piece can look nice on the worktable and absolutely stunning once it’s in the right light.