
There’s something especially satisfying about making Christmas décor from the simplest things imaginable. A handful of straight twigs, a little twine, and a dab of glue can turn into something that looks far more special than the effort suggests. Projects like this remind me of the old winters when we used what we had, and somehow the house always felt warmer for it.
This is a lovely little make for anyone who wants handmade holiday charm without a trip to the craft store. If you enjoy natural decorations, cozy farmhouse style, or easy gifts you can tuck onto a package or tree branch, this one delivers beautifully.
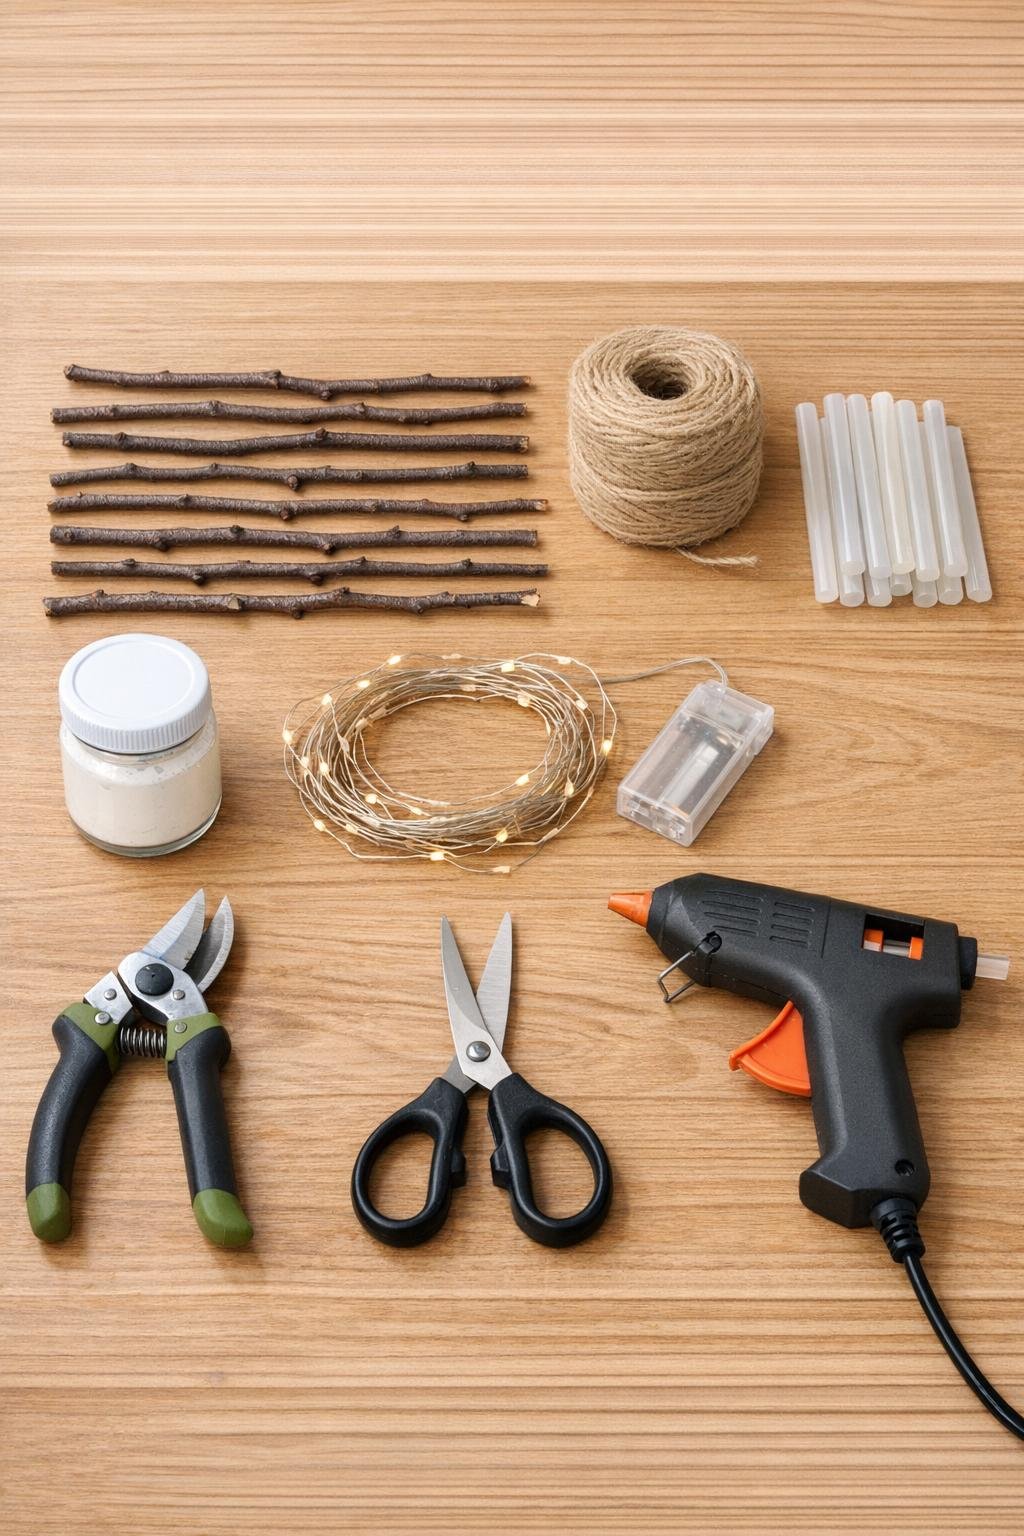
Materials
Instructions
1. Trim your 15 twigs so they are clean, straight, and close in length, aiming for pieces between 6 and 8 inches for a nicely sized ornament.
2. Sort the twigs into groups of five, and choose the straightest set first so your first ornament comes together neatly and sets the size for the others.
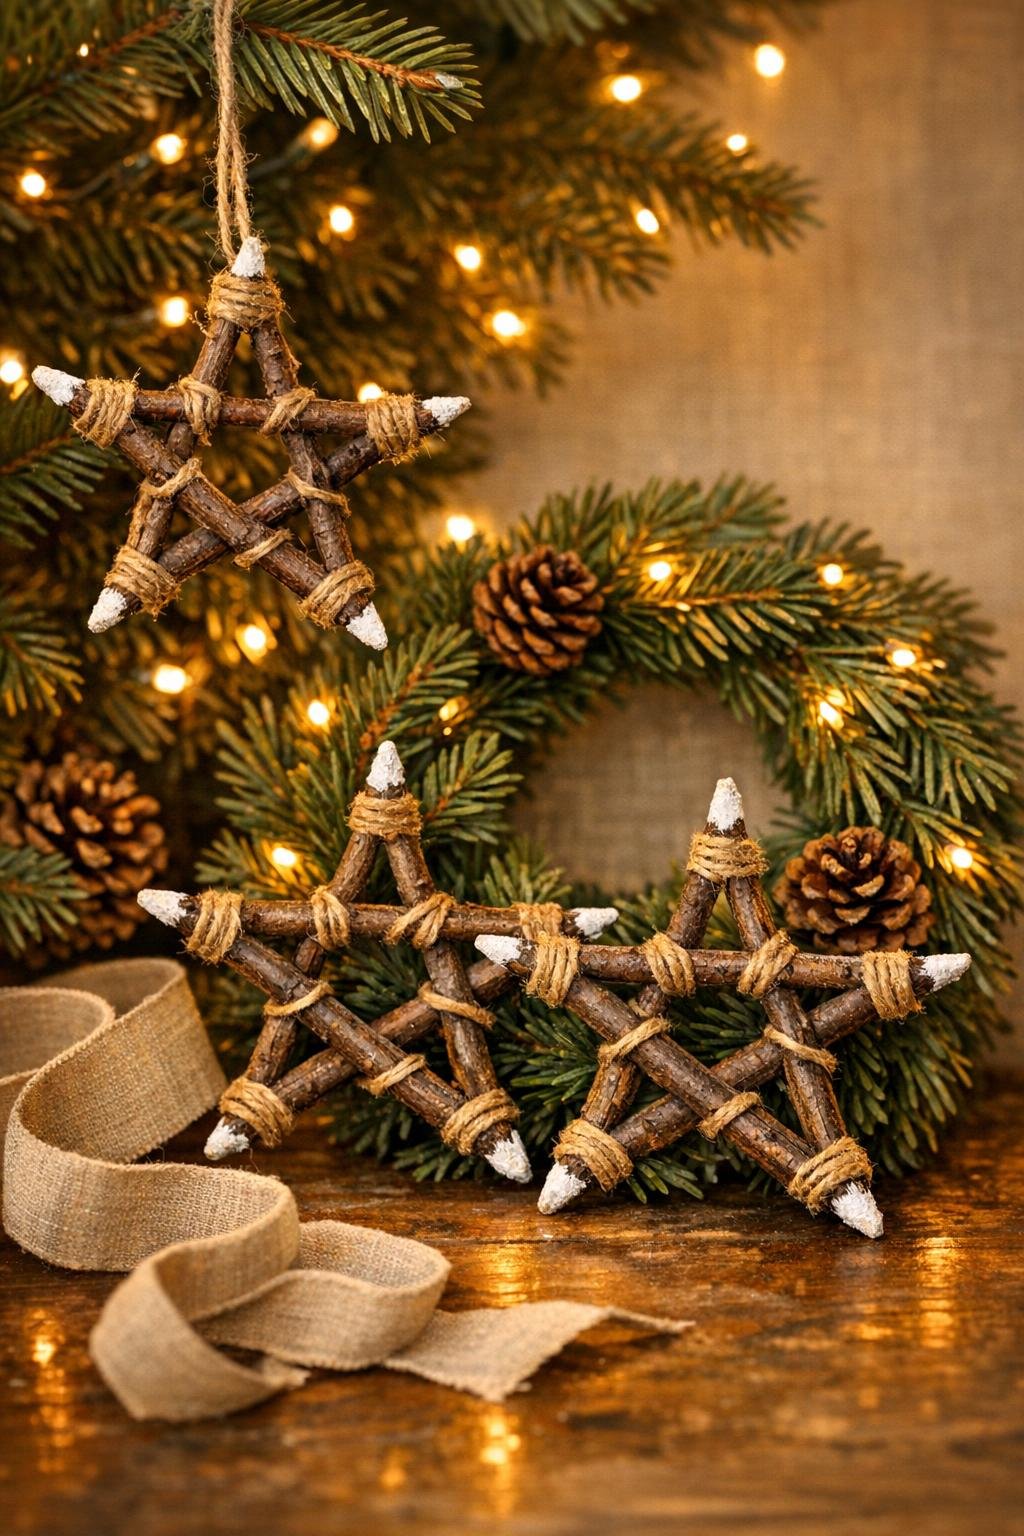
3. Lay five twigs in a star shape on the table, overlapping the ends by about 1/2 inch at each point until the shape looks balanced.
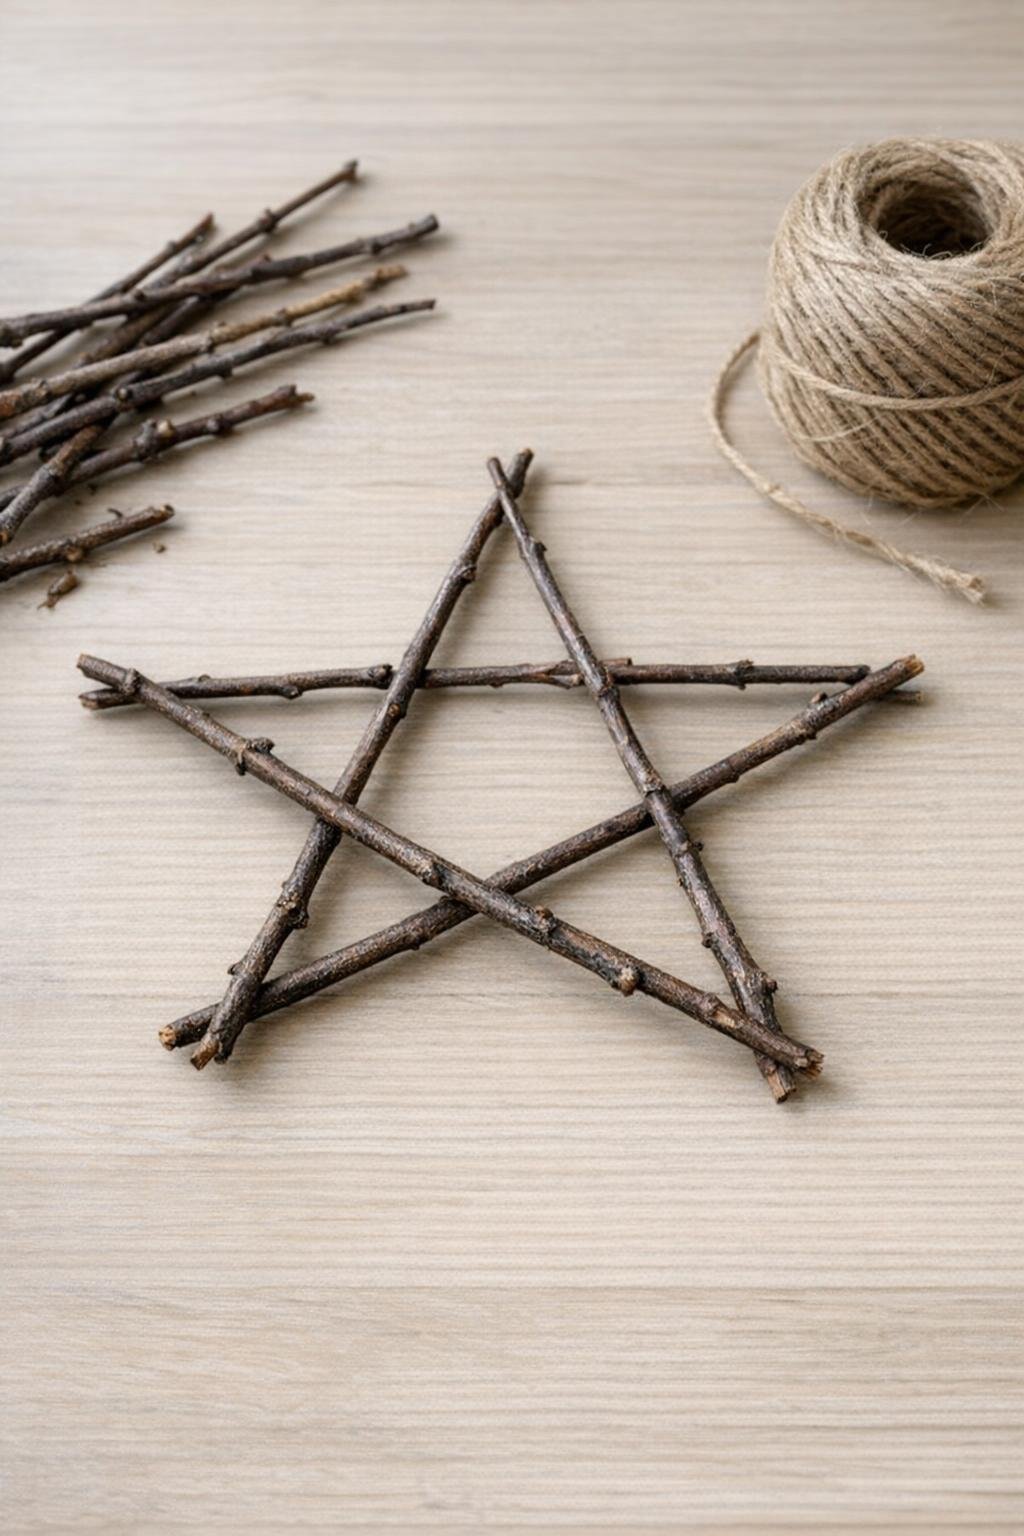
4. Add a small dot of hot glue under each overlap to tack the shape in place, using just enough to hold without creating bulky blobs.
5. Cut a 12-inch piece of jute twine and wrap each joint 5 to 6 times, knotting firmly on the back side and trimming the tails close.
6. Repeat the same process with the remaining 10 twigs to make two more stars, keeping the sizes similar so they look lovely together on a tree or garland.
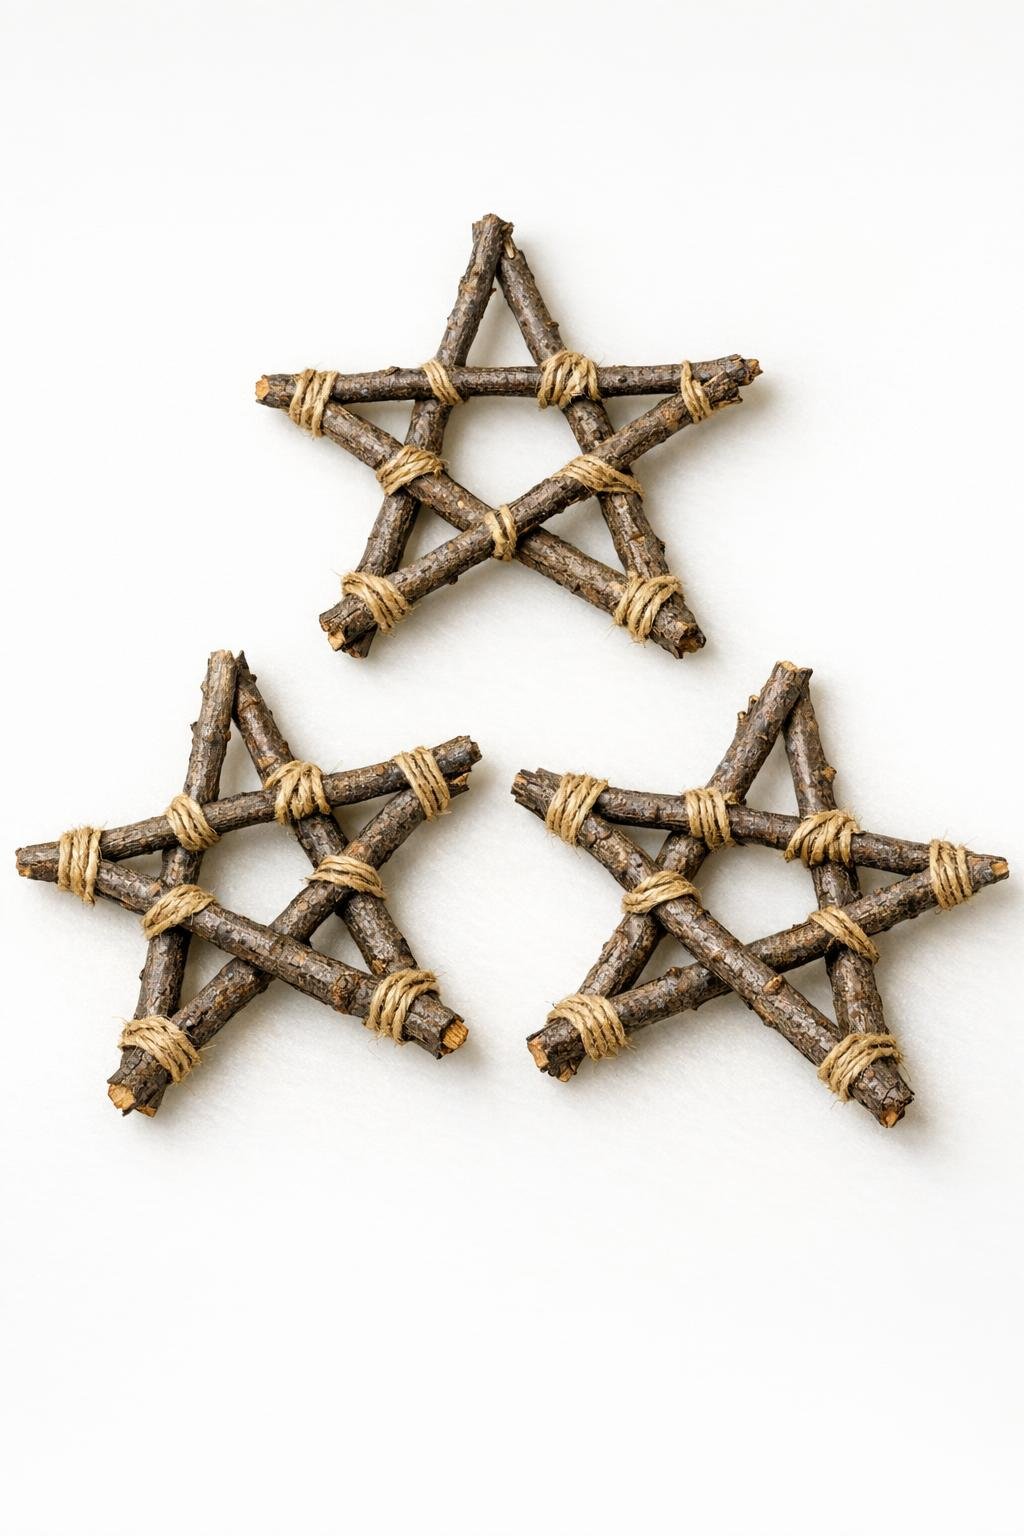
7. Cut a 6-inch hanging loop of twine for each star, tie it securely around the top point, and add a tiny dot of hot glue on the knot if you want extra hold.
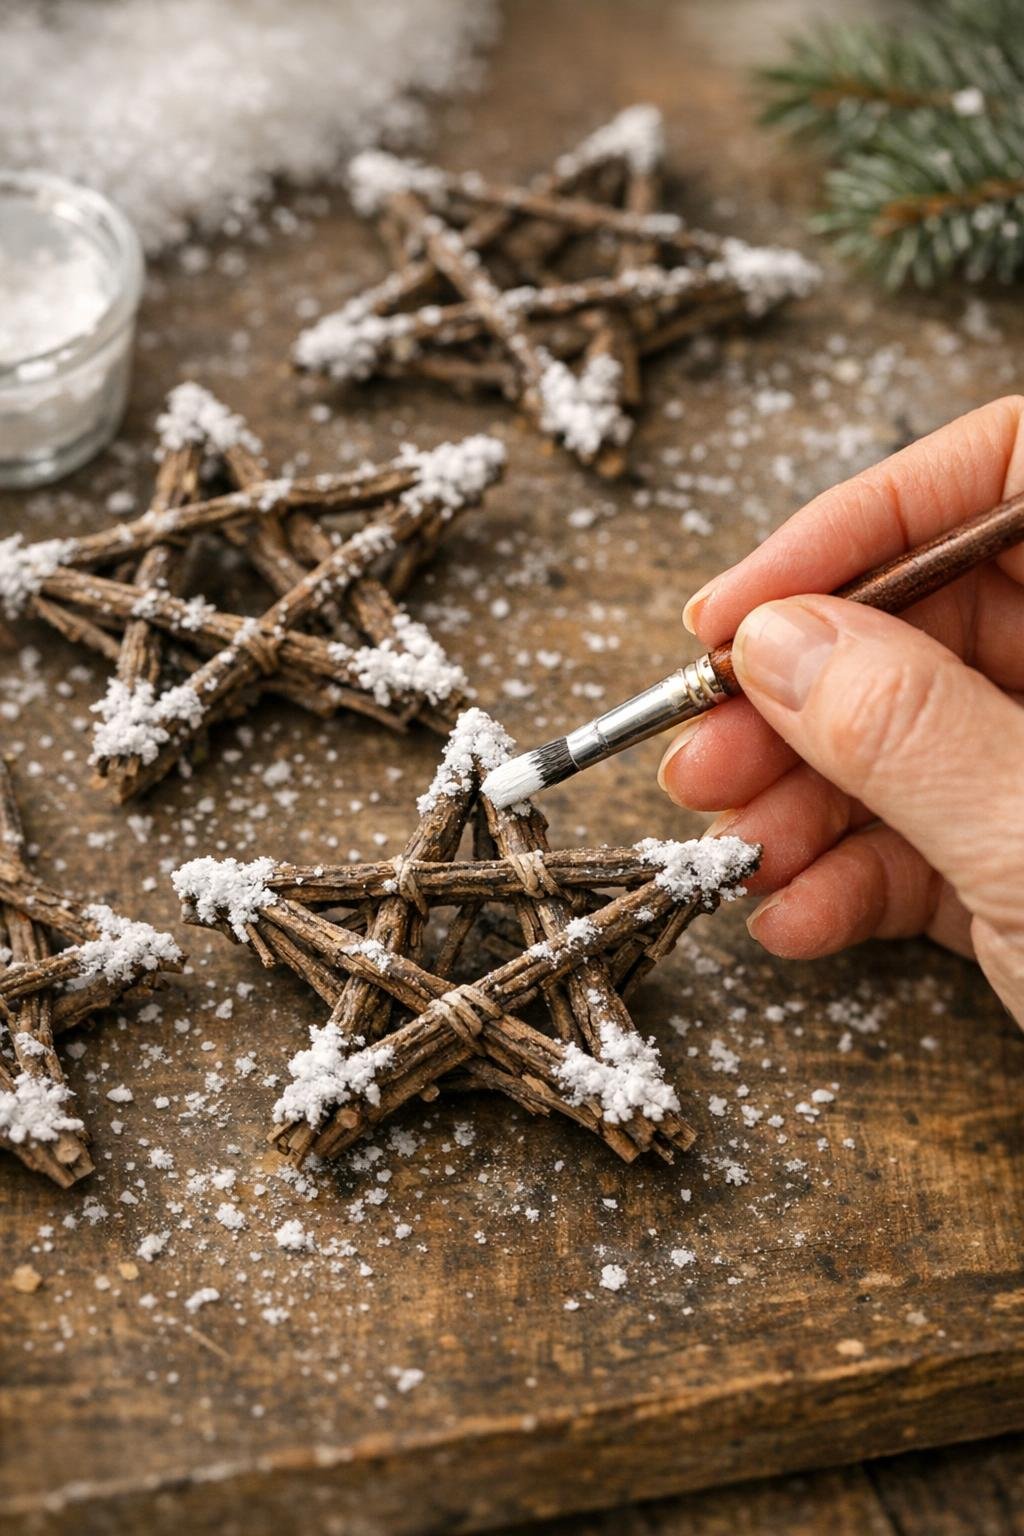
8. If you’d like a snowy finish, dip a dry brush lightly into white paint and dab just the twig tips and a few edges so the color looks soft and frosted, not solid.
9. For a glowing accent, weave a small battery fairy light strand loosely around one larger star or across all three, tucking the battery pack behind greenery or along the back when you display them.
10. Let all glue and paint cool and dry fully, then fluff the twine loops and give each piece a final check for loose ends before hanging.
Variations & Tips
Make them larger: Use 10- to 12-inch twigs and the same five-twig layout if you want statement pieces for a mantel or porch door basket.
Keep the shapes even: I like to make one star first, then use it as a guide while building the others so the set looks intentional and polished.
Use a lighter hand with paint: A little white on the tips goes a long way; if you cover the twigs too heavily, you lose that pretty just-gathered look that makes these so charming.
Try them beyond the tree: These are beautiful tied onto wrapped gifts, tucked into a wreath, hung in a window, or laid across the center of a holiday table with greenery.
Choose the right twigs: The best ones are dry, straight, and flexible enough to handle without crumbling; I usually avoid very brittle wood and anything with too many side branches.
Add lights sparingly: If you use the fairy light strand, one warm white strand is plenty for a soft glow and still lets the natural twig stars remain the star of the show.