
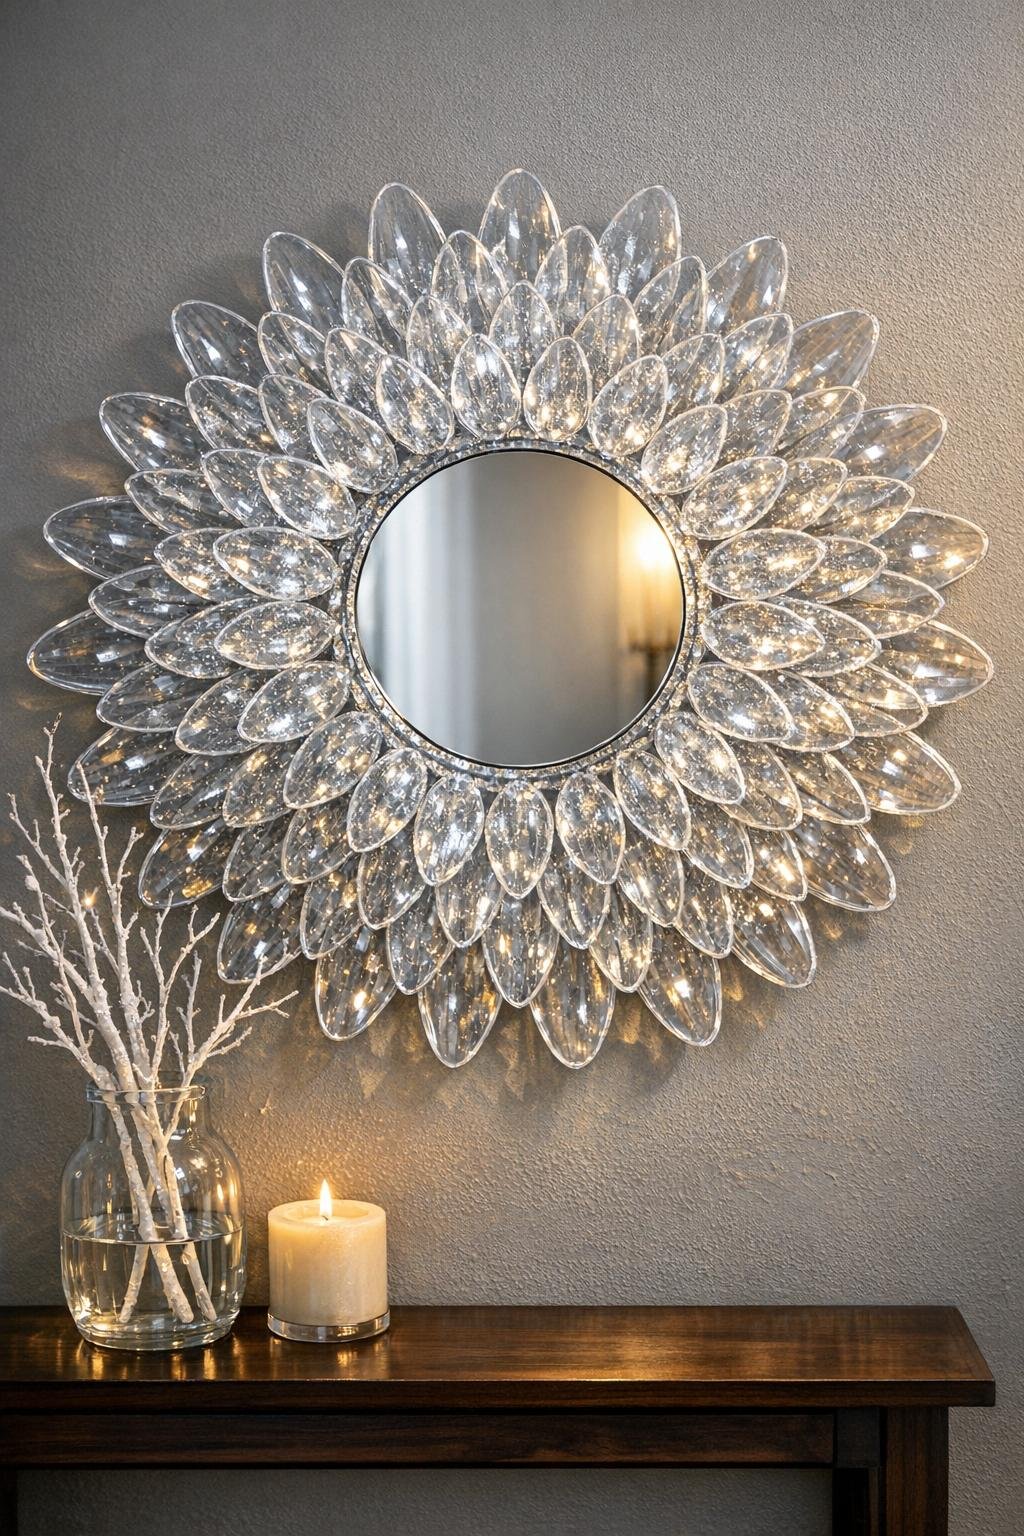
There’s something deeply satisfying about taking the most ordinary supplies and coaxing them into something that looks far more expensive than it has any right to be. This project starts with a pile of clear plastic spoons and a hot glue gun, and with a little layering and patience, those simple pieces turn into a dramatic wall accent that catches light beautifully from every angle.
I especially love projects like this because they rely more on repetition than on difficult technique. If you can fill, glue, and arrange pieces in a circle, you can make this. It’s a wonderful weekend craft for anyone who wants high-impact décor from budget materials, and the finished look has that icy, sparkling quality that makes a room feel instantly more polished.
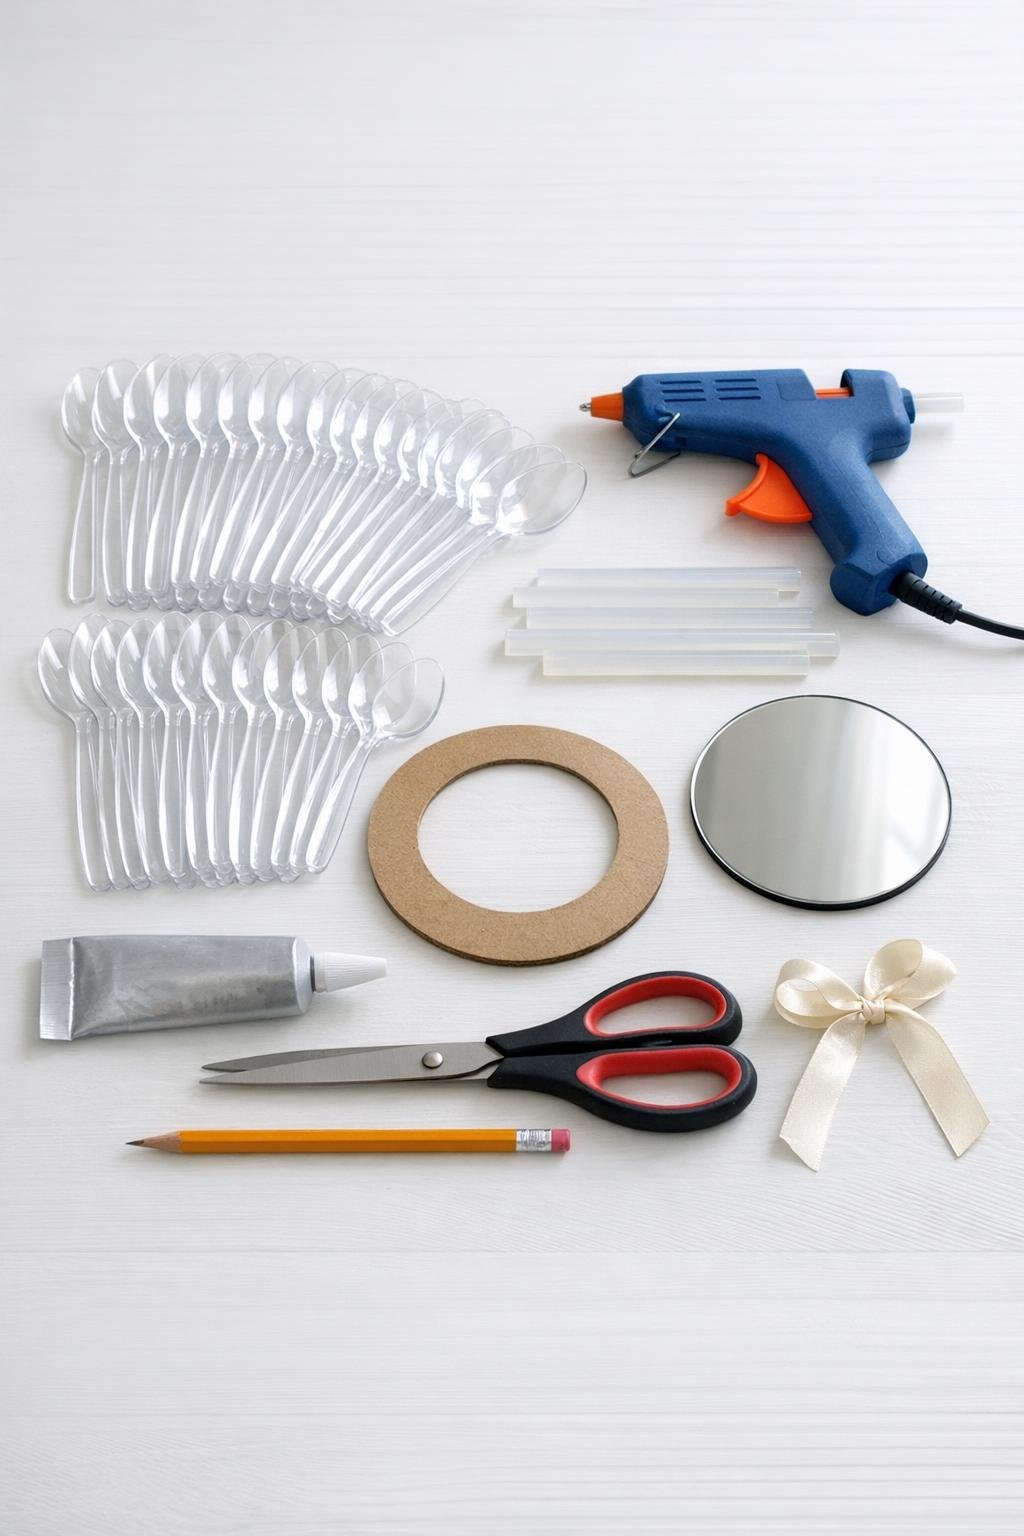
Materials
Instructions
1. Cover your work surface with wax paper or a silicone mat, plug in the hot glue gun, and set the 50 clear spoons in rows so they’re easy to count and fill.
2. Squeeze hot glue into the bowl of each spoon, filling it almost to the rim in a smooth dome without overflowing; let the glue cool completely until it turns firm and crystal clear.
3. Once the glue is fully cool, trim the handles off all 50 spoons, cutting as close to the base of each bowl as possible so you’re left with rounded petal shapes.
4. If any cut edges look rough, snip off little points and test a few petals on the cardboard ring so they sit flat without wobbling.
5. Draw two guide circles on the cardboard ring, one near the outer edge and one about 1 1/2 inches closer to the center, to help keep your rows even.
6. Glue an 8-inch loop of ribbon or hanging wire to the back of the cardboard ring at the top, securing it with hot glue first and a small layer of E6000 over it for extra hold.
7. Starting on the outer guide line, attach the first row of spoon petals with E6000, overlapping them slightly as you go until you have a full sunburst all the way around; use about 30 petals for this outer ring.
8. Add the second row inside the first, tucking each petal between two petals from the outer row for a fuller, layered look; use about 20 petals and keep the inner opening clear for the mirror.
9. Let the adhesive set until the petals no longer shift when you gently nudge them, then check the circle from the front and straighten any pieces before the glue fully cures.
10. Run a continuous bead of E6000 around the front center of the cardboard ring and press the round mirror into place, centering it so the spoon petals frame it evenly on all sides.
11. Leave the piece flat to cure according to the E6000 directions, ideally overnight, so the mirror and all petals bond securely.
12. Hang the finished piece where it can catch lamplight or daylight, and if you want extra sparkle, wipe the spoon petals and mirror clean with a soft dry cloth before displaying it.
Variations & Tips
More sparkle: If you want a frostier finish, add a very light dusting of iridescent craft glitter to the hot glue while it’s still warm in a few spoons, rather than all of them, so the effect stays elegant.
Larger version: For a more dramatic wall piece, use a 10-inch mirror and increase to 70 to 80 spoons, building three rows instead of two.
Adhesive tip: I like using hot glue for shaping inside the spoons and E6000 for final assembly because the mirror and petals need a stronger long-term bond than hot glue alone usually gives.
Cleaner cuts: If the spoon handles crack when trimmed, cut them in two stages: first remove most of the handle, then make a second close cut at the base.
Placement: This looks best where light can bounce off the clear petals, such as near a window, across from a lamp, or in an entry where it can act like jewelry for the wall.
Budget note: Dollar store spoons can vary a bit in size, so before gluing, sort out any noticeably larger or smaller ones and use matching sizes in the same row for a more even finished circle.