
There’s something so satisfying about turning the simplest little pile of supplies into something that feels magical, and this project does exactly that. With nothing more than school glue, wax paper, glitter, and a toothpick, you can make delicate holiday decorations that look like they took far more effort than they actually do.
I love projects like this during Christmas because they’re easy to set up at the kitchen table, inexpensive to make in batches, and forgiving enough for all skill levels. If you enjoy quick holiday crafts that still give you that pretty, polished finish, this one is a gem.
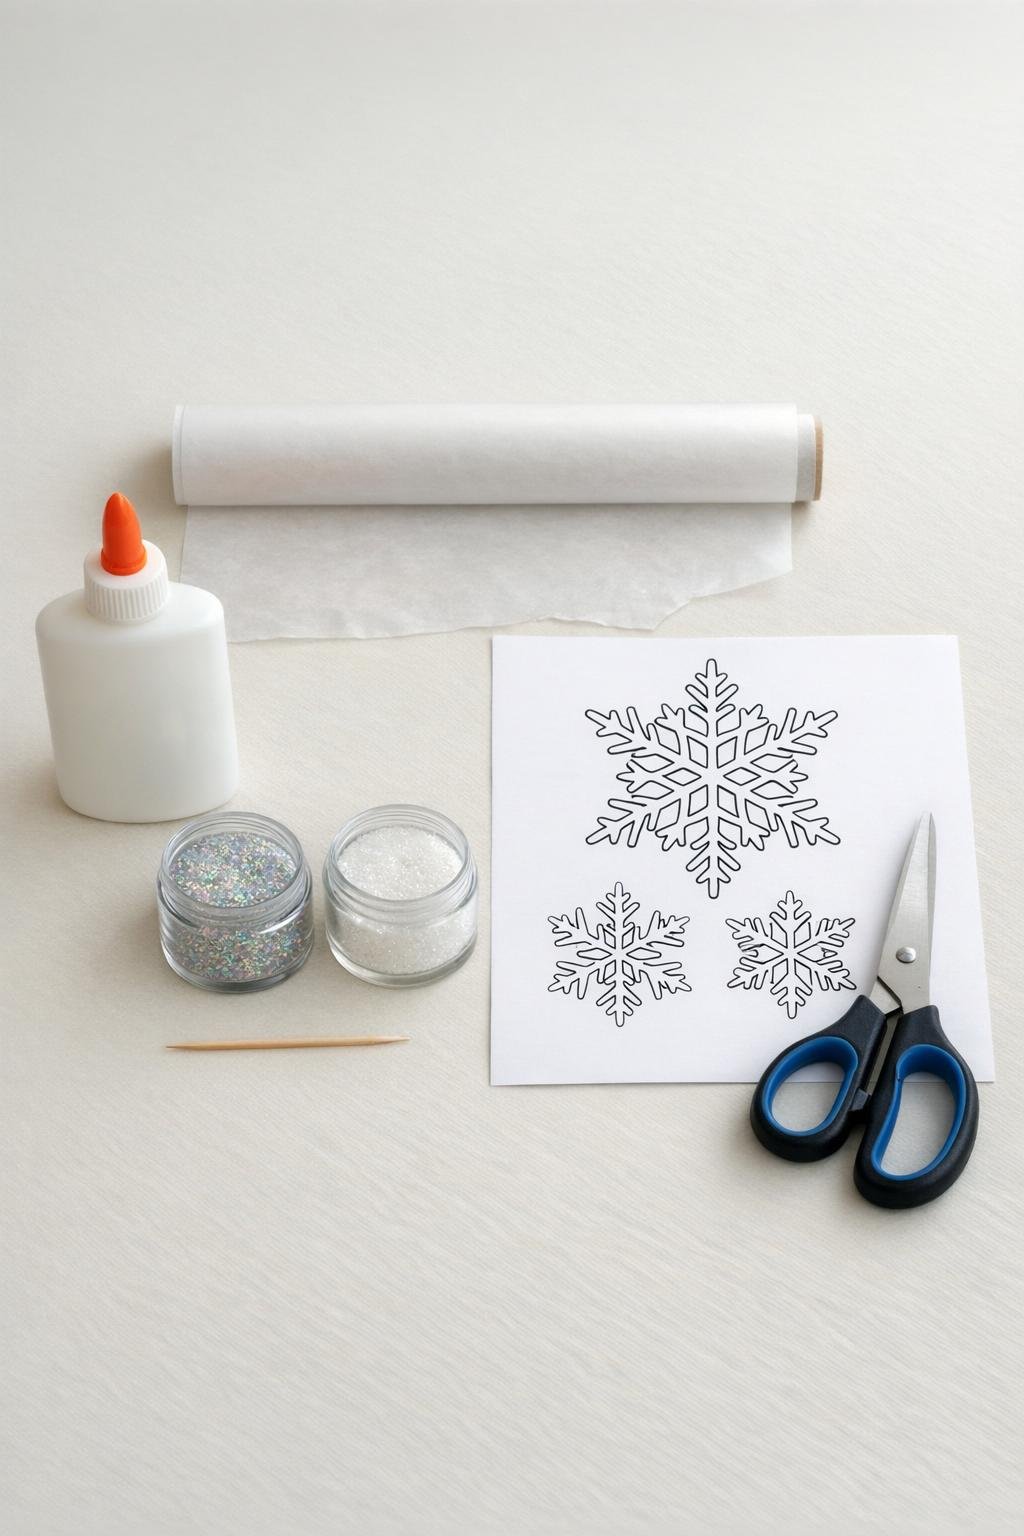
Materials
1 bottle white school glue, 4 to 8 ounces
Instructions
1. Tear off a sheet of wax paper about 12 inches long and tape or smooth it flat on your table with the waxy side facing up.
2. If you want more symmetrical snowflakes, slide a printed snowflake template under the wax paper so you can trace over the lines with glue.
3. Squeeze the white school glue in one thick dot for the center, then draw six arms coming out from it, keeping each line slightly raised and generously thick so the cling will hold together.
4. Add short branches to each arm and fill in a few extra connecting lines so every section touches; I’ve learned the prettiest ones are detailed, but they still need all the parts connected like one solid piece.
5. Use a toothpick right away to nudge any uneven glue lines, sharpen points, and pull tiny glue bridges into spots that look too thin.
6. Sprinkle glitter generously over the wet glue, covering every line so the whole design gets that frosted, icy finish.
7. Let the snowflake dry completely for 12 to 24 hours without moving the wax paper; if the glue is thick, give it the full day so it peels up cleanly.
8. Once fully dry, gently peel each snowflake off the wax paper and trim away any stray glue strings with scissors.
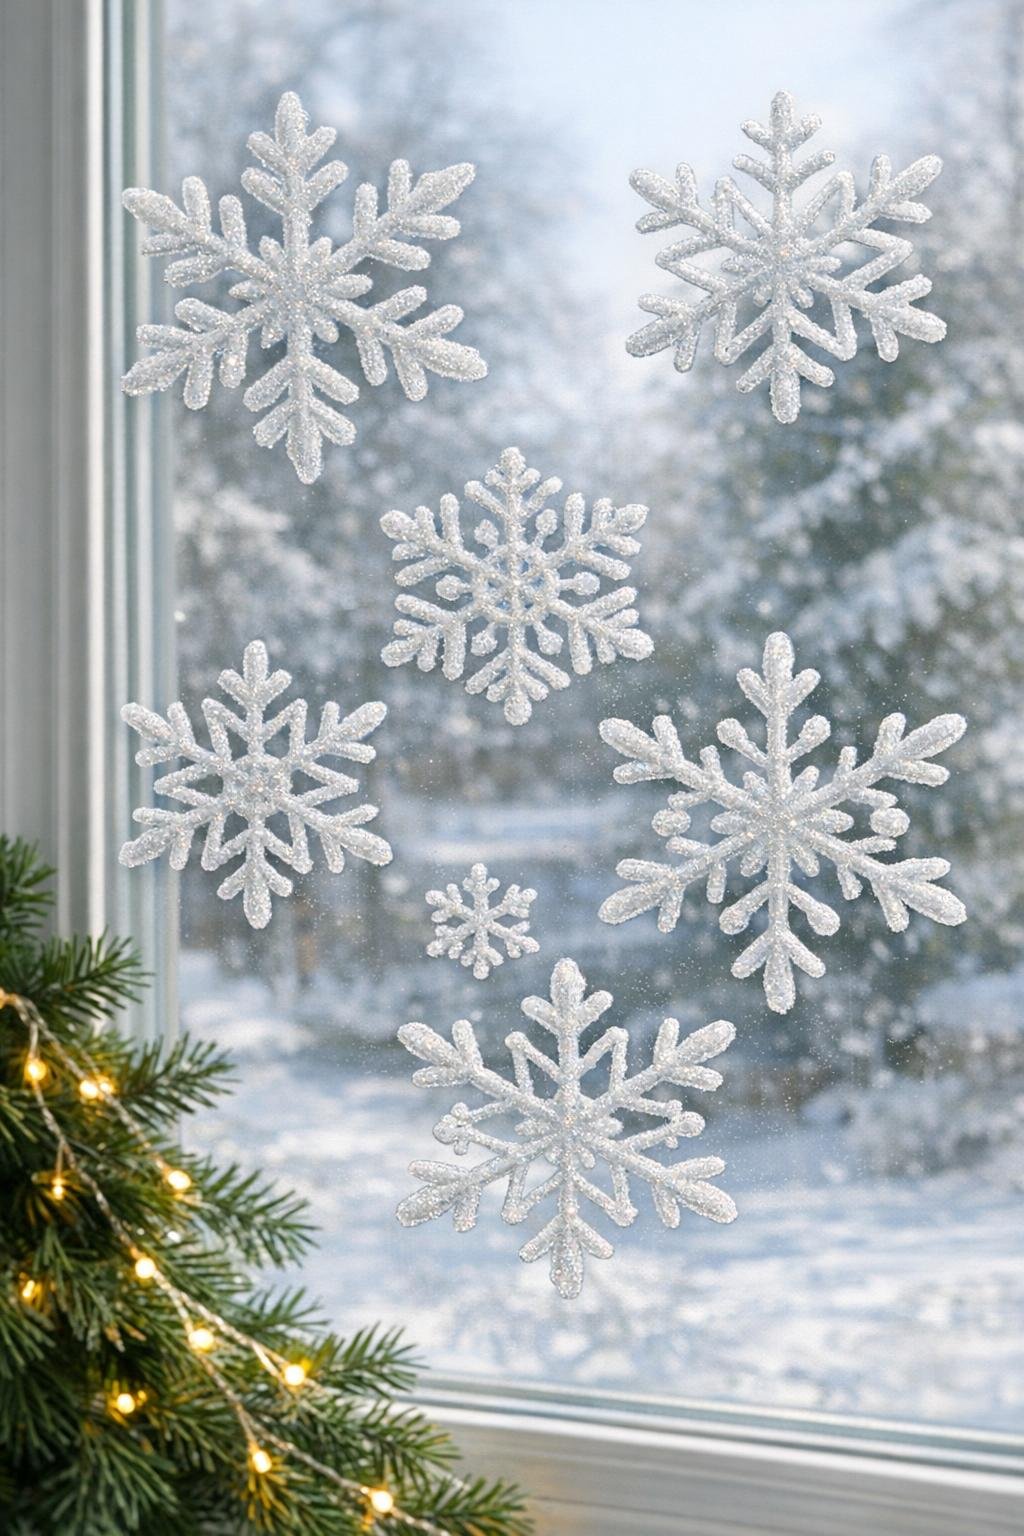
9. Press the finished pieces onto a clean window or mirror, smoothing them lightly with your fingertips so they cling flat and catch the light beautifully.
Variations & Tips
For younger kids: Make larger, simpler snowflakes with thicker lines and fewer branches so they’re easier to peel up without tearing.
For extra sparkle: Mix white glitter and iridescent glitter together before sprinkling so the finish looks snowy in daylight and twinkly at night.
Template tip: Bold, simple snowflake templates work better than tiny lacy ones because school glue naturally spreads a little as it settles.
If the cling tears: Put it back on the wax paper and patch the broken area with a fresh line of glue, then reglitter and let it dry again.
Best window results: Clean the glass first and dry it well; dust or condensation can keep the clings from sticking nicely.
Make a full set: I like to create snowflakes in three sizes on one sheet so the window looks full and festive instead of sparse.
Storage tip: After the holidays, place the clings back onto fresh wax paper and store them flat in a large envelope or shallow box.