
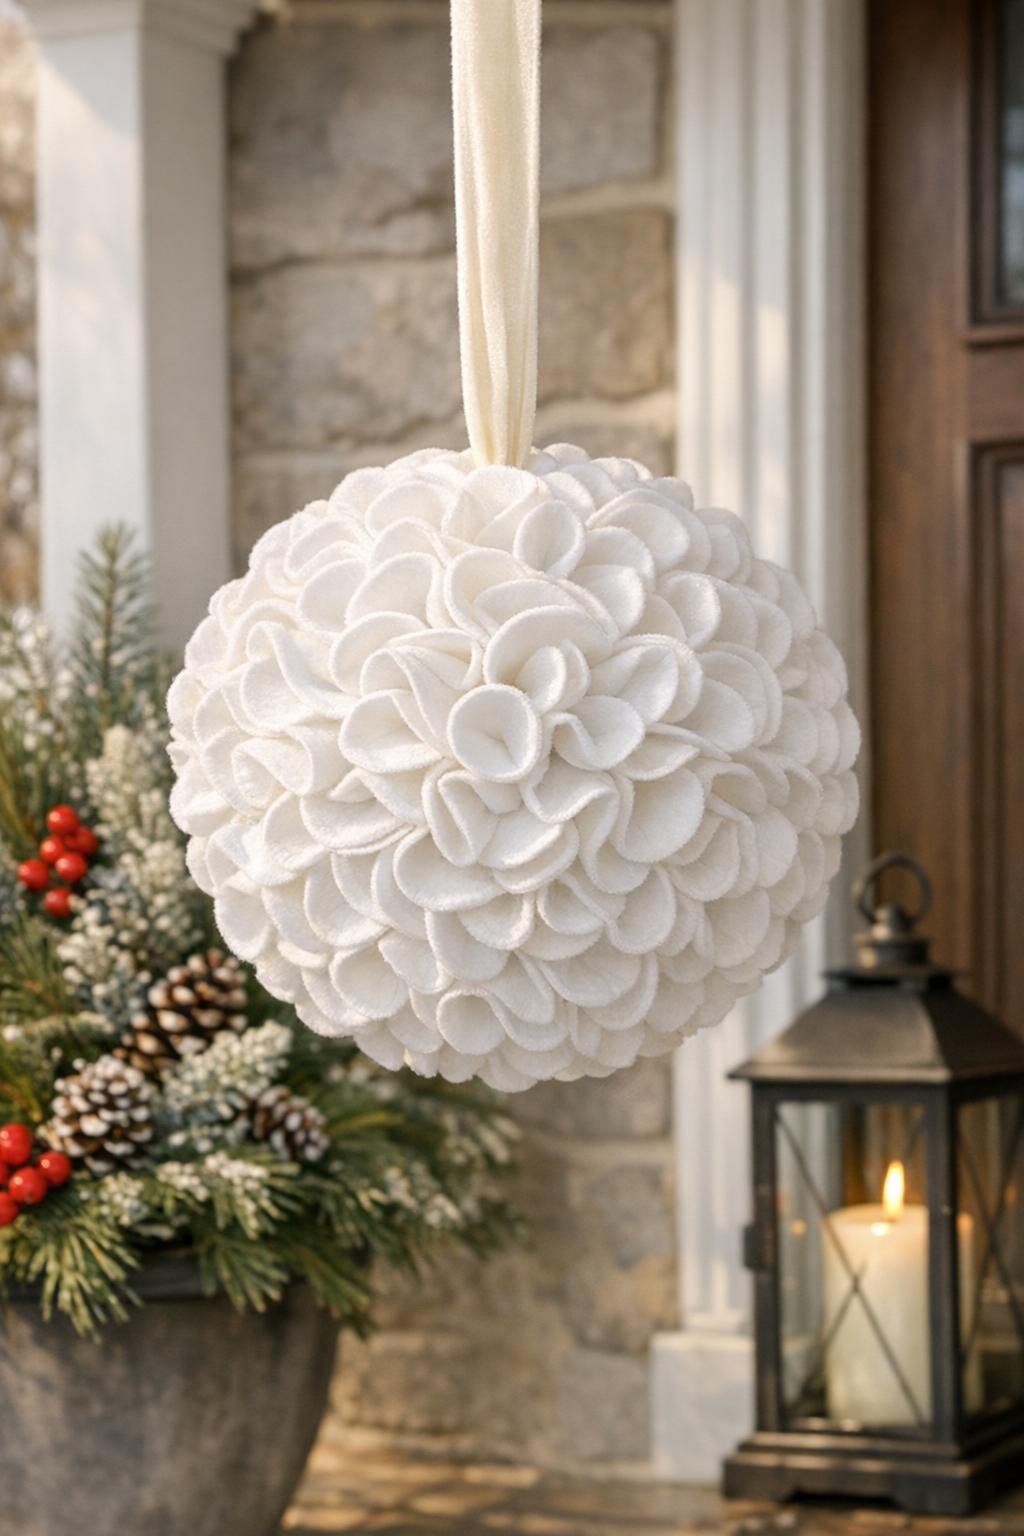
I’m always a little suspicious of projects that promise a big payoff from the humblest supplies, but this one absolutely delivers. Starting with a plain foam ball and stacks of inexpensive cotton rounds, you can build something soft, full, and elegant enough to hold its own on a front porch, tucked into a basket, or hanging from a hook by the door through winter.
This is a wonderful craft for anyone who likes repetitive, relaxing handwork without needing advanced skills. If you can fold, pin, and work in neat rows, you can make this project—and because the materials are light and forgiving, it’s also one of those rare large-scale decorations that looks fussy in the end while being very simple to assemble.
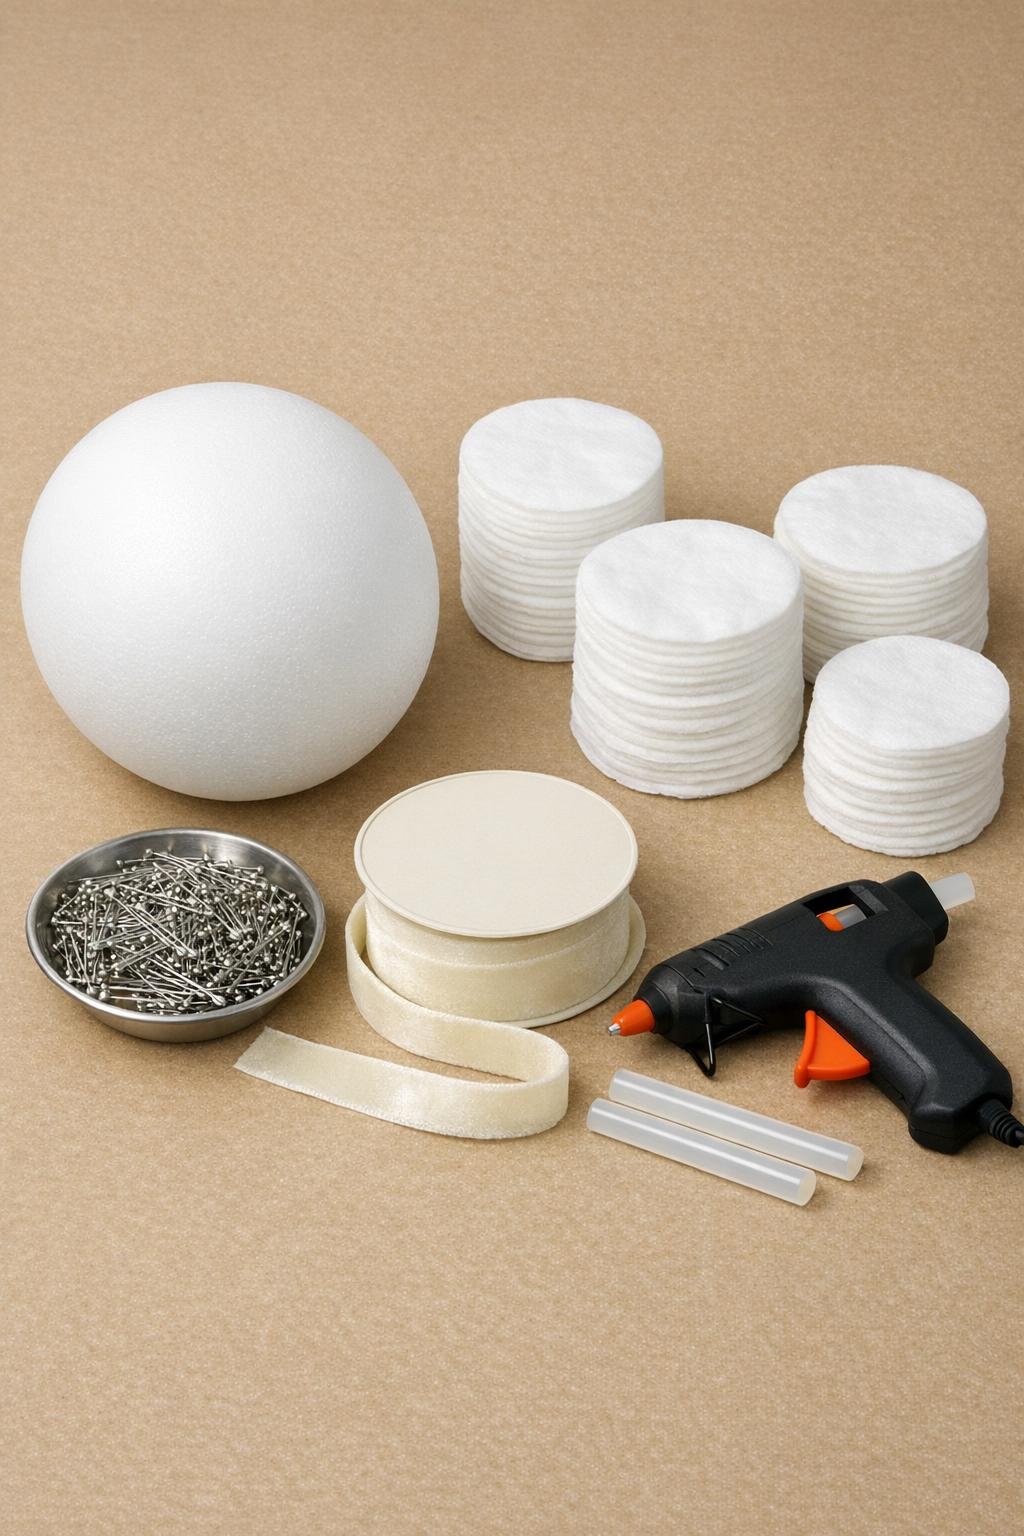
Materials
Instructions
1. Set the foam ball in a bowl or small towel ring to keep it from rolling, then separate the cotton pads into loose stacks so they’re easy to grab as you work.
2. Cut a 24-inch length of velvet ribbon for the hanger and tie the ends into a firm knot. Push a pencil or skewer about 1 inch into the top of the foam ball, add hot glue into the hole, and insert the knot so the ribbon loop is anchored inside the ball.
3. Make your first petal cluster by folding one makeup pad in half, then folding it in half again to create a soft cone or quarter-round wedge. Insert a straight pin through the pointed end to hold the shape.
4. Pin that first folded pad onto the foam ball just off to the side of the ribbon hanger, keeping the rounded edges facing outward. Make 5 more folded pads and pin them snugly around the first one to form a full, ruffled center.
5. Continue folding and pinning pads in tight concentric rows around that center, slightly overlapping each new layer so the foam doesn’t show. Turn the ball as you work and keep each row packed closely for a lush, peony-like texture.
6. Cover the top half of the ball first, then begin the lower half, always angling the folded point of each pad into the foam and the soft curved edges outward. Use a few extra pins anywhere a pad feels loose or a gap appears.
7. Finish the last open section by tucking the final folded pads tightly into place so the coverage stays even all the way around. Check the ball from every angle and add a few more folded pads if needed to create a fully rounded, generous shape.
8. Cut the remaining velvet ribbon into one 18-inch piece and tie a soft bow at the base of the hanger. Secure the bow with a tiny dot of hot glue so it sits neatly without sliding.
9. Fluff the outer edges of the pinned pads gently with your fingers, separating any layers that stuck flat during handling. This quick shaping step is what gives the surface that full, cloudlike bloom instead of a tight, flat look.
10. Hang the finished ball from a covered porch hook, wreath hanger, or decorative bracket where it can stay dry and clean. If you’re styling a pair, make a second one the same way and hang them at matching heights for the most polished look.
Variations & Tips
Use a larger ball: If you want a more dramatic porch piece, move up to a 12-inch foam ball and plan on 260 to 300 makeup pads so the coverage stays dense.
Choose the right pads: Plain stitched-edge cotton rounds work best because they fold cleanly and hold their shape; very thin pads can look limp and may need doubling.
Keep it weather-safe: This project is best on a covered porch or indoors near an entry, since cotton pads can absorb moisture and lose their crisp look in rain or heavy snow.
Try a soft color shift: For a subtle vintage look, tint a few outer pads with diluted tea or fabric spray before folding, then scatter them around the ball for gentle depth.
Make assembly easier: I like to fold 20 to 30 pads at a time before pinning because it turns the process into a rhythm, a bit like prepping ingredients before I cook.
Hide any gaps: If a small spot of foam peeks through, don’t start over—just fold one more pad a little tighter and pin it right into the opening.
Style it in pairs: Two matching balls flanking a front door have the most impact, especially with identical ribbon and evenly spaced hanging height.