
There’s something so satisfying about taking the plainest little stack of supplies and turning it into something that looks far more special than it has any right to. This project starts with brown paper lunch bags and a simple twisting technique, then builds into a full, textured wreath with lots of movement and layered detail. It’s the kind of craft I love because it feels almost a little magical once all the pieces come together.
If you like budget-friendly seasonal décor, easy afternoon projects, or crafts that look impressive without needing fancy tools, this one is for you. I also love that it uses repetitive, calming steps, so it’s a nice make-while-you-chat or make-while-the-soup-simmers kind of project.
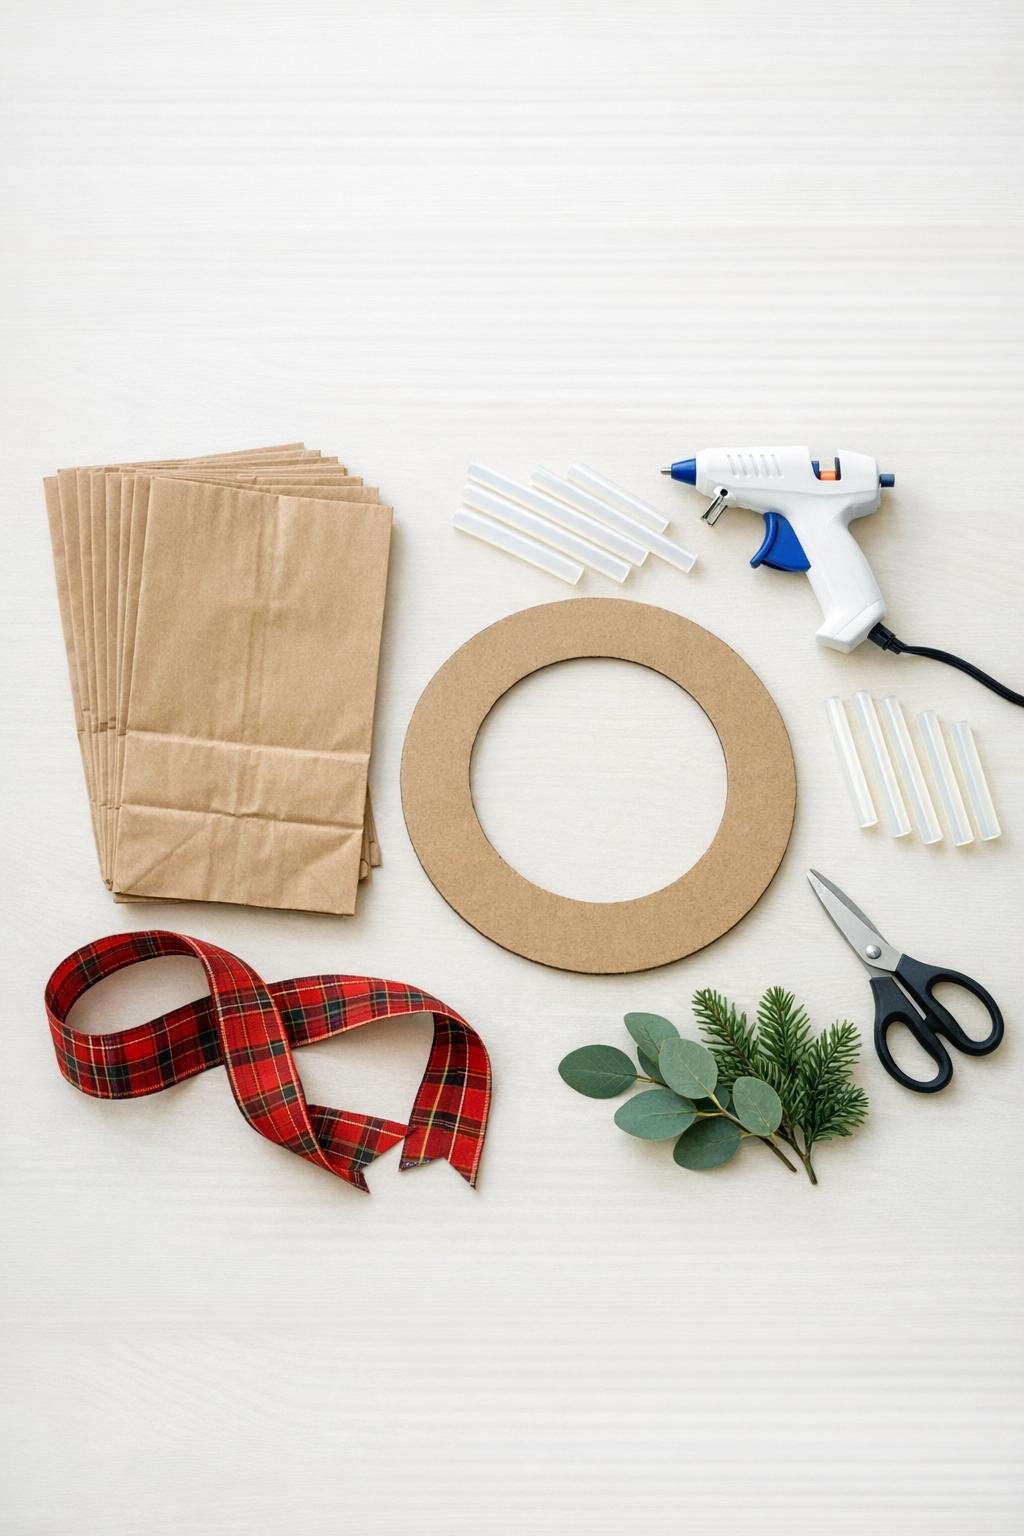
Materials
Instructions
1. Open each brown paper bag and gently smooth it flat again so the paper is softer and easier to twist. Keep all 12 bags stacked nearby so you can work assembly-line style.
2. Starting at one top corner of a bag, twist the paper tightly on the diagonal until the whole bag becomes a long rope. Repeat with the remaining bags, keeping the ropes snug but not so tight that the paper tears.
3. Twist each paper rope a little extra in the same direction, then let it coil back on itself slightly to build more body and a ropy look. This helps the wreath look full instead of flat once attached.
4. Wrap one twisted bag rope around the cardboard ring and glue the beginning and end on the back side. Use this first rope to cover the cardboard and give the rest of the wreath something grippy to build on.
5. Coil the next rope into a loose spiral that looks like the center of a rose, then secure the bottom edge with hot glue. Make several rose-like coils in slightly different sizes by wrapping some tightly and some a little looser.
6. Glue the largest coils onto the wrapped ring first, spacing them evenly around the wreath face. Press each one down for a few seconds so it holds its shape and sits upright.
7. Fill the gaps with the remaining twisted ropes by curving them into smaller spirals, soft loops, and tucked swirls between the larger roses. Cover the ring generously so the front looks lush and textured from edge to edge.
8. Trim any extra-long ends and tuck them into open spaces with a dot of glue so the wreath edge looks rounded and finished. If you want more dimension, gently fluff a few outer coils with your fingers before the glue fully cools.
9. Cut the red plaid ribbon into one 24-inch hanging length and one 12-inch piece for a bow. Loop the long piece through the top of the wreath and knot or glue it securely.
10. Tie the shorter ribbon into a simple bow and glue it over the hanger at the top or slightly off to one side. If you’re using faux greenery, tuck 6 to 10 leaves behind the bow or between a few paper roses for a soft finishing touch.

Variations & Tips
For a fuller look: If you want the wreath extra lush, make your coils a little looser and let some of the twisted ropes snake between the roses instead of keeping every piece in a perfect spiral. That layered filler is what gives it that abundant, finished look.
For picky decorators: In my house, everyone has opinions about bows, so I keep this easy to customize. Use the plaid ribbon for a cozy farmhouse feel, or skip the bow and add just a small cluster of greenery if you want something simpler.
If your bags keep tearing: Twist a little more gently at first, then tighten gradually as the rope forms. Brown lunch bags are forgiving, but they do behave better when the paper is softened first.
To keep the wreath balanced: Stand back once or twice while gluing and check that the larger rose coils are spread around the ring instead of all landing on one side. I do this with food platters too—spacing matters more than perfection.
Seasonal option: This wreath is lovely as-is, but you can tuck in tiny bits of faux eucalyptus for everyday décor, or add a deeper ribbon color for fall and winter. The neutral kraft paper works with just about anything.
Hanging tip: If the wreath will be on a covered door, the paper holds up nicely, but I’d keep it out of direct rain and heavy humidity. This one is best treated like indoor décor or protected porch décor.