
There’s something mighty satisfying about turning the most ordinary throwaway into something that looks like it belongs on a winter tree or tucked into a holiday window. I’ve always had a soft spot for projects like that, the kind where you stand back at the end and think, “Well now, who would ever guess what that started as?” This one is especially good for folks who like a budget-friendly craft with a big payoff and no fancy tools.
If you’ve got a dozen empty soda bottles and a little patience at the kitchen table, you can make a whole batch of sparkling winter decorations that catch the light beautifully. I like projects like this on cold afternoons, when the house is warm, the radio is on low, and you want something easy enough to enjoy but pretty enough to be worth hanging up year after year.
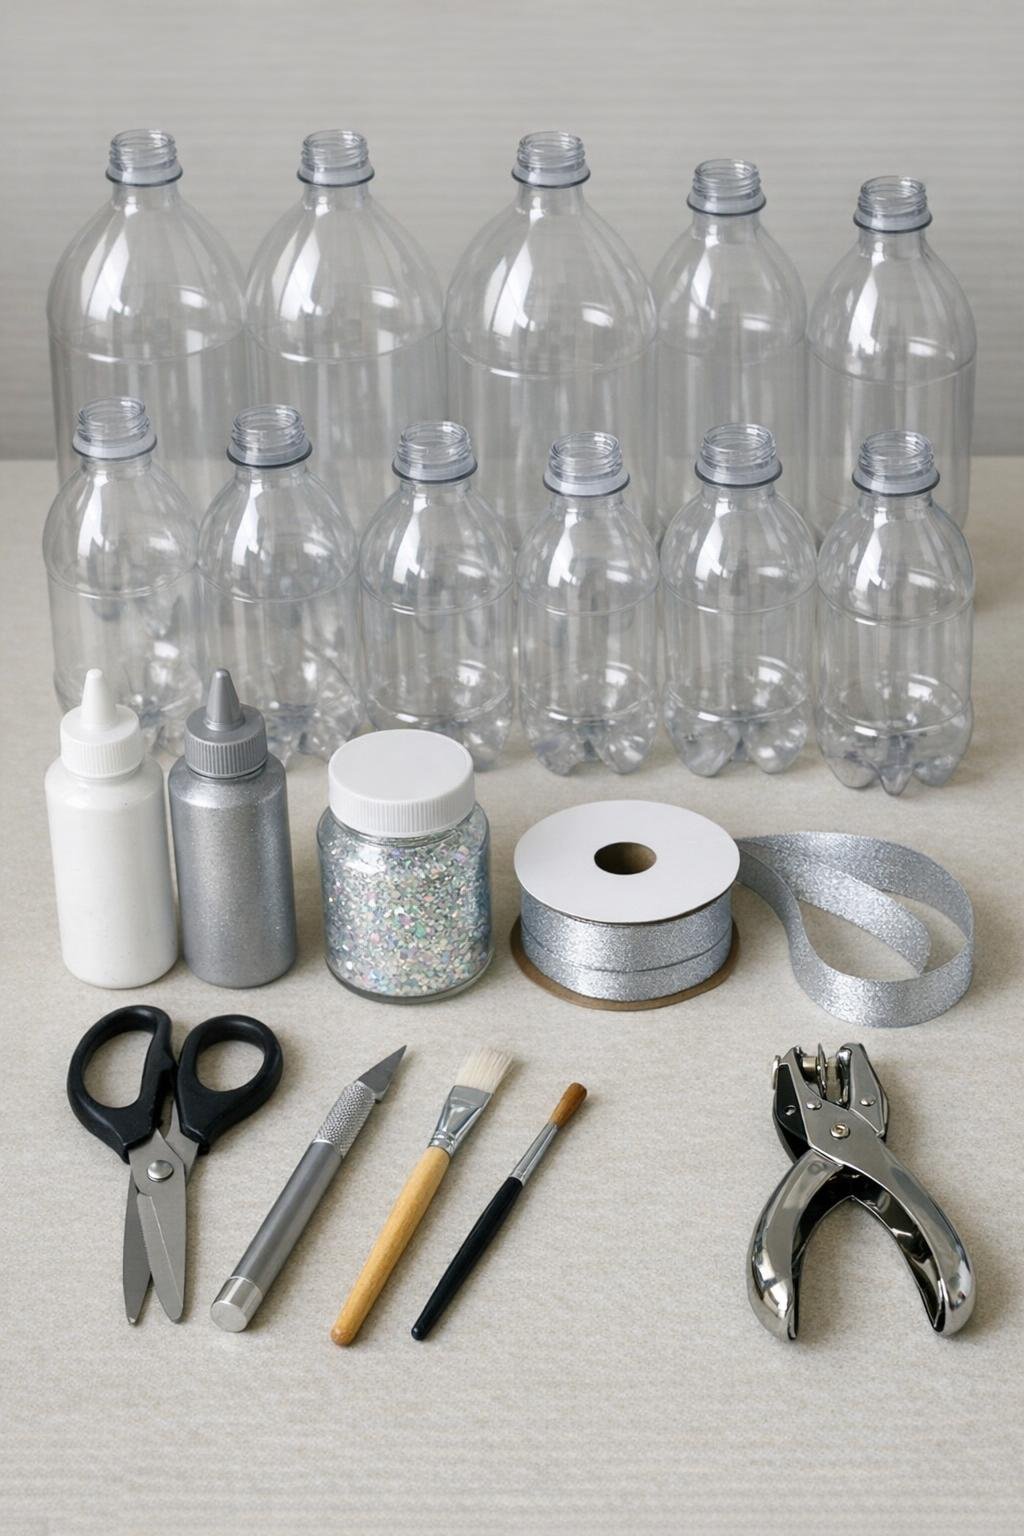
Materials
Instructions
1. Wash the bottles well, remove the labels, and let them dry completely so the paint and glue will stick cleanly. Any syrupy residue left inside can make the bottoms tacky, so I always give them one extra rinse.
2. Set each bottle on a protected table and use the craft knife to start a small slit about 1 to 1 1/2 inches above the base. Slide your scissors into the slit and cut all the way around to remove the bottom from all 12 bottles.
3. Trim the cut edges smooth so each plastic bottom looks even and petal-shaped, with no jagged bits sticking out. If one comes out a little lopsided, just snip tiny amounts until it balances nicely.
4. Press the center of each cut bottle bottom gently with your hand to flatten it just a touch if needed, but don’t crush the raised shape. Those molded ridges are what give the finished ornaments their snowflake look.
5. Pour a little white paint into one dish and silver paint into another, then use the small brush to dry-brush white paint over the raised ridges and outer edges of each piece. Leave some clear plastic showing through so the ornament still catches the light.
6. Add a light touch of silver paint around the center and on the tips of the molded “petals” for a frosty shine. I like to keep this part soft and uneven, the way real frost settles on a windowpane.
7. Let the paint dry for 20 to 30 minutes, then brush a thin coat of Mod Podge over the painted areas and sprinkle iridescent glitter on top. Shake off the excess and set the pieces aside to dry flat.
8. Once dry, add one more very thin coat of Mod Podge over the glitter if you want less shedding and a smoother finish. Let them dry completely before making the hanging holes.
9. Use a hole punch if the plastic is soft enough, or carefully heat a needle and make one hole near the edge of each ornament between two raised sections. Keep the hole about 1/4 inch from the rim so it’s sturdy enough to hang.
10. Thread a 10-inch piece of silver ribbon through each hole and tie it into a loop for hanging. If you want a more dressed-up finish, tie a small bow at the top of the loop or add a second tiny knot close to the ornament.
11. Make all 12 ornaments, then group them together and check the balance of color and sparkle. If any look too plain, add a little extra white paint or glitter to the center and edges so the whole set feels generous and wintry.
12. Hang them on a Christmas tree, across a window, on a wreath, or from a garland where the light can shine through the clear plastic. They look especially pretty when you cluster several together instead of scattering them one by one.
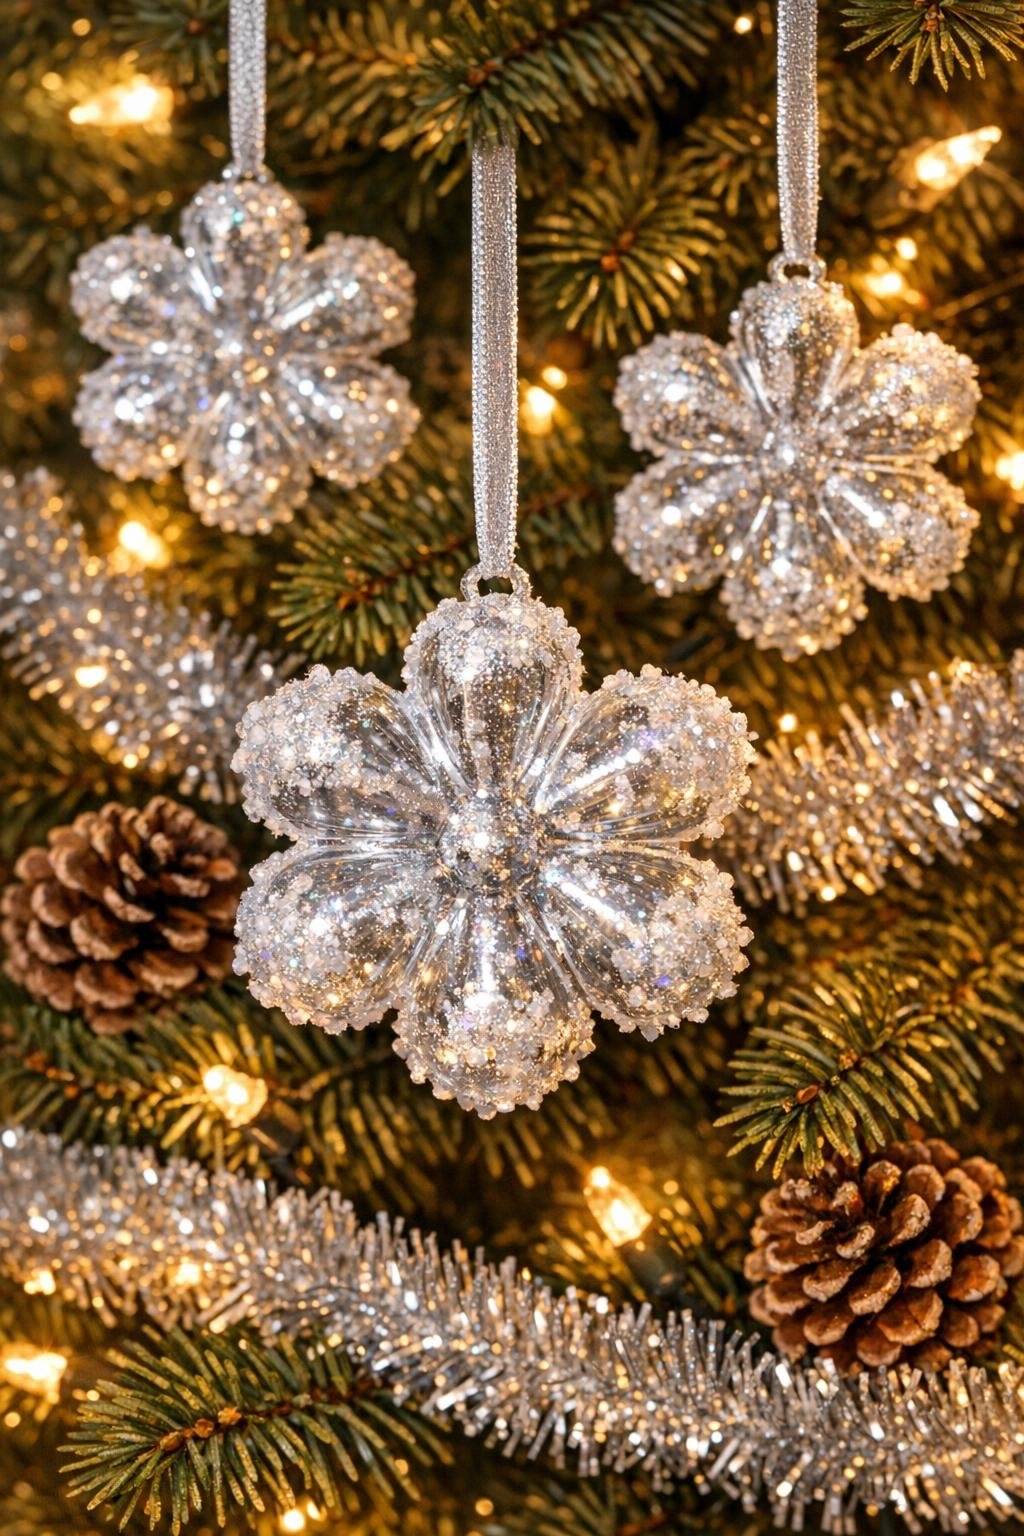
Variations & Tips
Use mixed bottle sizes: If you combine larger 2-liter bottoms with smaller 20-ounce bottoms, you’ll get a prettier layered look on the tree. I like hanging the big ones deeper in the branches and the small ones near the tips.
Try a heavier frost: For a more snowy finish, paint more of the surface white before adding glitter. You’ll lose a little of the clear look, but they’ll read more like icy snowflakes from across the room.
Make them into a window garland: Instead of tying separate loops, string several ornaments onto one long length of ribbon and hang them in front of a window. The light shining through them is what really makes this project sing.
Work safely when cutting: Bottle plastic can slip more than you’d think, so I always start the cut with the craft knife on a mat and finish slowly with scissors. Don’t rush that part; neat edges make the whole project look better.
Add a polished finish: A tiny silver bow at the top of each ornament gives them a dressed-up look without much extra work. That little finishing touch reminds me of the way my mother always said handmade things should look cared for, not hurried.
Store them flat: After the holidays, lay the ornaments in a shallow box between sheets of tissue paper. Since they’re lightweight, they keep well and won’t take up much room at all.