
If you garden in a place where spring likes to fake you out, this is one of those wonderfully simple projects that earns its keep fast. I use a galvanized trash can as a thermal mass anchor inside a raised bed, and once you drill drainage and airflow holes, then pair it with one other super-common yard staple, it becomes a low-fuss way to help buffer chilly nights before the last frost date.
What I love most is that this is not a fussy, complicated season-extension build. If you can handle a drill and haul a hose, you can make this in under an hour. It is especially great for raised-bed gardeners who want to protect tomatoes, peppers, basil, cucumbers, or tender starts without building a full hoop house right away.
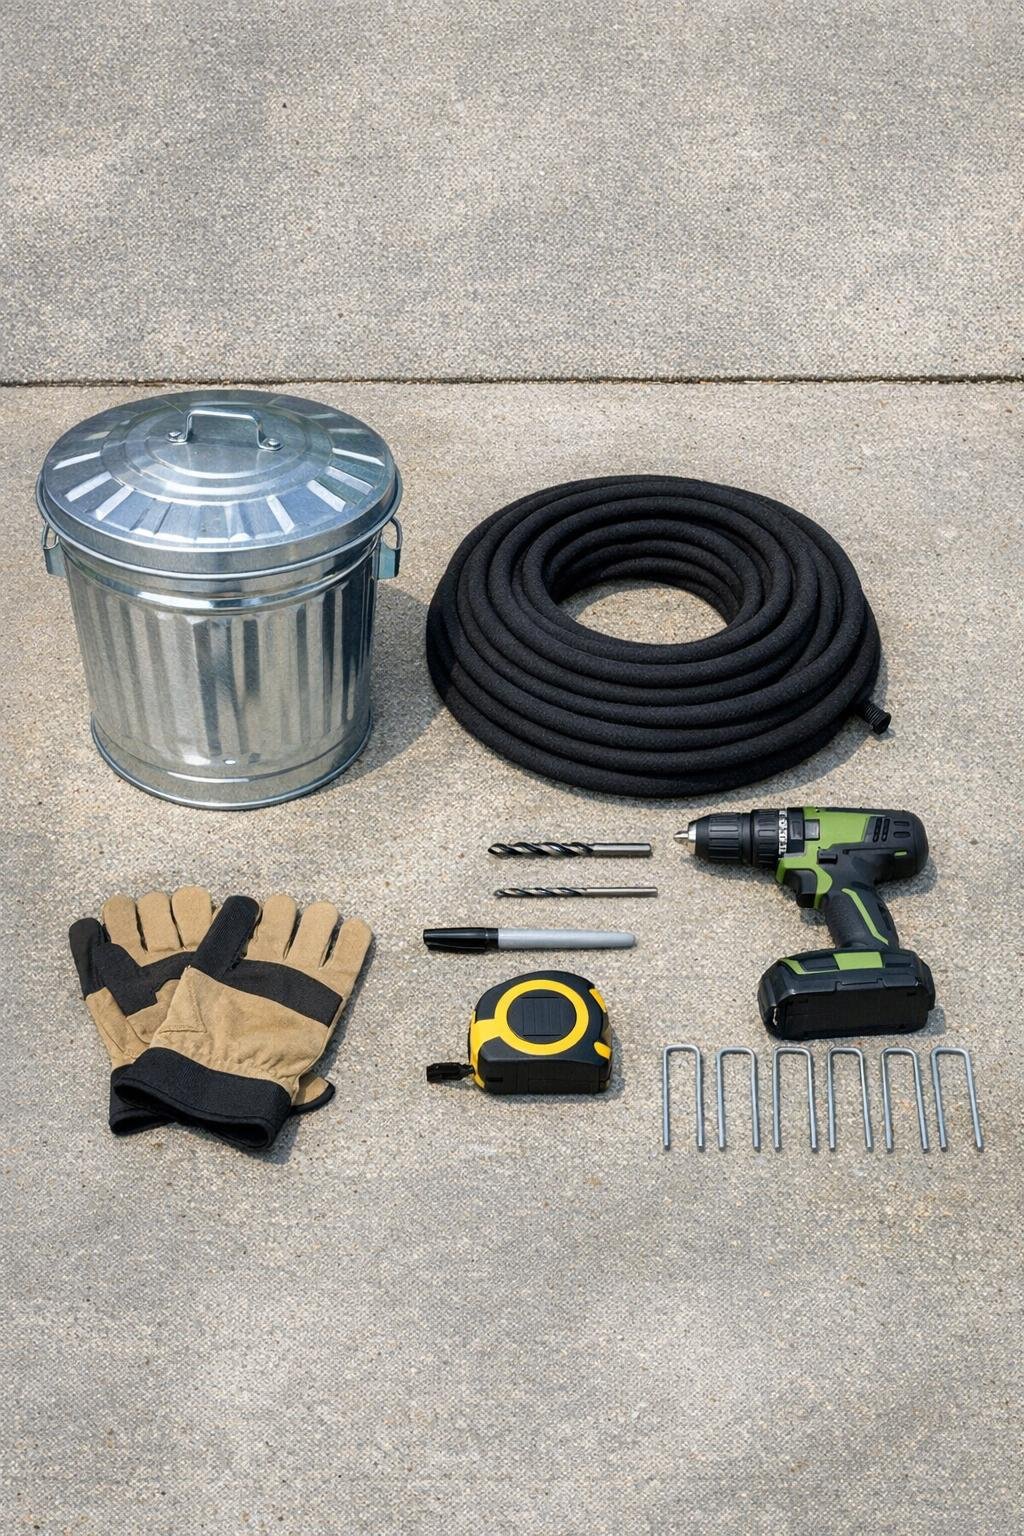
Materials
1 galvanized steel trash can with lid, 20-gallon size, approximately 18 inches wide x 24 inches tall
Instructions
1. Set the galvanized trash can on its side on concrete and mark the bottom with a ring of 3/8-inch holes spaced about 2 inches apart, keeping them 1 1/2 inches in from the outer edge.
2. Drill the 3/8-inch holes through the bottom of the can, then add 6 to 8 more 1/8-inch holes around the lower sidewall about 2 inches up from the base for slow airflow and drainage.
3. Smooth every drilled hole with a metal file or sandpaper block so there are no sharp edges to catch the hose or your hands.
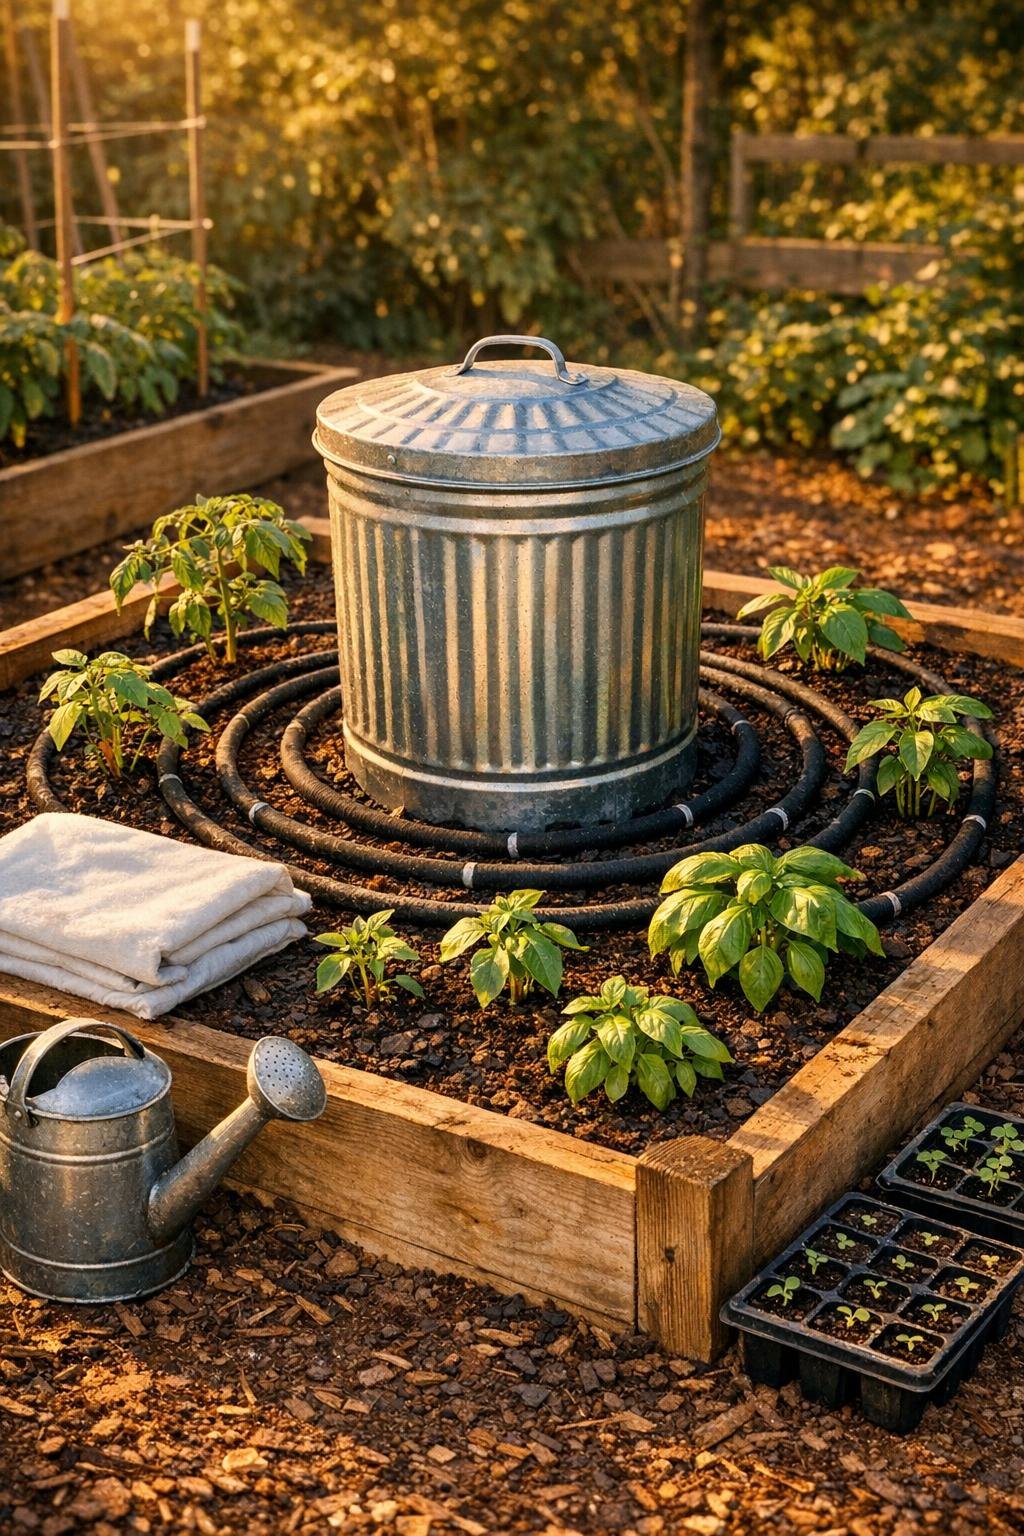
4. Choose the center or north side of your raised bed and set the can upright with the drilled bottom down, pressing it slightly into the soil so it sits level and stable.
5. Coil the soaker hose around the can in wide rings, starting 4 to 6 inches away from the metal wall and working outward until the bed is covered, leaving 8 to 12 inches between loops.
6. Pin the hose in place with 6 landscape staples so the loops stay evenly spaced and do not shift when you mulch or water.
7. Fill the trash can about three-quarters full with water, then put the lid on loosely so heat can build during the day while rain, mosquitoes, and debris stay mostly out.
8. Plant your tender crops around the hose pattern, keeping seedlings 4 to 6 inches off the hose line and at least 8 inches from the can so roots get warmth and moisture without crowding.
9. Water through the soaker hose and top off the can as needed; on sunny days the water in the can absorbs heat, and overnight that stored warmth gently radiates back into the bed while the moist soil holds temperature longer.
10. For nights near or below freezing, drape frost cloth over the bed in the evening and let the water-filled can act as the heat battery underneath for an extra layer of protection.
Variations & Tips
For colder nights: Paint the outside of the can matte black with exterior metal paint if you want it to absorb more daytime heat. Just be sure the paint is fully cured before it goes into the bed.
For smaller raised beds: A 10- to 15-gallon galvanized can works well if your bed is compact. I still like to keep it as large as the bed comfortably allows, because more water means more stored warmth overnight.
Best placement: I usually set the can where it will get the longest stretch of direct sun, even if that means offsetting it slightly from center. The more sun it gets, the better it performs as a heat sink.
Mosquito prevention: Keep the lid on loosely and make sure the drainage holes are open so water does not get stagnant. If you live in a buggy area, a piece of window screen tucked under the lid works nicely too.
Crop pairing: This setup shines with heat-lovers like tomatoes, peppers, eggplant, basil, cucumbers, and zucchini starts. I would not waste the prime warm zone on cool-season greens unless you are really pushing an early planting date.
Mulch matters: Add 1 to 2 inches of straw or shredded leaf mulch after planting. In my beds, that one extra step noticeably helps the soil hold both moisture and the can’s stored warmth.
Frost-cloth bonus: If a cold snap is coming, combine this with hoops and frost cloth for a much bigger payoff. The trash can does not replace a cover on truly cold nights, but together they make a surprisingly strong team.
Easy maintenance: Check the water level every few days during warm, windy stretches. When life gets busy during the workweek, I top mine off while I am already out watering dinner herbs, and it takes maybe two extra minutes.