
If your living room always seems to collect throw pillows on the sofa, the floor, and every chair in sight, this is one of those little home tricks that feels instantly useful. I love projects like this because they do not require complicated building, but they make a room look tidier, warmer, and more intentional in about an hour.
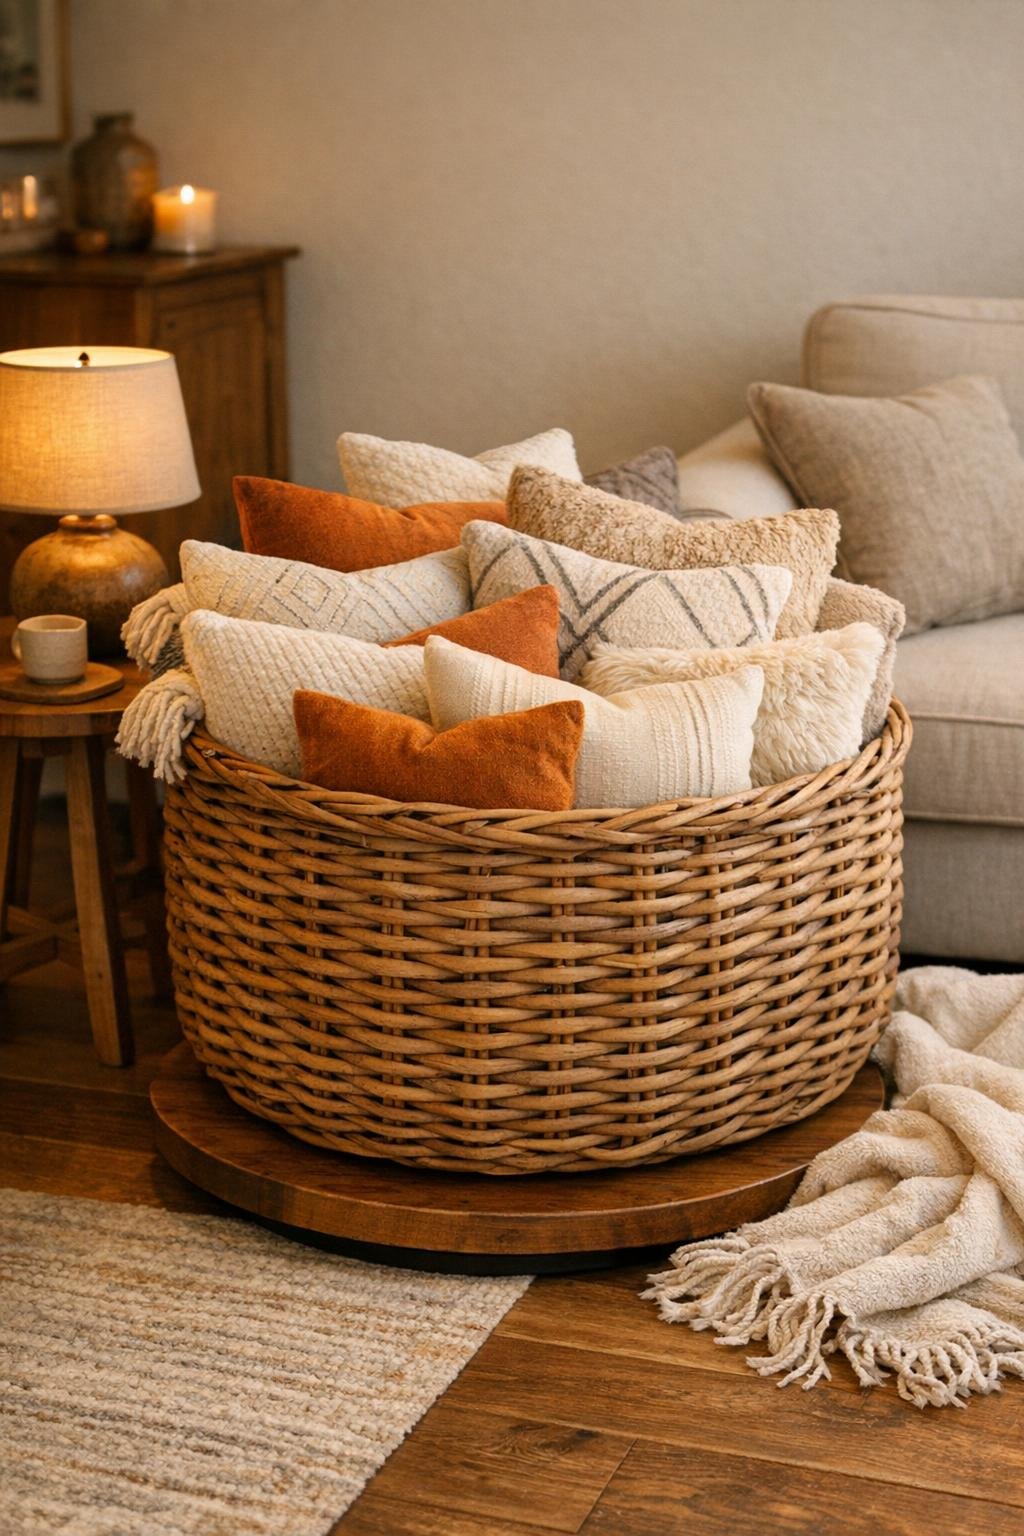
This DIY pillow storage basket is simply a large round wicker basket set onto a wooden lazy Susan base, then filled generously with throw pillows so they are easy to grab and easy to put away. It is perfect for families, cozy living rooms, and anyone who wants pretty storage that still works hard every day.
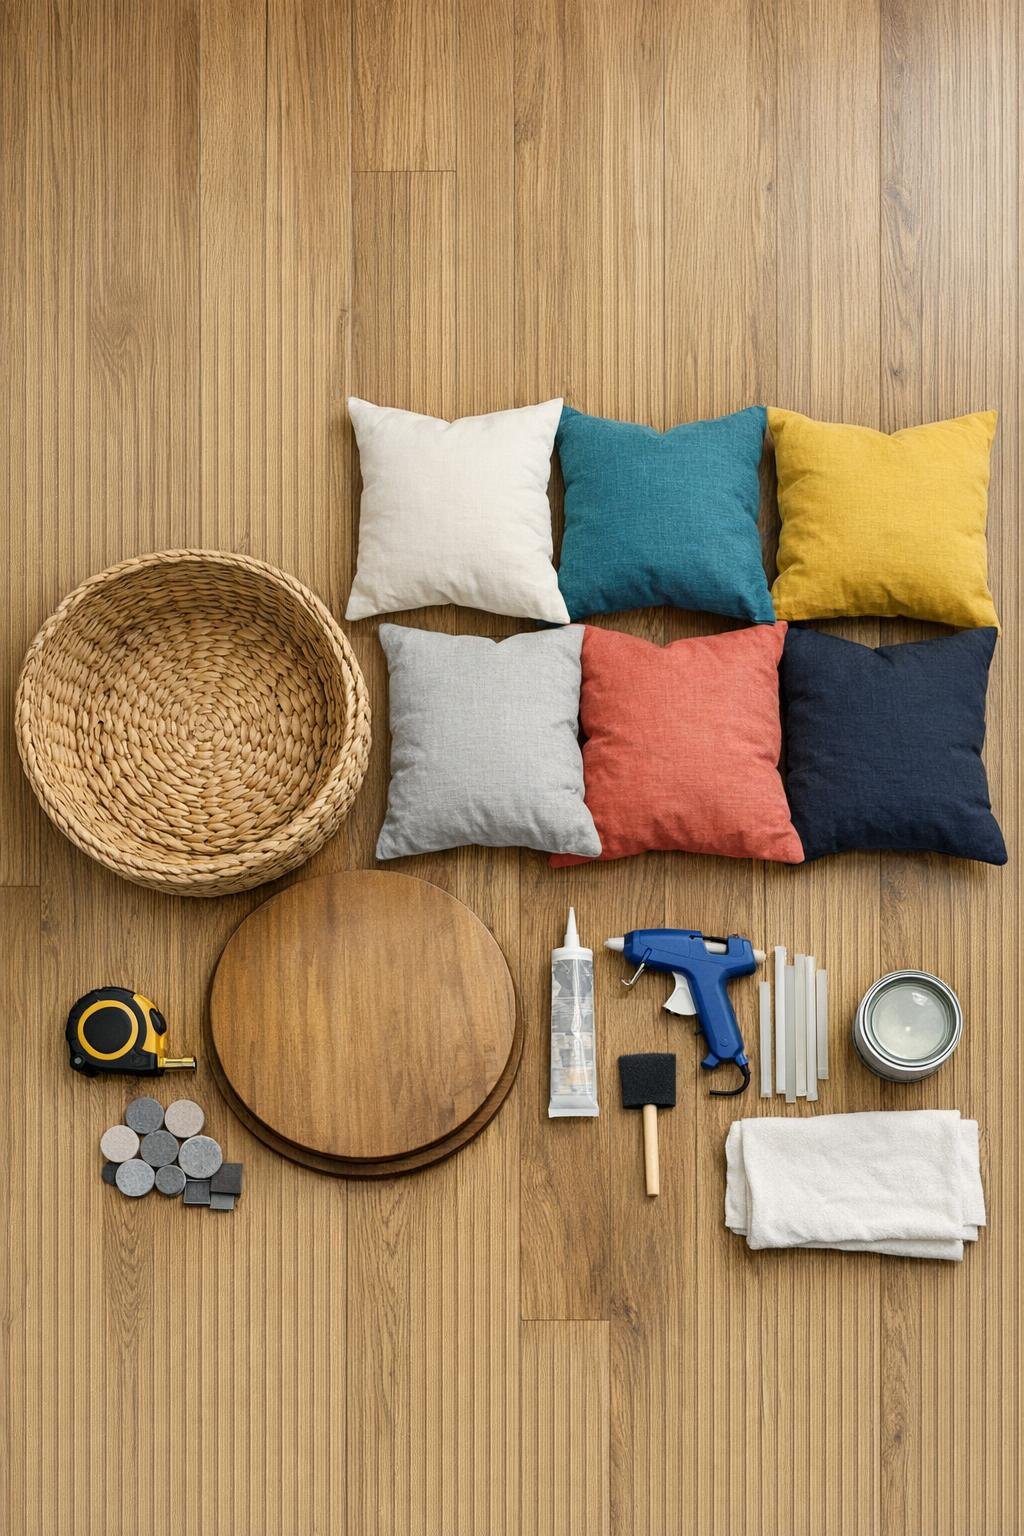
Materials
Instructions
1. Set the wicker basket on top of the lazy Susan base and check that the basket sits centered with an even overhang all the way around. Measure from the basket edge to the base edge in a few spots so the finished piece rotates smoothly.
2. Lightly sand the top of the wooden lazy Susan where the basket will sit, then wipe away dust with a clean cloth. This gives the adhesive a better surface to grip.
3. Brush on a thin coat of clear matte sealer over the top and outer edge of the wooden base, then let it dry completely. This simple finish helps the wood look polished and protects it from scuffs.
4. Turn the basket upside down and run a generous ring of construction adhesive around the bottom rim, adding a few lines across the center if the basket base is flat enough to touch the wood. If the wicker is uneven, add a few dots of hot glue too, just to hold it in place while the stronger adhesive cures.
5. Carefully center the basket on the lazy Susan base and press down firmly. Rotate the unit slowly by hand to make sure nothing shifts and the basket stays balanced.
6. Let the basket sit undisturbed for the full adhesive cure time recommended on the tube, preferably overnight. Once cured, flip the piece gently and test the spin again.
7. Add the felt furniture pads to the underside of the lazy Susan base if needed so it glides nicely and protects your floor. I like to place them evenly near the outer edge for the steadiest turn.
8. Start filling the basket with the largest throw pillows first, standing them upright around the outer edge to create a full, rounded wall of color and softness. Use all six standard pillows so the basket looks abundant instead of skimpy.
9. Tuck the smaller lumbar and accent pillows into the center and slightly angle a couple toward the front. This makes the basket look styled while still keeping every pillow easy to grab.
10. Place the finished basket beside the sofa, near a reading chair, or by the fireplace where your family naturally drops pillows and blankets. Give it one last turn to make sure the prettiest side faces outward and the whole piece spins freely.
Variations & Tips
For small living rooms: Use a basket closer to 18 inches wide and limit yourself to four large pillows plus two smaller accents so the storage still feels full without taking over the room.
For picky family members: If everybody in the house has a favorite pillow, choose covers in different textures like velvet, knit, or cotton so each person can spot theirs quickly and actually put it back.
Add blanket storage too: Tuck one folded throw blanket down the center first, then arrange the pillows around it; it makes the basket even more useful on movie nights.
Keep it sturdy: If your basket has a very open or uneven weave on the bottom, cut a round insert from 1/4-inch plywood to fit inside the basket base before attaching it to the lazy Susan for extra support.
Make it match your decor: You can leave the wicker natural for a warm casual look, or dry-brush the outside with white, black, or soft taupe craft paint for a more tailored finish.
Best placement: I like this most at the end of a sofa where it can rotate toward whoever needs a pillow. It feels especially nice in family rooms where guests gather and everyone wants to get comfortable fast.