
Some of the handiest kitchen projects are the ones that use what you already have in a fresh way, and this little tablet stand is exactly that kind of fix. We’re turning a wooden cookbook holder and a tall glass jar of cinnamon sticks into a sturdy, good-looking tablet perch that keeps your screen upright while you cook, bake, or keep up with a favorite show while supper simmers.
I love a project like this because it doesn’t ask for a workshop full of tools or a whole afternoon of fussing. It’s especially nice for folks who want their kitchen helpers to feel warm and homey instead of cold and gadgety. If you’ve got a wooden holder with a groove, a tablet, and a pantry corner that could use a little charm, this comes together in minutes and looks right at home on the counter.
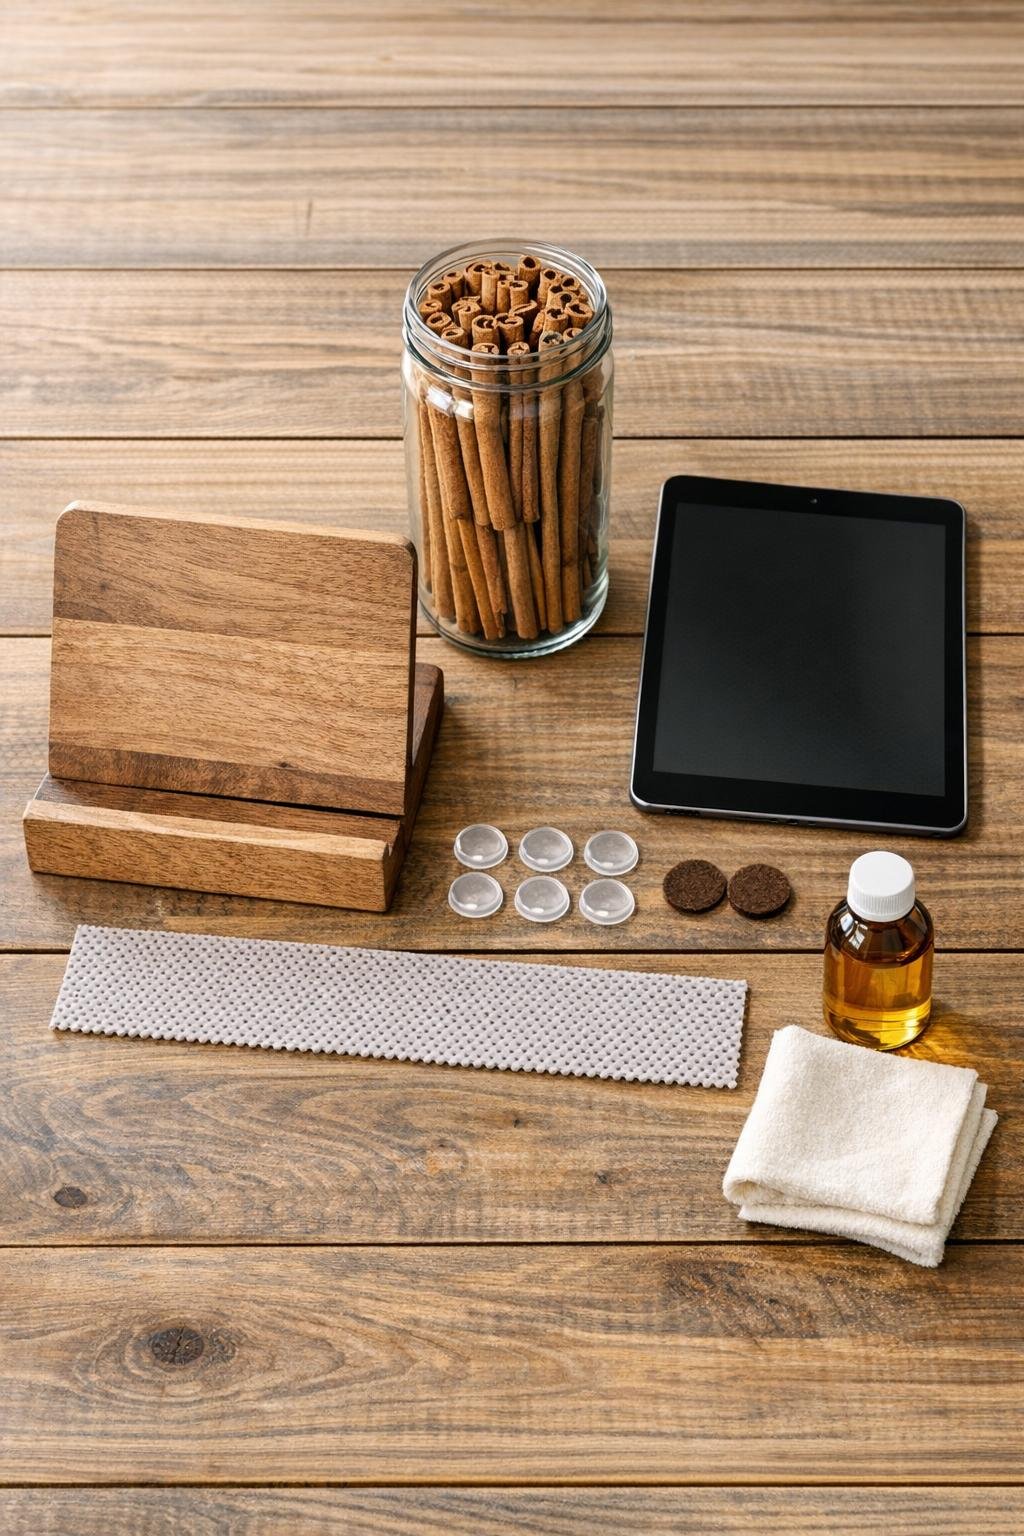
Materials
Instructions
1. Wipe the wooden cookbook holder, the jar, and the counter area clean so everything starts dry and grease-free.
2. Rub the wooden holder with the food-safe oil using the cloth, then let it soak in for 5 minutes and buff off any extra so the wood looks refreshed and polished.
3. Fill the tall glass jar tightly with cinnamon sticks, standing and layering them until the jar feels weighty and stable enough to brace the holder without tipping.
4. Cut or place the non-slip shelf liner where the holder will sit, making a base patch large enough to keep both the wooden holder and jar from sliding on the countertop.
5. Stick the 4 clear rubber bumper pads to the underside corners of the wooden holder so it grips better and sits a touch higher off the counter.
6. Add the 2 felt pads to the groove where the tablet rests, spacing them apart so they cushion the tablet edges without blocking the charging port or speakers.
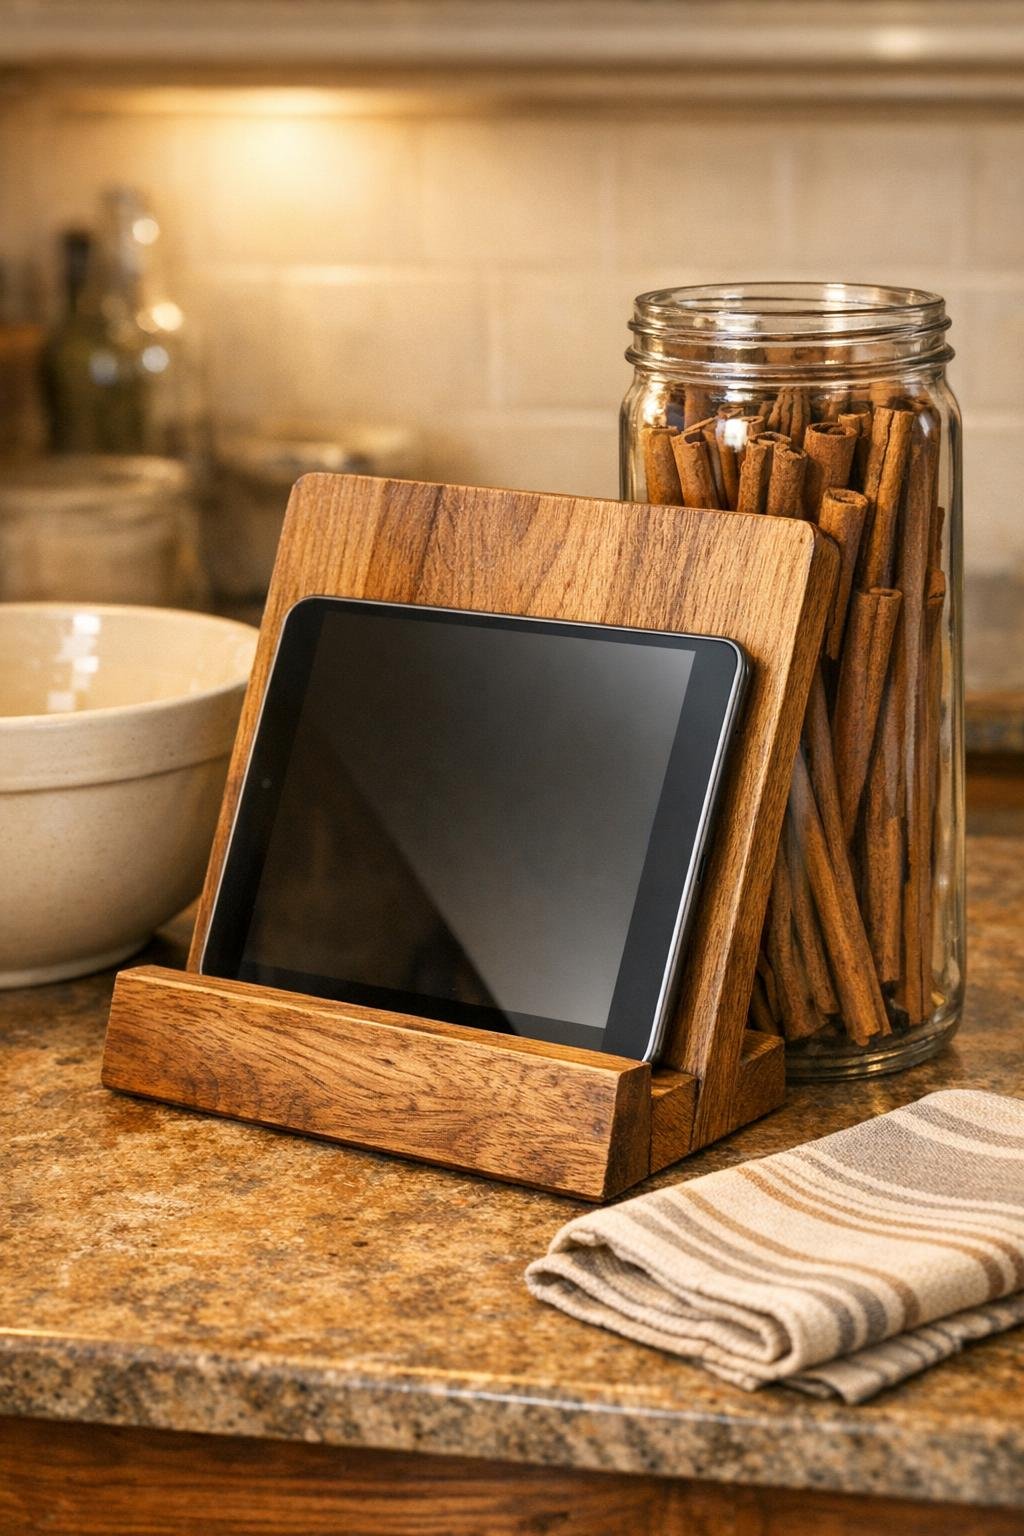
7. Set the jar on the non-slip liner, then angle the wooden holder against it so the back of the holder leans securely on the cinnamon-filled jar.
8. Test the angle with your hand before adding the tablet; if the holder feels too upright, move the jar slightly closer, and if it feels too reclined, nudge the jar back a bit.
9. Slide the tablet gently into the groove and center it so the weight stays balanced and the screen sits squarely for easy reading.
10. Check that the jar, holder, and tablet all stay steady when you tap the screen; if needed, tighten the cinnamon sticks in the jar or widen the non-slip base patch for extra grip.
11. Place the finished stand near your prep space, leaving enough room around it to keep flour, splatters, and hot pans from bumping the screen.
Variations & Tips
For a heavier tablet: Use a wider jar and pack in 45 to 50 cinnamon sticks so the back support has more weight and won’t scoot when you tap the screen.
If your holder groove is shallow: Add a second felt pad layer or a thin strip of cork inside the groove to help the tablet sit snugly without scratching.
For a prettier kitchen look: Choose a honey-toned oil for the wood and use fresh-looking cinnamon sticks packed tightly and evenly; that little bit of care makes the whole thing look intentional instead of improvised.
To protect the counter: Keep the non-slip liner just a touch larger than the footprint of the holder and jar so moisture or crumbs don’t make the setup wander.
Easy seasonal change: I like cinnamon sticks because they feel cozy year-round, but you can swap the jar filler for dried beans, wine corks, or smooth pebbles as long as the jar stays heavy and stable.
Best kitchen placement: Set the stand off to one side of your main work area rather than directly behind the mixing bowl; that keeps the screen readable and saves it from steam and splashes, which is a lesson I learned the messy way making pie filling one autumn afternoon.