
There is something awfully satisfying about taking a plain little household item and coaxing a bit of beauty out of it with your own hands. This project starts with one of those shiny disposable roasting pans from the dollar store and just a few simple tools, but the surface changes in the prettiest way as you work. The gentle pressing, the soft texture under your hands, and the way the metal catches the light remind me of the kind of quiet craft that lets your mind settle down while you make something lovely.
I especially like this sort of project because it feels forgiving and thrifty at the same time. If you enjoy easy holiday crafts, handmade wall décor, or making something special without buying a pile of supplies, this is a good one to try. It looks detailed and ornate when it is finished, but the method itself is simple enough for a slow afternoon at the kitchen table.
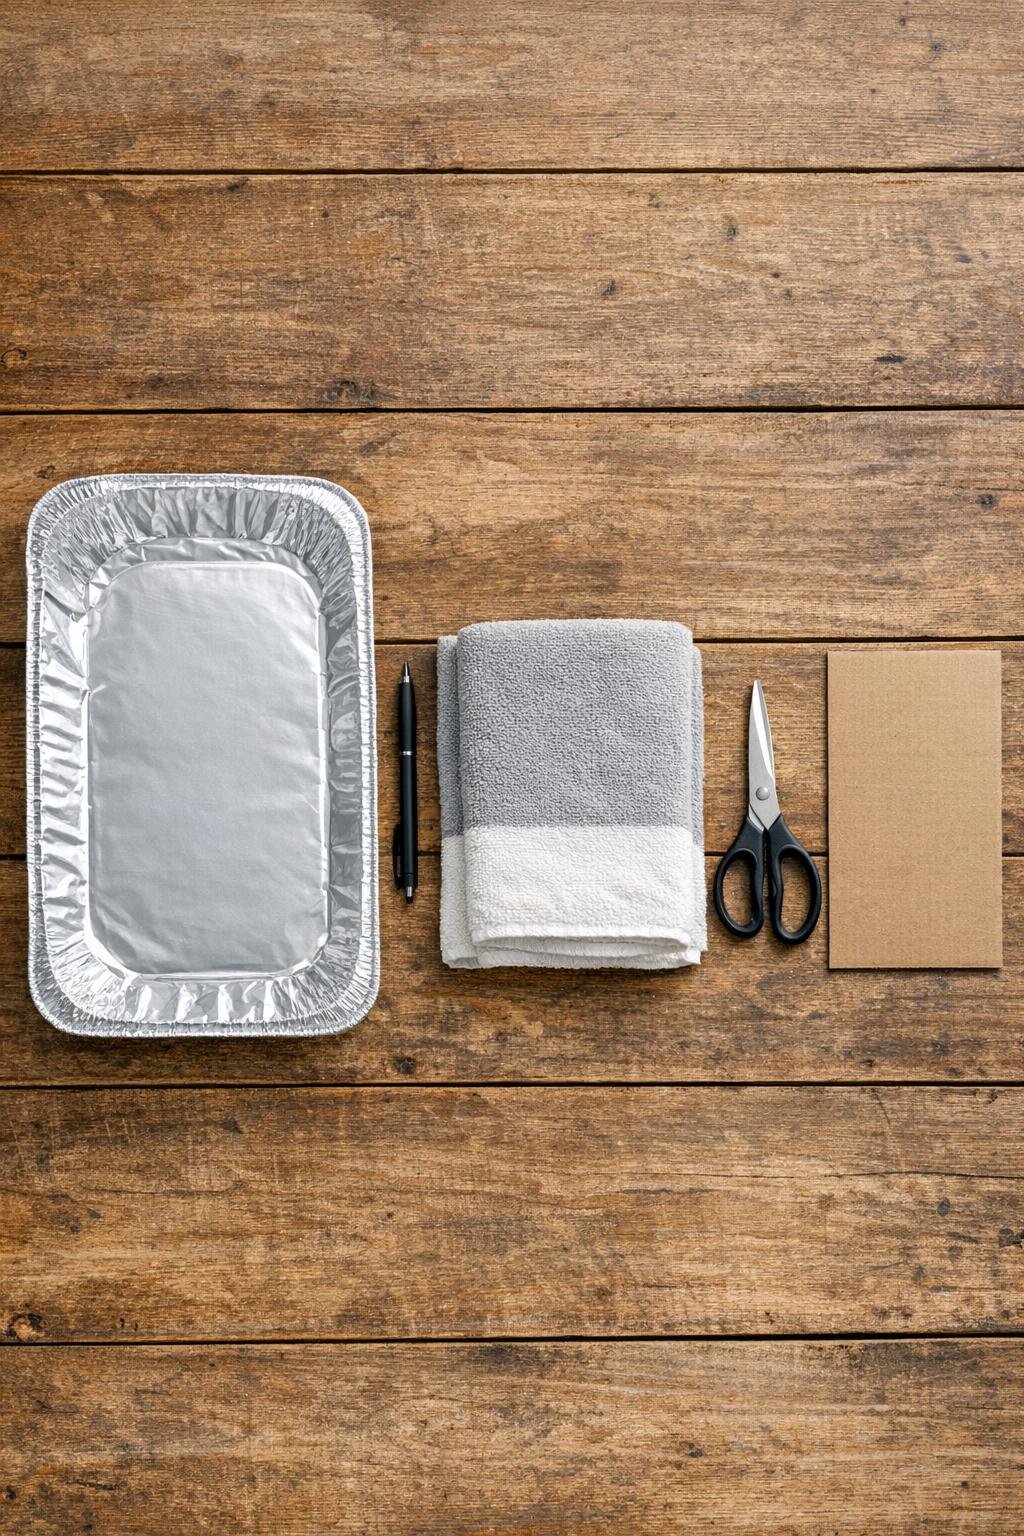
Materials
Instructions
1. Open the foil roasting pan and gently flatten the bottom area with your hands so you have the largest smooth working surface possible. Leave the silver finish as is, since that bright metal is what gives the design its charm.
2. Set the folded towel on your table and place the flattened foil pan on top with the inside facing up. The towel gives just enough cushion so the pen can press lines and dots into the metal without tearing it.
3. Imagine or lightly sketch a simple Christmas tree shape centered on the flat bottom panel, about 7 inches tall and 5 inches wide, with a small trunk at the bottom. Keep the shape full and classic, with layered branches tapering to a point.
4. Use the ballpoint pen to press a line of tiny dots all around the outer edge of the tree, spacing them about 1/8 inch apart. Work slowly and press firmly enough to leave a rounded dimple, but not so hard that the foil punctures.
5. Add branch lines inside the tree by pressing short scalloped rows from side to side, starting at the top and widening each row as you move downward. Fill the whole tree so it looks lush and layered instead of sparse.
6. Press a vertical line for the trunk and fill it with close dots or short strokes to give it texture. Then add a small embossed star at the top by pressing five simple points with tiny dots around it.
7. Dot the background around the tree with scattered pressed stars, swirls, or snow-like dimples, keeping the decoration denser near the tree and lighter near the edges. This extra embossing makes the whole piece sparkle once it is hung up.
8. Lift the foil and turn it slightly in the light to check the pattern, then go back and deepen any lines that look faint. If an area flattens too much, just place it back on the towel and re-press the design.
9. Cut out the embossed panel, leaving a narrow border of about 1/2 inch around the design. Round the corners or trim the border into a tidy tree-framing shape so it looks intentional and polished.
10. Trim the cardboard backing slightly smaller than the foil panel if needed, then center the foil on top. Fold the foil edges gently over the cardboard or secure the back with small pieces of tape so the front stays smooth.
11. Attach the loop of twine or ribbon to the back near the top with glue or tape, making sure it is centered for hanging. Press everything flat and let any glue set for a few minutes.
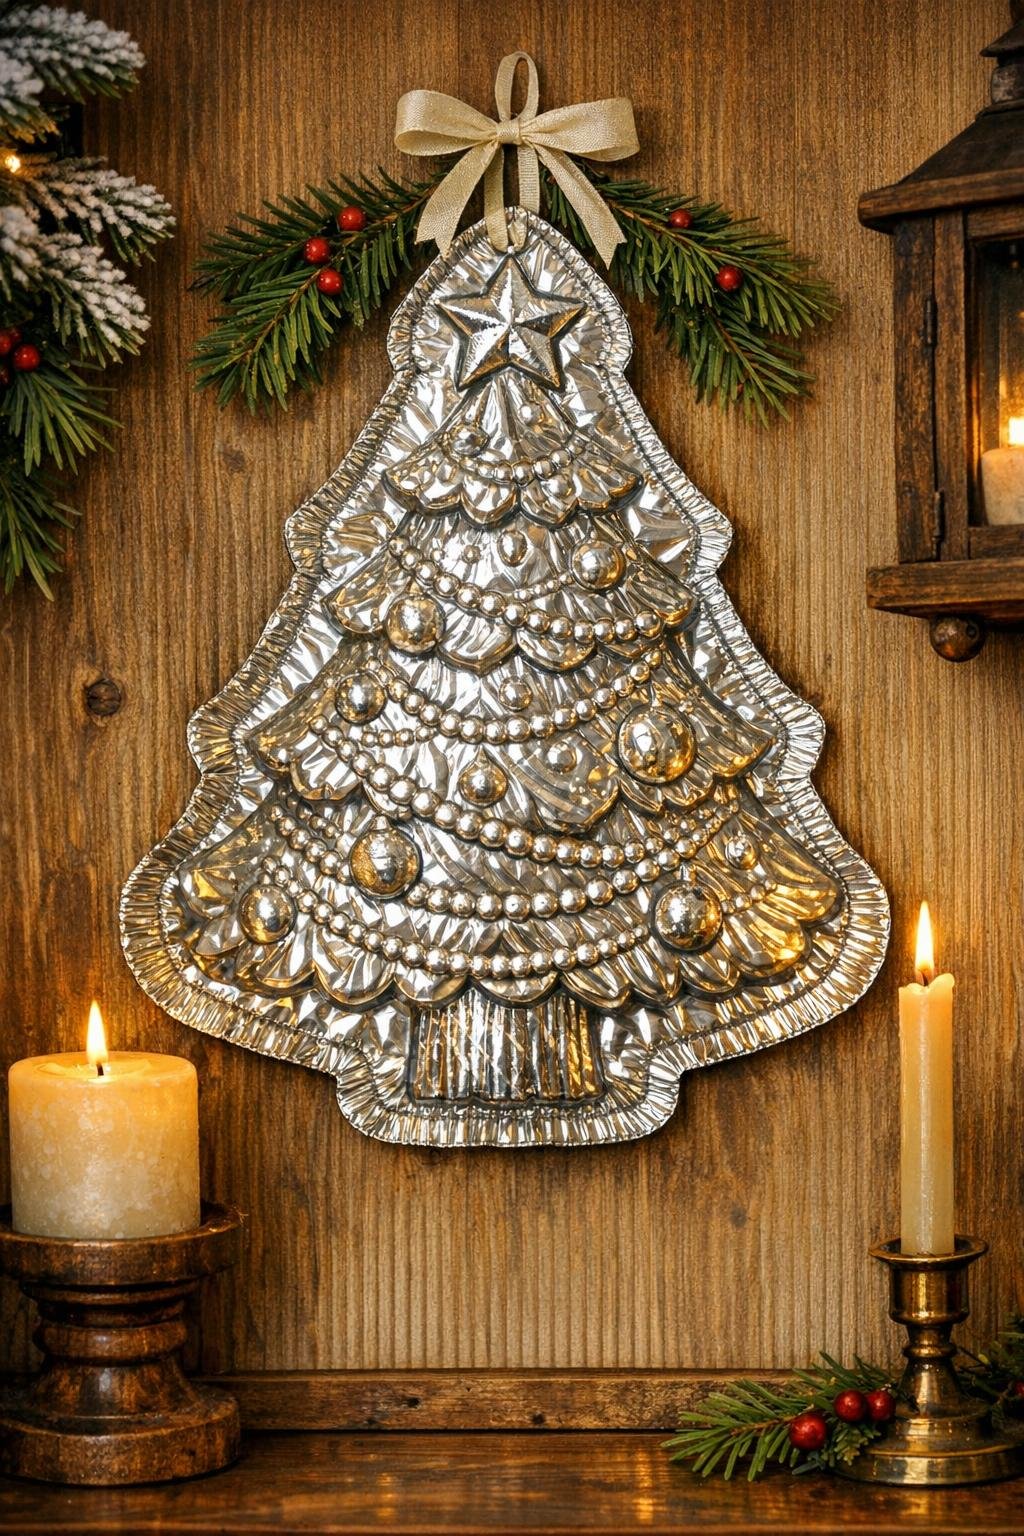
12. Hang the piece where light can catch it, or lean it on a shelf to admire the embossed pattern. The simple silver surface and all those hand-pressed details are what give it that magical old-fashioned look.
Variations & Tips
Make it fuller: If you want a more dramatic result, add more dotted garland lines across the branches and fill empty areas with tiny snow dots. Foil always looks richer when the texture is generous.
Keep the foil from tearing: A pen with a rounded tip works best, and the towel underneath matters more than people think. Too hard a surface can cut the foil instead of embossing it.
Try a framed look: Instead of trimming close to the tree, leave the panel rectangular and emboss a border of dots and little vine shapes around the edges. That gives it the feel of an old pressed tin plaque.
Use better light: This piece comes alive near a lamp, window, or string lights because the raised design throws little highlights and shadows. I like tucking something shiny like this into a dim corner that needs a bit of holiday glow.
Save your scraps: Small leftover pieces of embossed foil can be cut into stars, tags, or little ornaments. In my house, those odds and ends often turn into next year’s decorations before I’m done cleaning up.