
When I’m putting my raised beds to sleep for the season, I always have that one nagging concern: critters suddenly decide my tidy soil is the perfect buffet or burrowing zone. This little barrier is one of those wonderfully scrappy garden fixes that looks almost too simple to work, and then it absolutely earns its keep. By punching holes in aluminum pie tins and stacking them with two inexpensive dollar store basics, you can make a rust-free, easy-to-spot perimeter guard that helps discourage squirrels, chipmunks, and other small bed-raiding pests from hopping in and digging around.
What I like most about this project is that it’s quick, inexpensive, and surprisingly generous in coverage. We’re not making one tiny noisemaker stake here; we’re making a full end-of-season raised bed barrier with repeated pie tin clusters all the way around the bed so it actually looks intentional and does the job. If you’ve got a standard 4 x 8-foot raised bed and want a low-effort project with a big payoff, this is exactly the sort of practical garden trick I love.
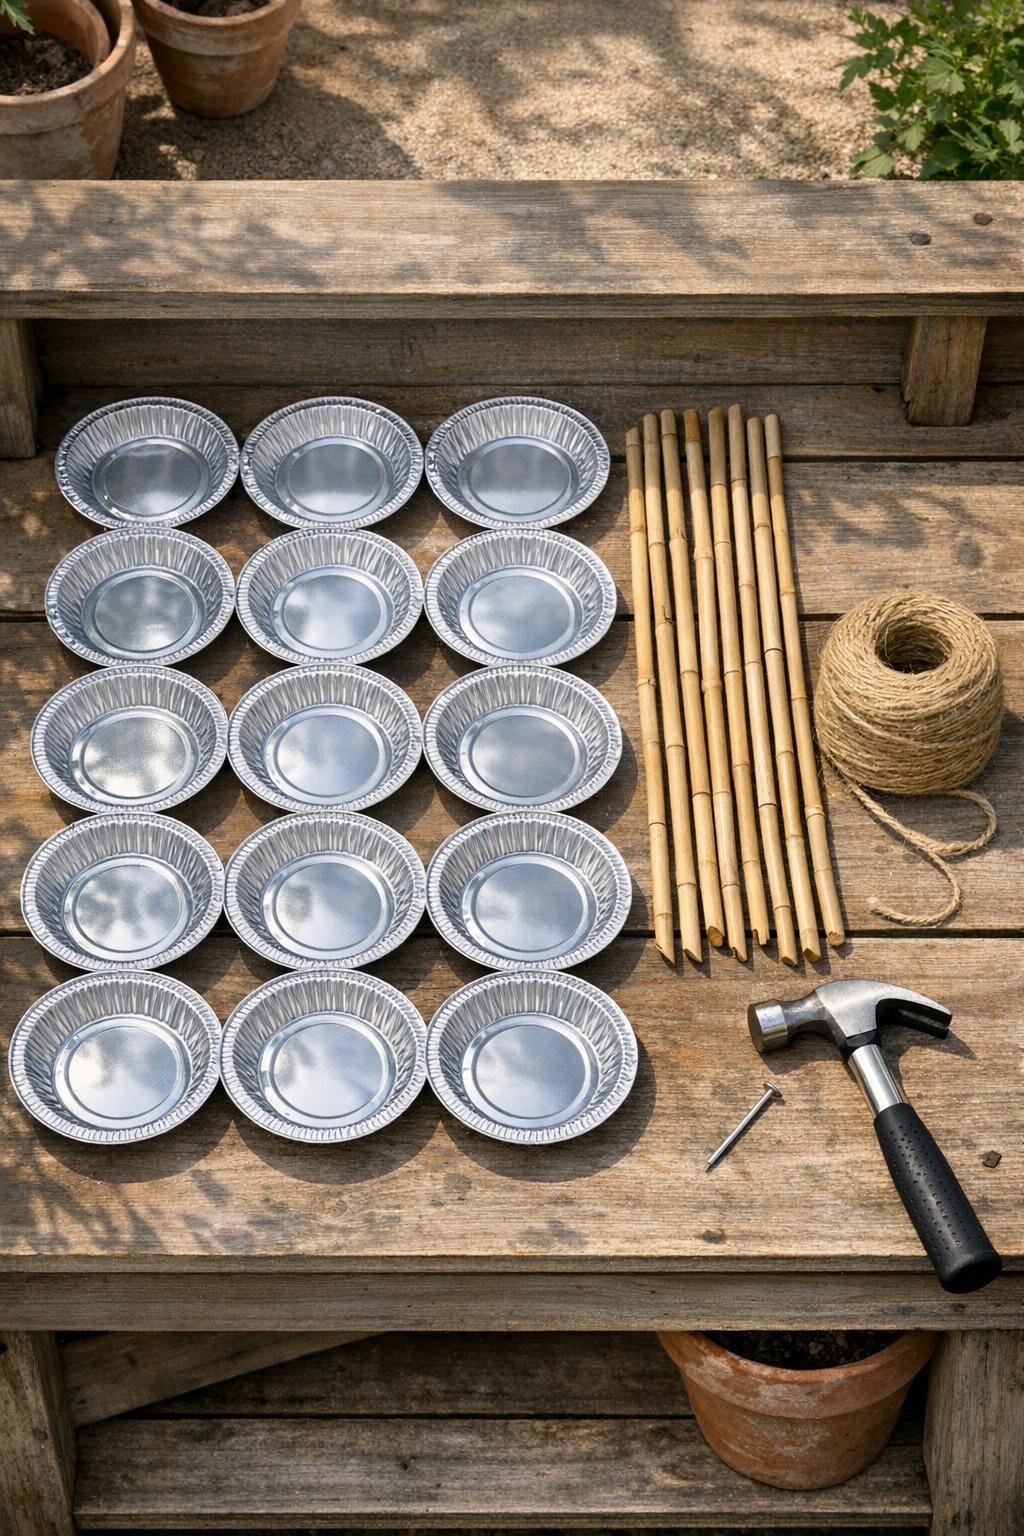
Materials
Instructions
1. Measure the outer perimeter of your raised bed so you can space the barrier evenly; for a standard 4 x 8-foot bed, plan on 8 stake stations, one near each corner and one centered on each long side.
2. Put on gloves, stack 2 aluminum pie tins together, and use the nail and hammer to punch 8 evenly spaced holes about 1/2 inch in from the rim of both tins at once.
3. Repeat with the remaining tins until you have 8 matching pairs; if any punched edges feel sharp, press them flat with the hammer head.
4. Mark each bamboo stake at 6 inches, 16 inches, and 26 inches from the pointed end so your pie tin clusters will sit at consistent heights.
5. Cut 24 lengths of jute twine, each 18 inches long, so you have three ties for each stake.
6. Set one pie tin pair against a stake at the 6-inch mark, then thread and tie the twine through opposite holes and around the stake in a snug crisscross so the tins can wobble slightly but won’t slide down.
7. Attach a second pie tin pair at the 16-inch mark and a third tie point around the same pair if needed to keep it balanced; repeat at the 26-inch mark only if you’re using taller stakes and want extra sound and sparkle, otherwise keep one pair per stake for an 8-station barrier.
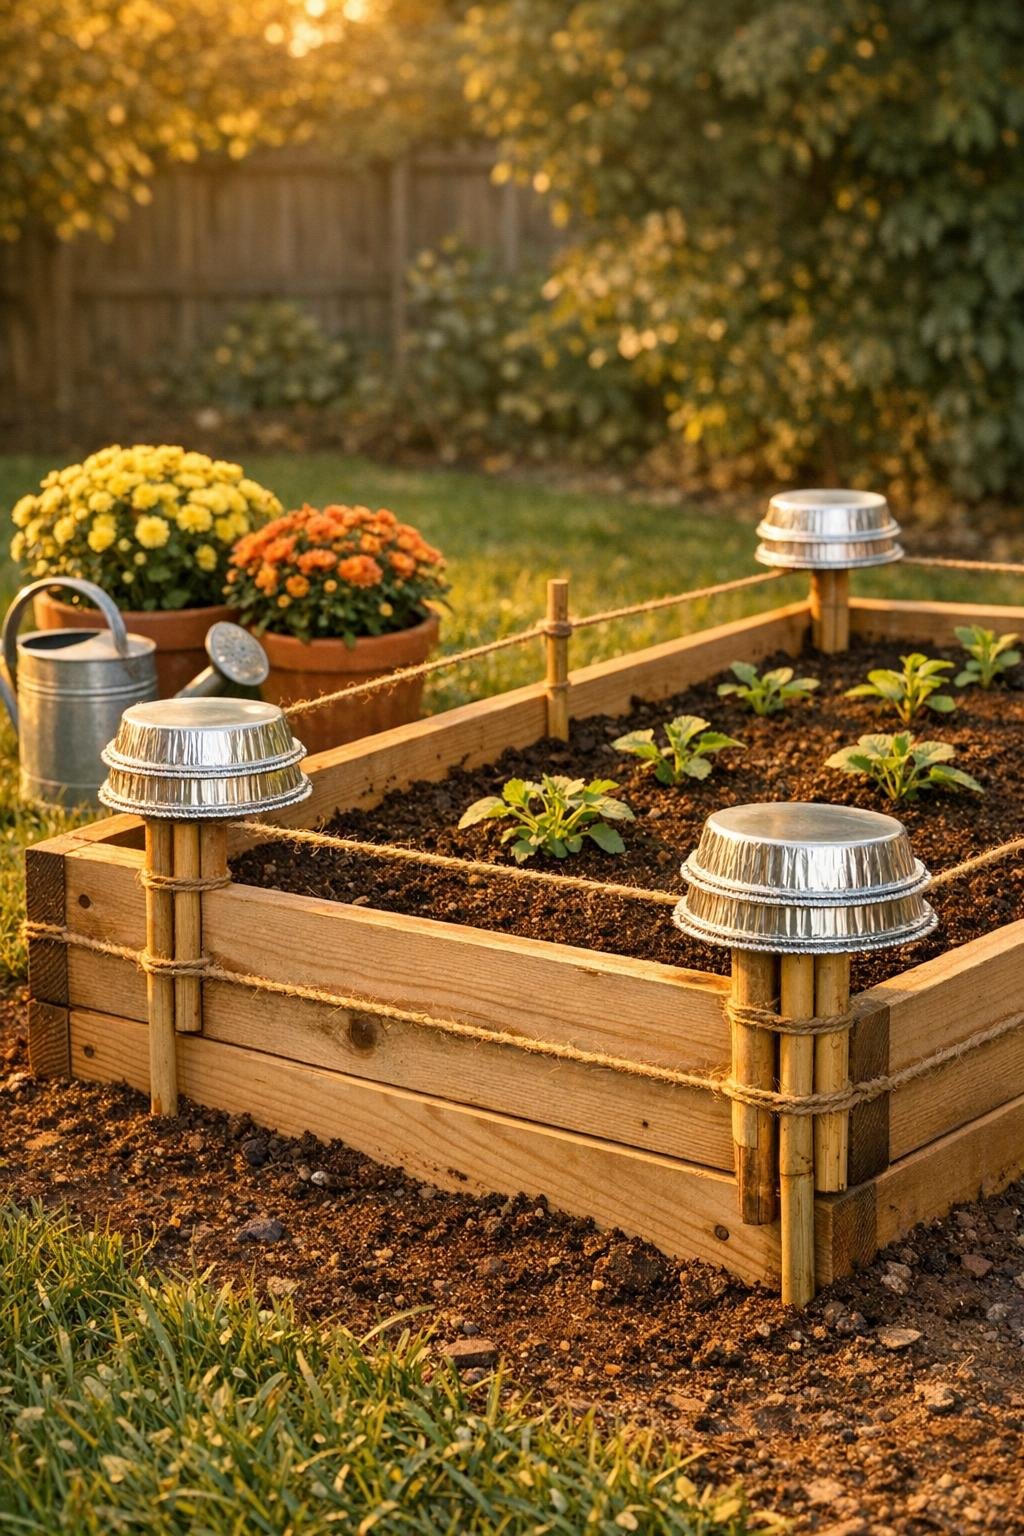
8. Finish all 8 stakes the same way, keeping the tins facing outward so they flash light and tap gently when moved by wind.
9. Push the stakes into the soil just outside the raised bed frame, 4 to 6 inches deep, placing one at each planned station and angling the tins slightly toward the bed.
10. Run jute twine from stake to stake around the bed, wrapping once near the top tin pair and once near the lower area if you want a more defined visual barrier for small animals.
11. Pull the twine taut enough to stay neat but not so tight that it bends the stakes; the goal is a visible, gently moving perimeter line with rattling reflective accents.
12. Walk around the bed and flick each tin pair lightly to be sure it moves and makes a bit of noise, then adjust any ties that are too tight or too loose.
13. For a cleaner finish, trim the twine tails to 1 inch and tuck knots behind the tins so the barrier looks orderly from the garden path.
14. Check the barrier after the first windy day and after heavy rain, then retighten or reposition any stake that shifted so the full perimeter stays intact through the end of the season.
Variations & Tips
For larger beds: Use 10 to 12 stake stations instead of 8 so the reflective movement is dense enough to read as a real perimeter, not scattered decoration.
For windier yards: Punch the holes slightly closer to the rim and use two twine ties per pie tin pair so they rattle without flipping hard against the stake.
For persistent squirrels: Add a second run of twine 6 to 8 inches above the first to create more visual interruption around the bed edge.
For wet weather: Jute looks natural, but if your season is especially rainy, swap it for outdoor nylon twine in the same layout for longer life.
For a neater look: Keep all the pie tins facing the same direction and space every stake evenly; that little bit of order makes a bargain-bin project look surprisingly polished.
When to use it: I find this most helpful after cleanup and replanting, when freshly disturbed soil seems to invite every curious creature in the neighborhood.
Safety tip: Aluminum edges can be sharp after punching, so gloves are worth it from start to finish, especially if you’re making several stake clusters in one sitting.