
I have a soft spot for any project that turns a hardworking old garden tool into something useful for the house, and this one does exactly that. A vintage tomato cage already has the bones of a basket in it, and with a little bending and a lot of chunky rust-colored crochet, it becomes a sturdy storage basket with real character. It’s the sort of make that looks clever and resourceful at the same time, which is probably why I like it so much.
If you can do a basic single crochet and don’t mind working around wire, this is very doable. I especially love it for folks who have a few bent-up cages leaning in the garage and no desire to throw them out. The finished basket is roomy enough for throw blankets, yarn, kindling, rolled towels, or garden clippings, and the wire frame keeps it standing up beautifully.
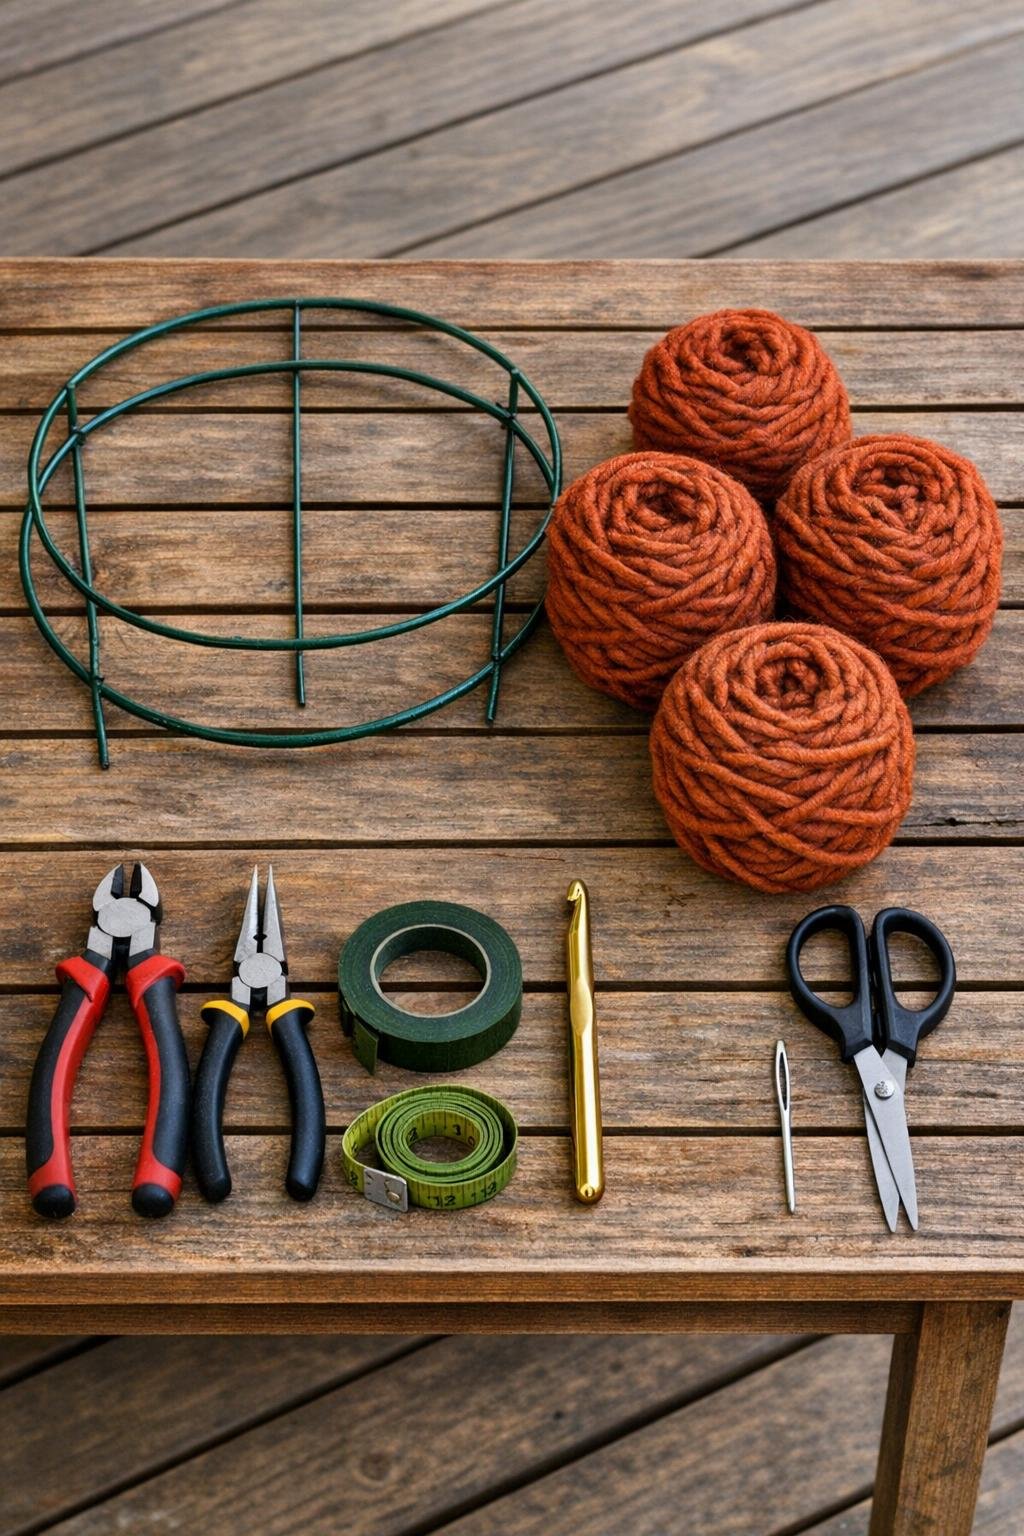
Materials
1 vintage metal tomato cage, approximately 42 to 54 inches tall before reshaping
Instructions
1. Wash off the tomato cage and let it dry fully, then use pliers to straighten any badly bent sections so the wire frame is solid and safe to handle.
2. Cut away any loose or broken wire ends with wire cutters, and bend every cut end inward with pliers so there are no sharp points waiting to snag the yarn.
3. Flatten the tomato cage by pressing the rings and vertical wires gently outward on the ground or against a sturdy surface until it opens into a broad panel.
4. Bring the flattened frame around into a rounded basket shape, overlapping the side edges by 2 to 3 inches so you get a deep oval or round body with an open top.
5. Twist the overlapping side wires together at three or four points from bottom to top, using pliers to make the seam snug so the basket holds its shape on its own.
6. Bend the narrow bottom end of the reshaped cage inward to form the base, tucking and crossing the lower wires until you have a reasonably flat bottom that will sit without wobbling.
7. Wrap floral tape around the seam, the tucked bottom joins, and any rough spots so the yarn will slide without catching and the finished basket feels smoother to the touch.
8. Make a slipknot with the rust yarn and tie it securely around one lower wire near the seam, then chain 1 to start crocheting directly onto the frame.
9. Work single crochet stitches tightly around the bottom wires, covering each section of metal as completely as you can; if the wires cross, crochet around both together to lock the base in place.
10. Continue building the base by crocheting back and forth through and around the bottom grid until the wire is well covered and the center feels firm, adding an occasional extra stitch around wider gaps.
11. Once the base is covered, work upward around the side rings in single crochet, stitching around each wire bar and ring so the yarn forms a thick woven-looking wall over the basket frame.
12. Pull the yarn snug on every stitch and push the stitches close together with your fingers every few inches; dense coverage is what makes this look finished instead of skimpy.
13. When you reach a vertical wire, crochet around it firmly and continue onto the next section, using the frame itself as your guide so the basket keeps an even shape.
14. Join a new skein whenever needed by knotting the yarn ends tightly to the frame on the inside, then weaving the tails through several stitches with the yarn needle.
15. Keep crocheting until the side walls are covered to within 1 inch of the top edge, leaving just enough wire exposed to create a neat rim and preserve the tomato cage shape.
16. Crochet one final round around the top ring, placing one or two stitches around every section of wire so the rim looks full and finished.
17. Fasten off with a 10-inch tail, thread it onto the yarn needle, and weave it through the top stitches and around the frame several times before trimming.
18. Shape the basket with both hands, pressing the bottom flat and rounding the sides, then fill it with rolled throws, yarn, or towels to help it settle into its final form.
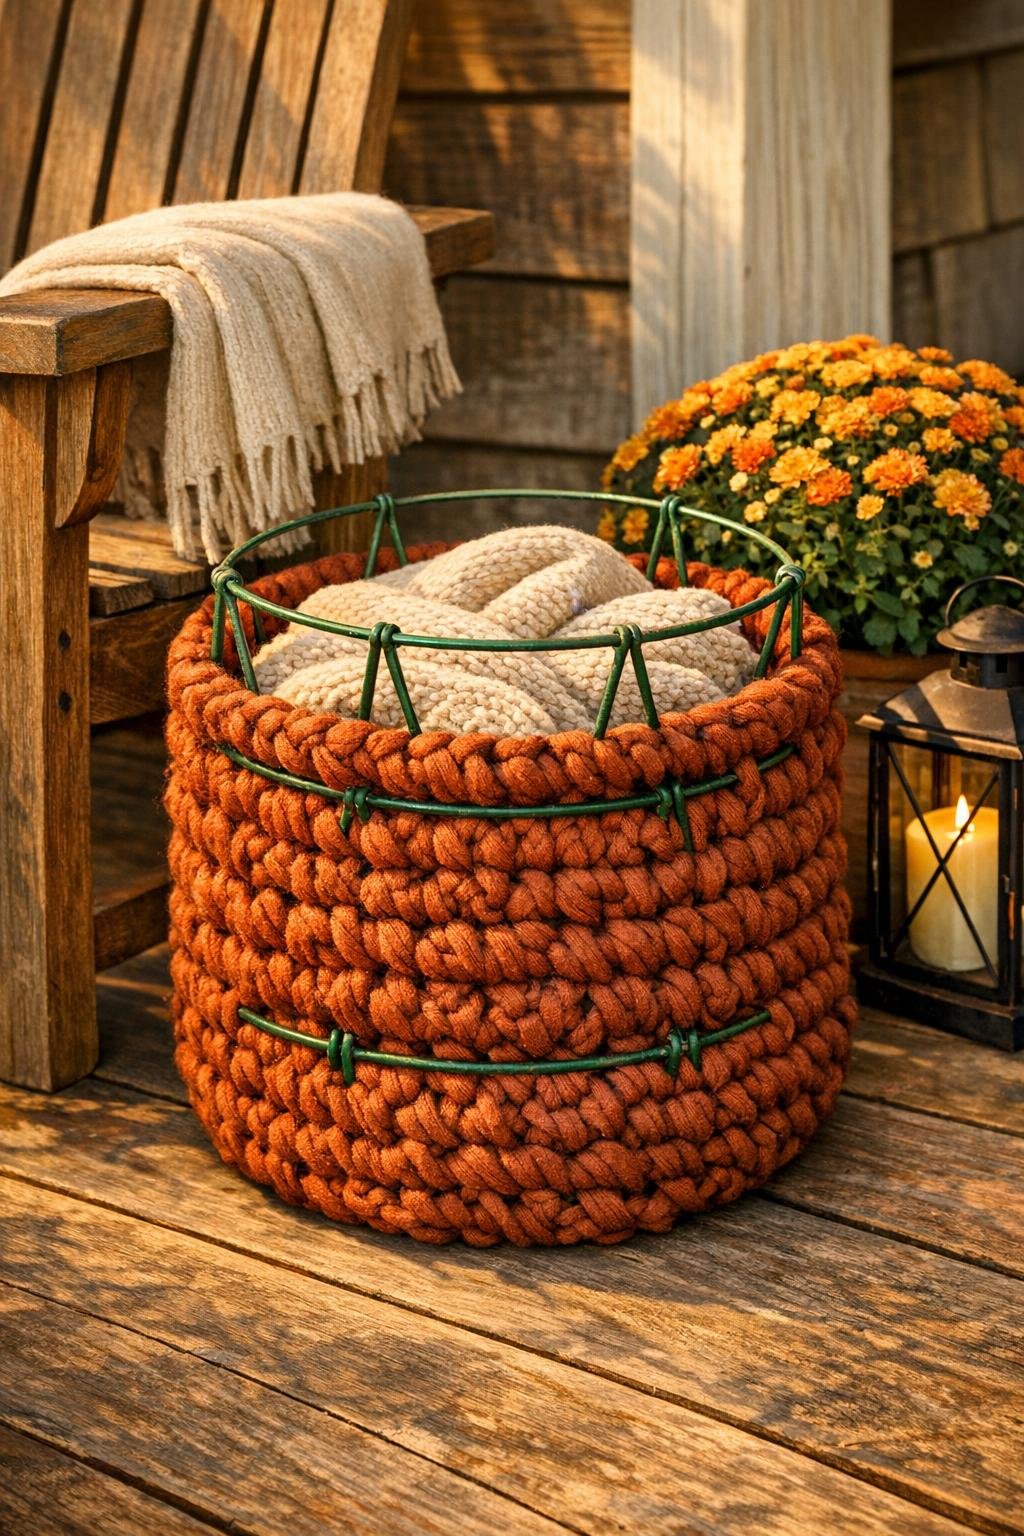
Variations & Tips
For a taller basket: Use one of the larger old-fashioned cages and keep more of the upper frame intact before reshaping. That gives you a basket tall enough for extra blankets or porch pillows.
For a softer look: Mix one skein of cream or oatmeal yarn in with the rust and alternate sections. It gives the basket a homespun look that reminds me of old feed-sack colors and autumn fields.
For easier crocheting: If your hook catches on the wire, wrap a little extra floral tape anywhere the coating is chipped. A smoother frame makes the whole project go much faster.
For stronger walls: Push every stitch tightly together as you work instead of leaving gaps. With chunky yarn, that close packing is what gives the basket that handsome, hearty look.
For indoor use: Add felt pads or a circle of scrap canvas to the bottom inside the basket if you plan to set it on wood floors. It keeps the base quiet and helps protect the floor.
For a polished finish: If the top rim still looks a little uneven, wrap it once with yarn and whipstitch that wrap in place. It tidies the edge nicely and makes the whole basket look intentional.
Best uses: I like this kind of basket for rolled quilts, extra knitting, or kindling by the hearth. It is sturdy, roomy, and just rustic enough to feel right at home on a porch or in a farmhouse corner.