
There are some projects that feel a little bit like kitchen magic, and this is one of them. You start with a baking sheet, a cloud of shaving cream, and a few drops of color, and somehow end up with something polished enough to tie onto a tree, tuck onto a gift, or hand to a grandparent who will absolutely keep it forever. I love crafts like that—easy setup, big payoff, and just enough mess to feel fun without turning my whole house upside down.
This is a wonderful project for anyone who wants a holiday craft that looks special without needing advanced skills. If you can roll clay, swirl color with a toothpick, and punch a little hole for ribbon, you can make these. I also love that every piece comes out a little different, so even if you make a whole batch, each one feels like its own tiny surprise.
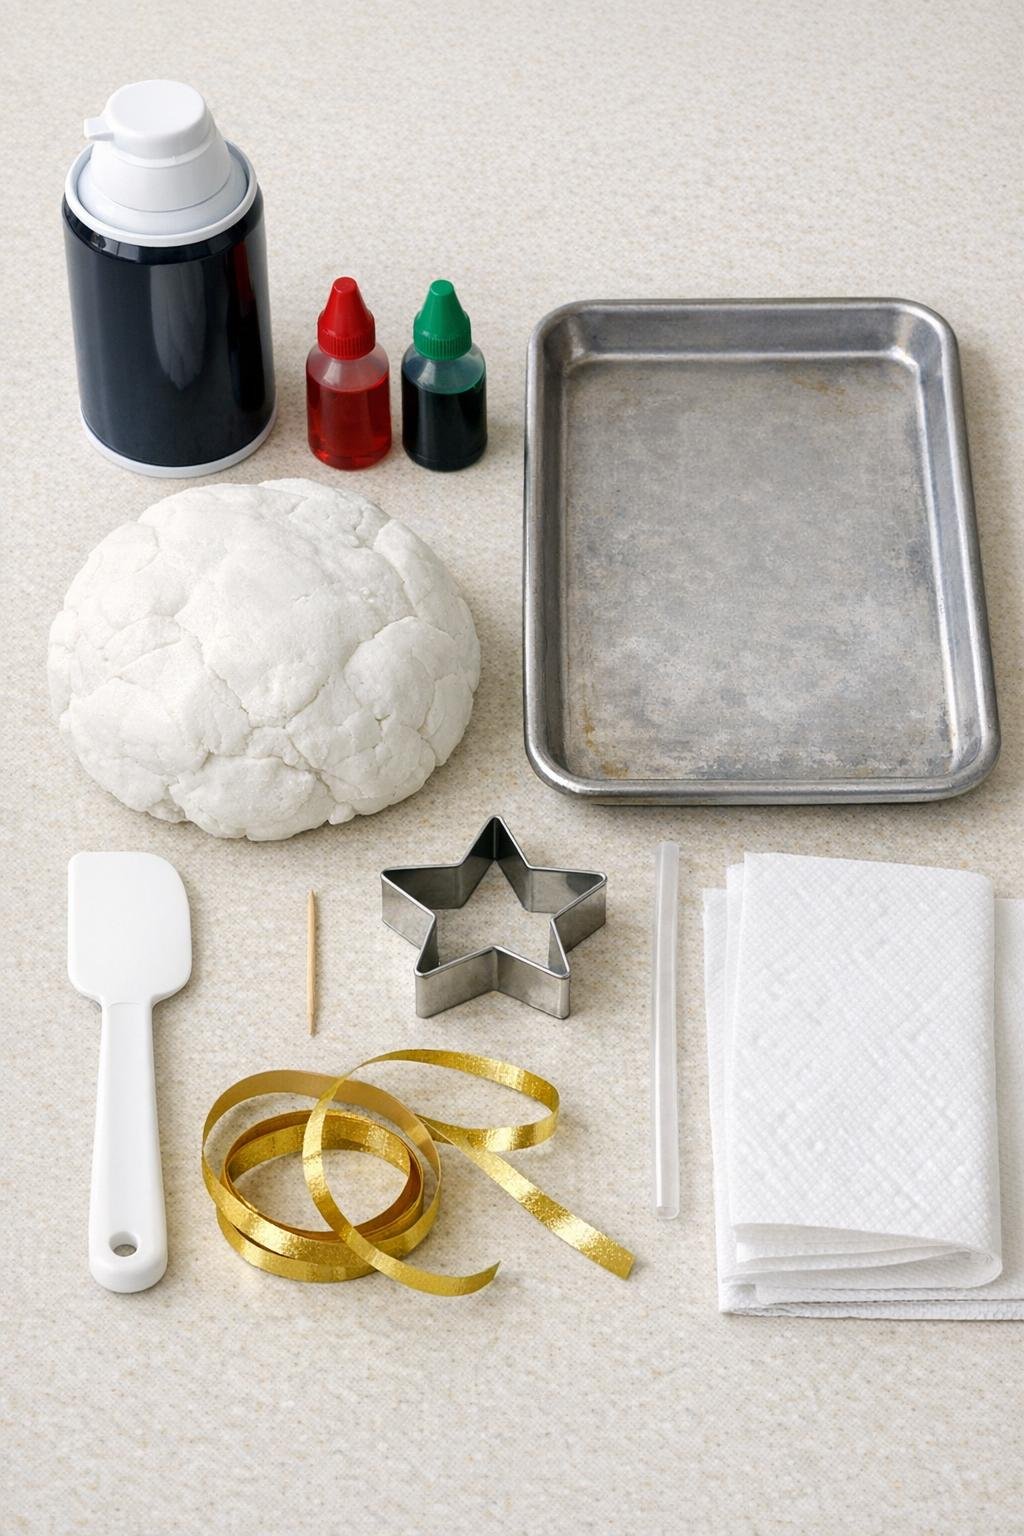
Materials
1 can white foam shaving cream, 10 to 14 ounces
Instructions
1. Make your baking soda clay first if you have not already, then let it cool until it is easy to handle and no longer sticky. Knead it for 1 to 2 minutes until smooth.
2. Roll the clay to about 1/4 inch thick on a clean surface. Keep the thickness even so the finished pieces dry flat and sturdy.
3. Press the star cookie cutter into the clay and cut as many stars as you can, rerolling scraps once if needed. Aim for 8 to 12 stars, depending on the size of your cutter.
4. Use the straw to punch a hanger hole near the top point of each star, then lift away the small clay plug. Set the cut stars aside on paper towels while you prep the marbling tray.
5. Spread a thick, fluffy layer of shaving cream across the baking sheet with the spatula, about 1/2 to 3/4 inch deep. Smooth it just enough to make an even surface without pressing all the air out.
6. Dot red and green coloring all over the shaving cream, spacing the drops so the color reaches across the tray. A little goes a long way, so start light—you can always add more.
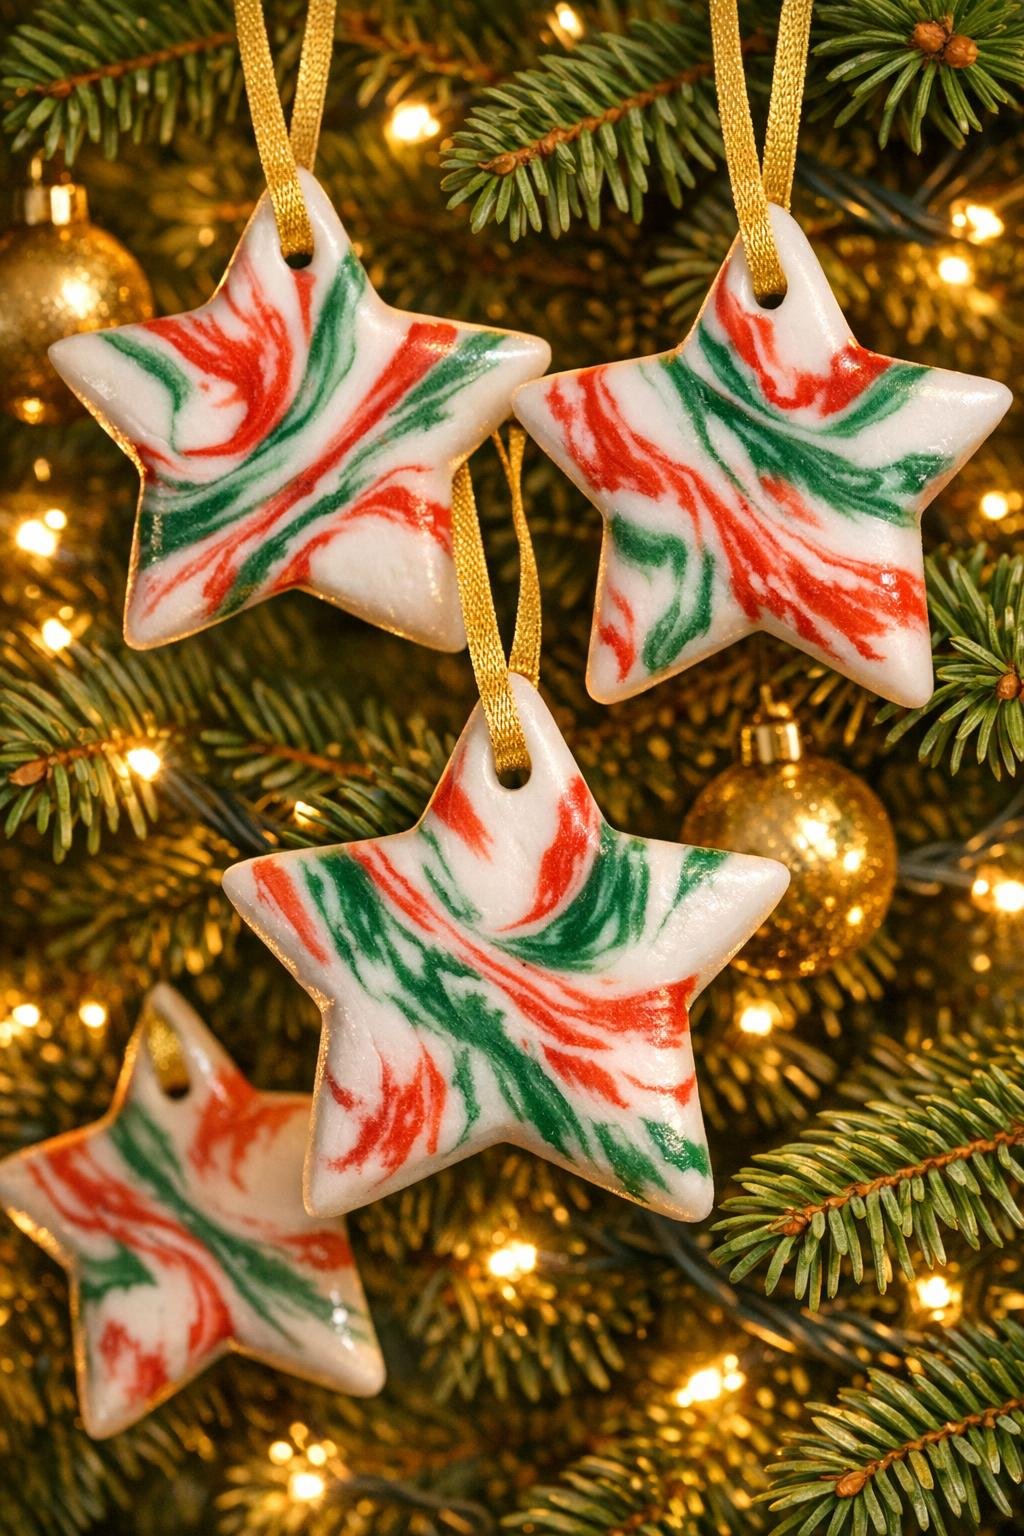
7. Drag a toothpick gently through the color to make swirls and ribbons. Stop before the colors turn muddy; you want distinct marbled streaks, not a solid pinkish-brown mix.
8. Place one clay star face down onto the marbled shaving cream and press very lightly so the surface makes contact. Lift it straight up to keep the pattern crisp.
9. Lay the star on paper towels and gently wipe the shaving cream off with a clean paper towel in one smooth pass. The marbled color will stay behind on the clay.
10. Repeat with the remaining stars, changing where you press each one into the shaving cream so every pattern looks different. Add a few extra drops of color and re-swirl lightly if the tray starts looking pale.
11. Let the stars dry completely at room temperature until hard, turning them once halfway through if the backs feel damp. Drying time is usually 24 to 48 hours, depending on thickness and humidity.
12. Thread gold ribbon through each hole and tie a simple knot or a small loop for hanging. If you like, trim the ribbon tails neatly so the finished ornaments look extra tidy and gift-ready.
Variations & Tips
For softer color: Use fewer drops of coloring and make only one or two light passes with the toothpick. This gives you a more delicate, porcelain-inspired look that feels especially pretty on a tree with white lights.
For bolder swirls: Add a second round of red and green drops after a few prints so the later ornaments stay vivid. I like doing this when I’m making a larger batch because the first few always come out a little lighter.
For kids helping: Let little hands press the stars into the shaving cream, but keep one adult in charge of the swirl tray so the colors do not get overmixed. This is one of those crafts that stays fun when there is just a tiny bit of structure.
For picky decorators: If bright red and green is not your family’s style, try just one color for a simpler look or swap to softer holiday shades if you have liquid watercolor on hand. The marbling technique still gives plenty of interest even with a restrained palette.
For smoother ornaments: Wipe the shaving cream off gently instead of scrubbing. A soft pass with a folded paper towel keeps the pattern crisp and helps the surface stay nice and clean-looking.
For gifting: Tie each ornament onto a cookie tin, loaf cake, or wrapped present instead of hanging every single one on the tree. As a mom, I always appreciate a craft that doubles as gift wrap and a keepsake.
For storage: Once fully dry, store the ornaments flat in a small box with tissue or paper towels between layers. Baking soda clay is sturdy, but it is happiest when treated like a favorite holiday dish instead of tossed into a bin.