
There are a handful of little holiday crafts that still give me the same quiet thrill I felt at the kitchen table years ago, and this is one of them. You start with the humblest supplies imaginable, and somewhere along the way they turn into something that catches the light so prettily it feels almost enchanted. I love projects like that—the kind that look special on the tree, but don’t ask for fancy tools or a whole afternoon of fussing.
This is a lovely project for anyone who enjoys easy seasonal crafting, especially if you like making a generous batch at one time for your own home, teacher gifts, or a ribbon-tied bag for neighbors. Since you’re working with 20 little cups at once, you’ll end up with a nice full collection rather than just one or two ornaments, and that abundance is part of the charm.
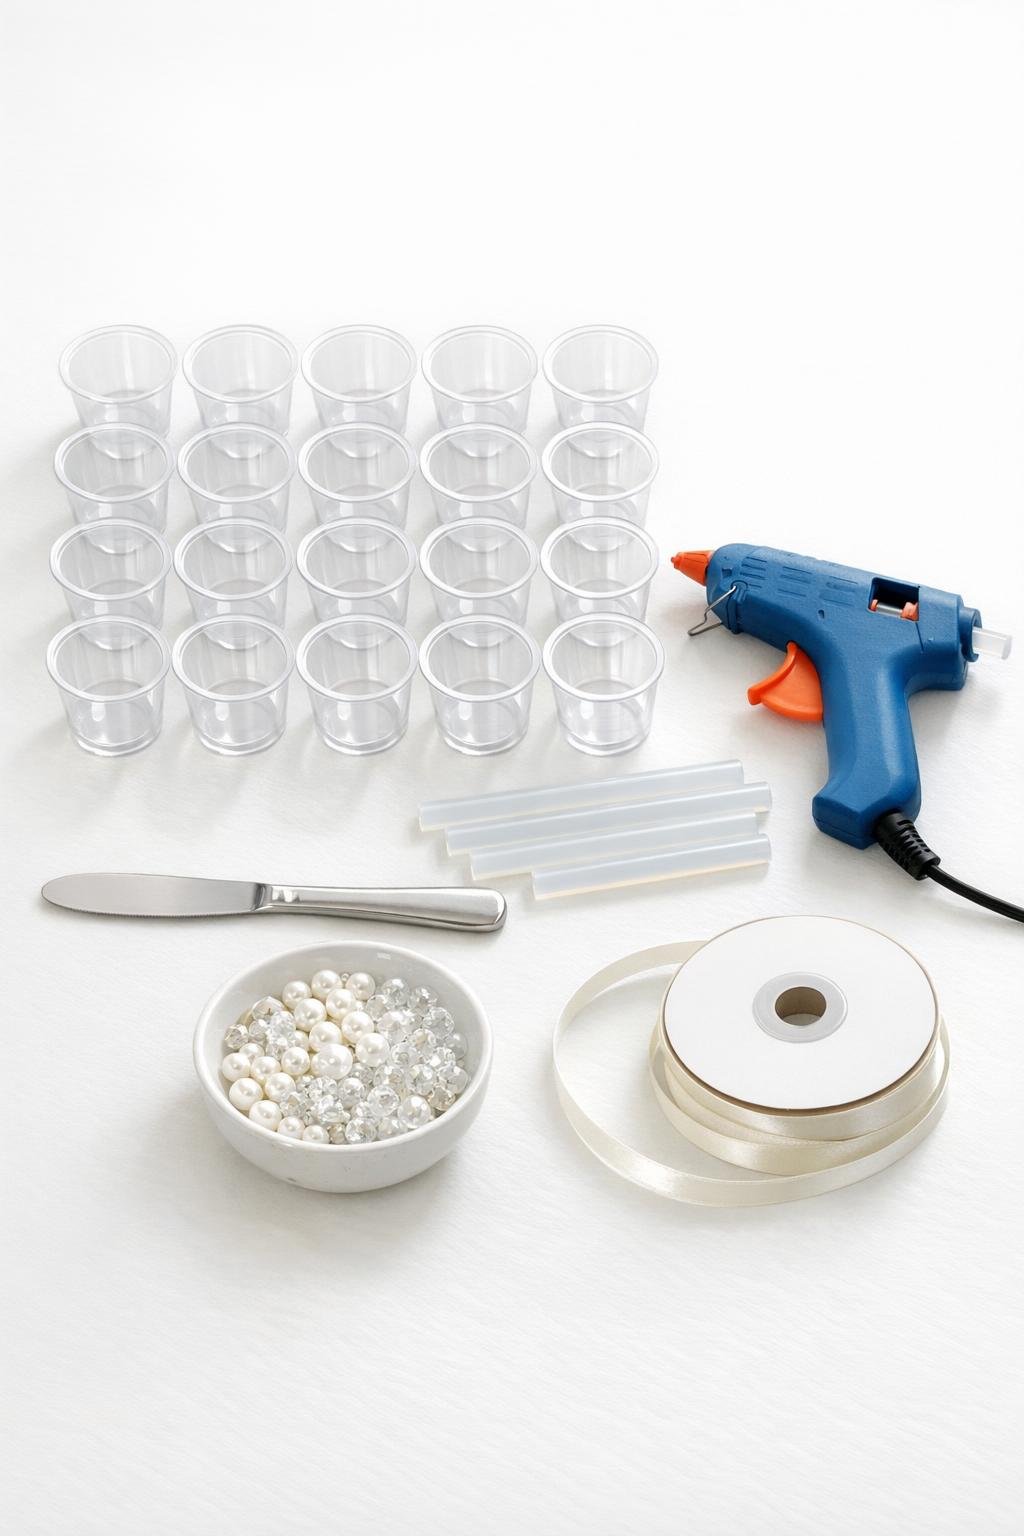
Materials
Instructions
1. Cover your work surface with a nonstick craft mat or parchment paper, plug in the glue gun, and line up all 20 shot cups upside down and then right side up so they’re easy to grab as you work. This project moves best assembly-line style.
2. Working with one shot cup at a time, squeeze hot glue in a thick spiral and looping lines around the inside wall of the cup, covering it from rim to bottom with icy, uneven trails. Leave a few tiny clear openings so light can still pass through and give that crystal look.
3. While the glue is still warm, use the butter knife to gently drag and tap the glue into ridges and pointed drips, so the inside looks faceted rather than smooth. Don’t press flat—those raised lines are what make the finished pieces sparkle.
4. Repeat with all 20 cups, letting each one cool completely before handling it much. I like to work in rows of five so I can keep the coverage full and fairly even across the whole batch.
5. Once the glue has hardened, flex the plastic cup very gently and peel the glue shell free from the cup. If one area clings, press the cup wall outward a bit more instead of tugging on the glue shape.
6. Trim away any long glue strings with scissors, and if the bottom edge looks uneven, snip only the thinnest wisps so the shape stays rounded and full. A little irregularity actually helps it look more like cut crystal.
7. Add a small dot of hot glue inside the narrow top of each shape and press in a pearl bead or small jingle bell so it hangs like a clapper. Hold it steady for a few seconds until set.
8. Thread and tie a 10- to 12-inch length of ribbon around the top of each ornament, cinching it securely just below the opening. Leave a loop for hanging, then trim the tails neatly.
9. Dot a little clear-drying craft glue or hot glue along selected ridges and press on a few small beads around each ornament for extra sparkle. Scatter them lightly but all the way around so the ornaments look rich and finished from every angle.
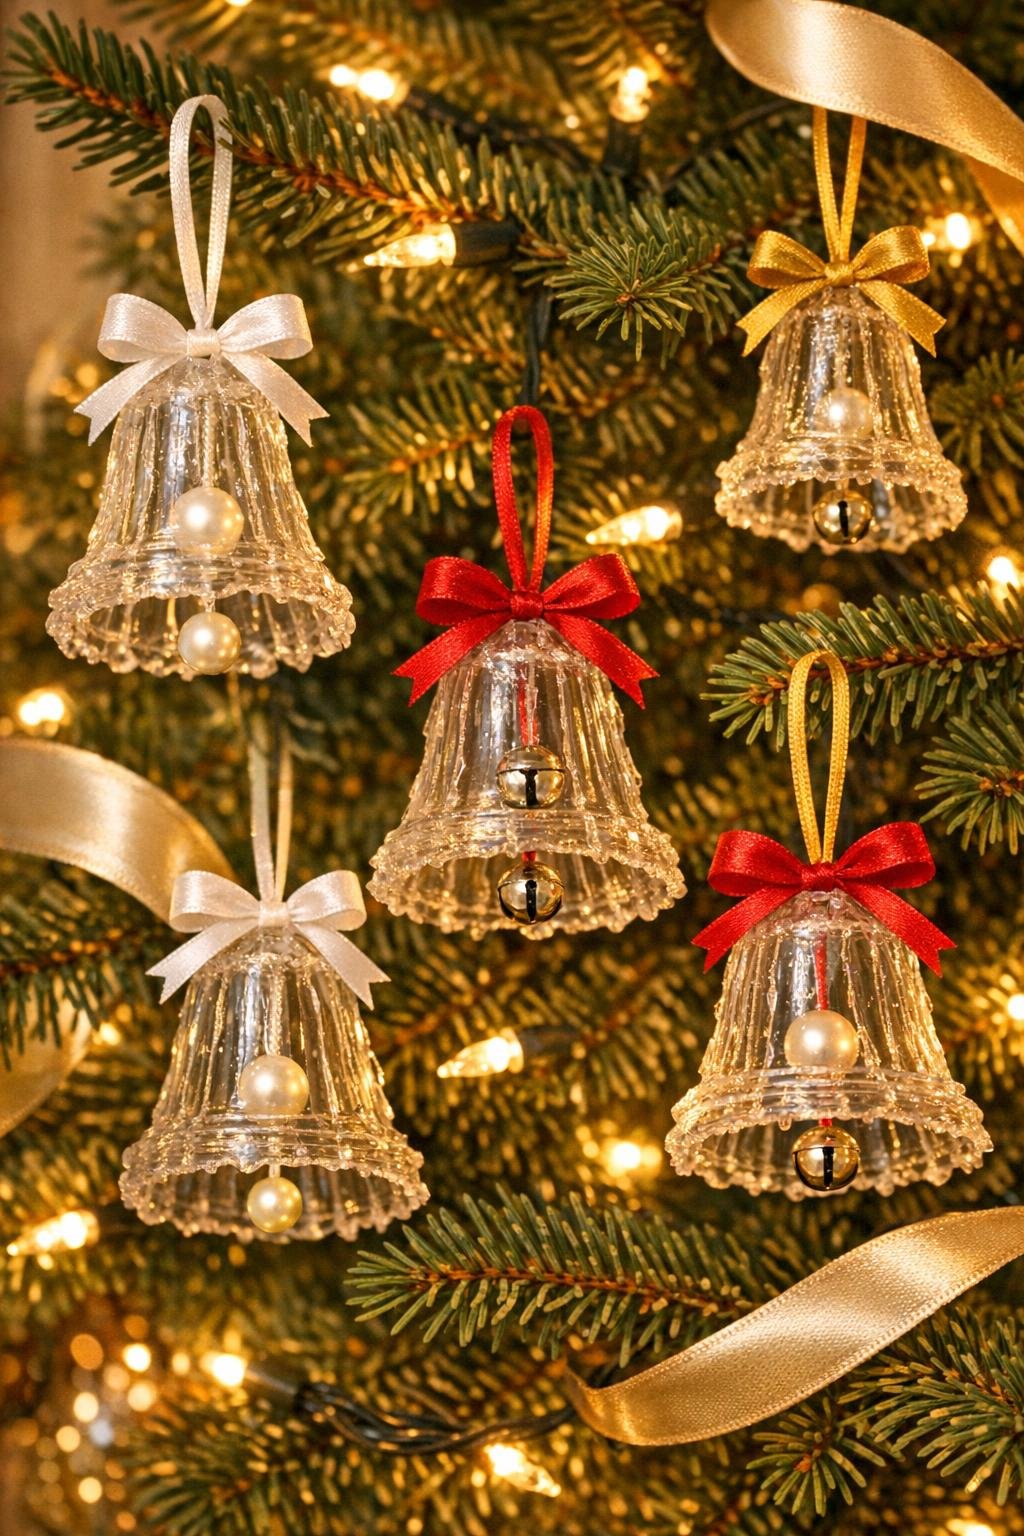
10. Finish each one with a tiny ribbon bow at the top if you like, then hang the ornaments on a tree branch or lay them out together until all glue is fully cooled and set. When the lights hit them, you’ll have a full set of crystal-style bell ornaments with a lovely homemade shine.
Variations & Tips
Use mixed bead finishes: Clear, pearl, and iridescent beads together give the ornaments more depth than using only one kind. I like that old-fashioned shimmering look, almost like winter windows on a frosty morning.
Work in small batches if needed: If hot glue cools quickly in your room, coat and shape 3 to 5 cups at a time instead of all 20 in one stretch. That gives you enough time to create those ridges before the glue hardens.
Choose ribbon that suits your tree: Silver, white, pale blue, and soft gold all look beautiful with the clear glue finish. Velvet ribbon makes them feel a little dressier, while satin keeps them bright and classic.
Don’t overfill with beads: A few beads on the outside and one bead or bell inside each ornament is plenty. Too many embellishments can hide the clear faceted texture that makes these so pretty.
Make them look fuller on the tree: Hang two or three ornaments close together on deeper branches, then spread the rest around the tree. A grouped arrangement catches more light and gives that abundant, magical look.
Store them gently: These are sturdier than they look, but I still tuck each one into tissue or paper towels in a shallow box after the holidays. That little bit of care means they’ll come back out just as pretty next year.