
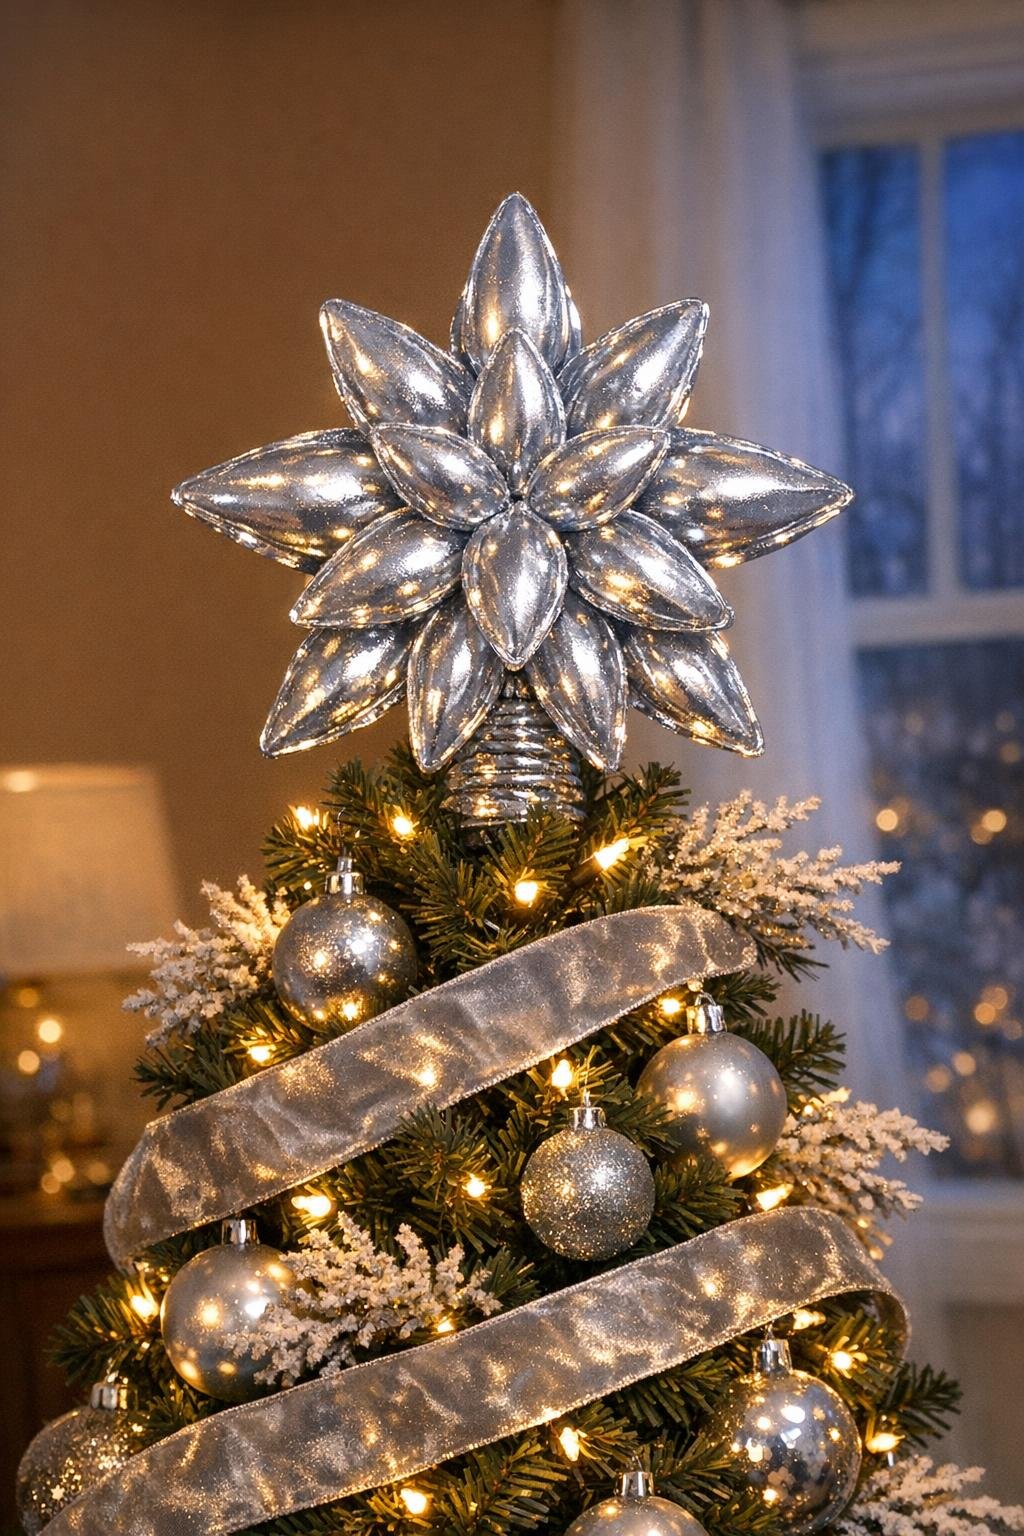
There are some dollar store projects that look cute for an afternoon, and then there are the ones that make you stop and say, “Wait, that was made from what?” This is one of those. With a bag of clear plastic spoons, a little hot glue, and a quick coat of paint, you can turn the simplest materials into something sparkly and wintery that catches the tree lights in the prettiest way.
I love projects like this because they feel special without being fussy. If you’re decorating on a budget, want a handmade piece that still feels polished, or just enjoy a good transformation craft, this one is a lovely weekend make. It’s easy enough for a patient beginner, but the finished piece has that dramatic, glimmering look that makes the whole tree feel dressed up.
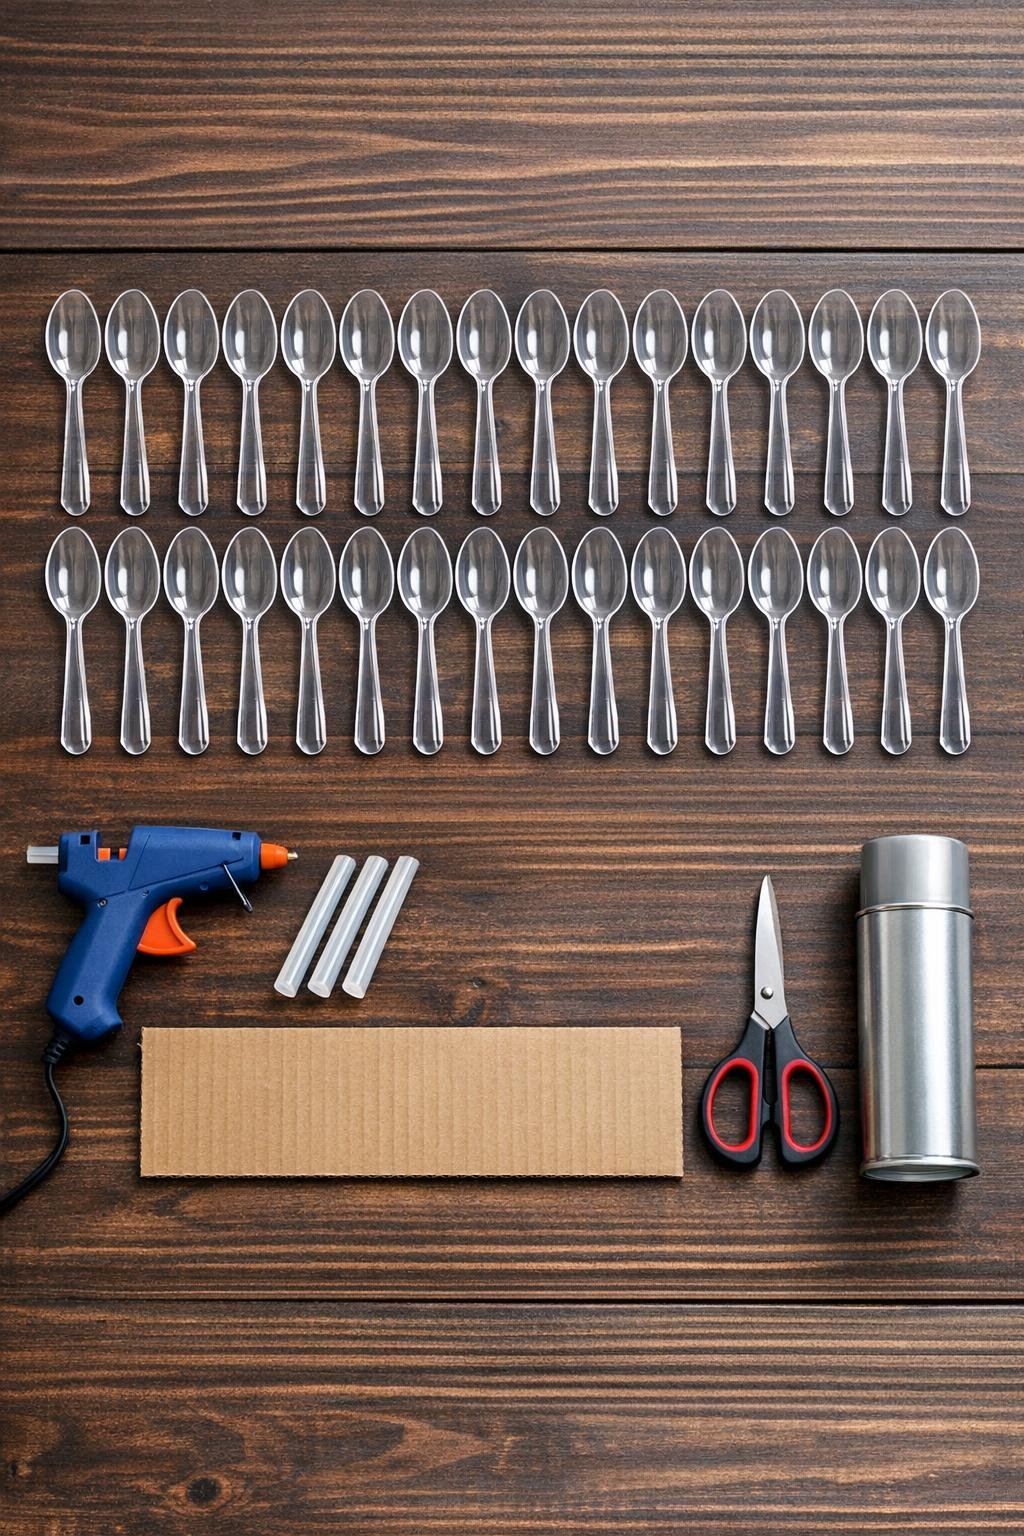
Materials
30 clear plastic spoons
Instructions
1. Cover your work surface and plug in the glue gun so it’s fully hot before you start; hot glue settles more smoothly in the spoons when the gun is nice and warm.
2. Line up all 30 clear spoons on the table with the bowls facing up, just like little cups ready to be filled.
3. Squeeze hot glue into each spoon bowl, filling it almost to the rim in a swirled, slightly domed layer; this gives every spoon a chunky crystal-like look once it cools.
4. Let the glue cool completely in all 30 spoons until it turns firm and clear again; don’t rush this part or the glue can pull loose when you cut.
5. Cut the handles off all 30 spoons with scissors, trimming as close to the bowl as you can without cracking the plastic.
6. Draw an 8-inch star on the cardboard with 6 points, then trace a 4-inch circle in the center to create a sturdy base that won’t show much once the spoons are attached.
7. Cut out the star base, then cut a 1-inch slit or small X in the bottom point area of the center circle so the topper can slide onto the top branch of the tree.
8. Hot glue 6 spoon bowls onto the star points first, placing one at the tip of each point with the rounded ends facing outward like icy petals.
9. Add a second spoon to each point, slightly overlapping the first and angling it a little to widen and fill out the star.
10. Glue 12 more spoons around the center circle between the points, overlapping the edges so the whole shape starts to look full and layered instead of flat.
11. Use the last 6 spoons to fill any thin spots near the center and along the inner edges of the points so the topper looks balanced from every direction.
12. Run a small bead of hot glue anywhere the spoon edges meet if you want a more frosted, icicle-like texture between pieces.
13. Move the piece to a protected painting area and spray the entire front with a light coat of silver paint, keeping the can about 8 to 10 inches away so the details stay crisp.
14. Let that coat dry, then add a second light coat for fuller coverage and a more polished shimmer; spray the edges too so no cardboard peeks through.
15. Once dry, test the slit on the top branch of your tree and widen it slightly if needed so it slides on without forcing.
16. Attach it to the tree top, and if your top branch is soft or droopy, secure the back with a short piece of ribbon or floral wire for extra support.
Variations & Tips
For a frostier finish: Use a very light dusting of white spray paint over the silver once it dries. I like this if the rest of the tree has a snowy or winter woodland look.
For more sparkle: Add a thin line of fine iridescent glitter glue along a few spoon edges after painting. Don’t cover every piece—just a touch catches the lights beautifully.
If your tree top is flimsy: Glue a small folded strip of cardboard to the back like a brace before painting. It gives the topper a little more backbone without changing the front at all.
For picky decorators: If bright silver feels too bold for your family room, try champagne gold or pearl white spray paint instead. You still get the same magical texture, just in a softer color palette.
To keep it balanced: Step back after placing the first 24 spoons and look at the shape from across the room. I do this with centerpieces and cookie trays too—sometimes distance helps you spot the empty spots right away.
Make it last: Store the topper in a shallow box with tissue paper around the points so the spoon edges don’t get crushed between holidays.