
This is one of those wonderfully forgiving little holiday crafts that looks far fancier than the supply list suggests. If you enjoy transforming very ordinary materials into something warm and old-fashioned for Christmas, this project is such a satisfying one to make, especially on a chilly afternoon at the kitchen table.
I love crafts like this because they do not ask for perfection. In fact, the torn edges and layered texture are what make the finish feel rich and timeworn. If you are decorating on a budget, crafting with older kids, or just want a handmade accent that adds instant coziness to a shelf, hook, or doorknob, this is an easy project with a big payoff.
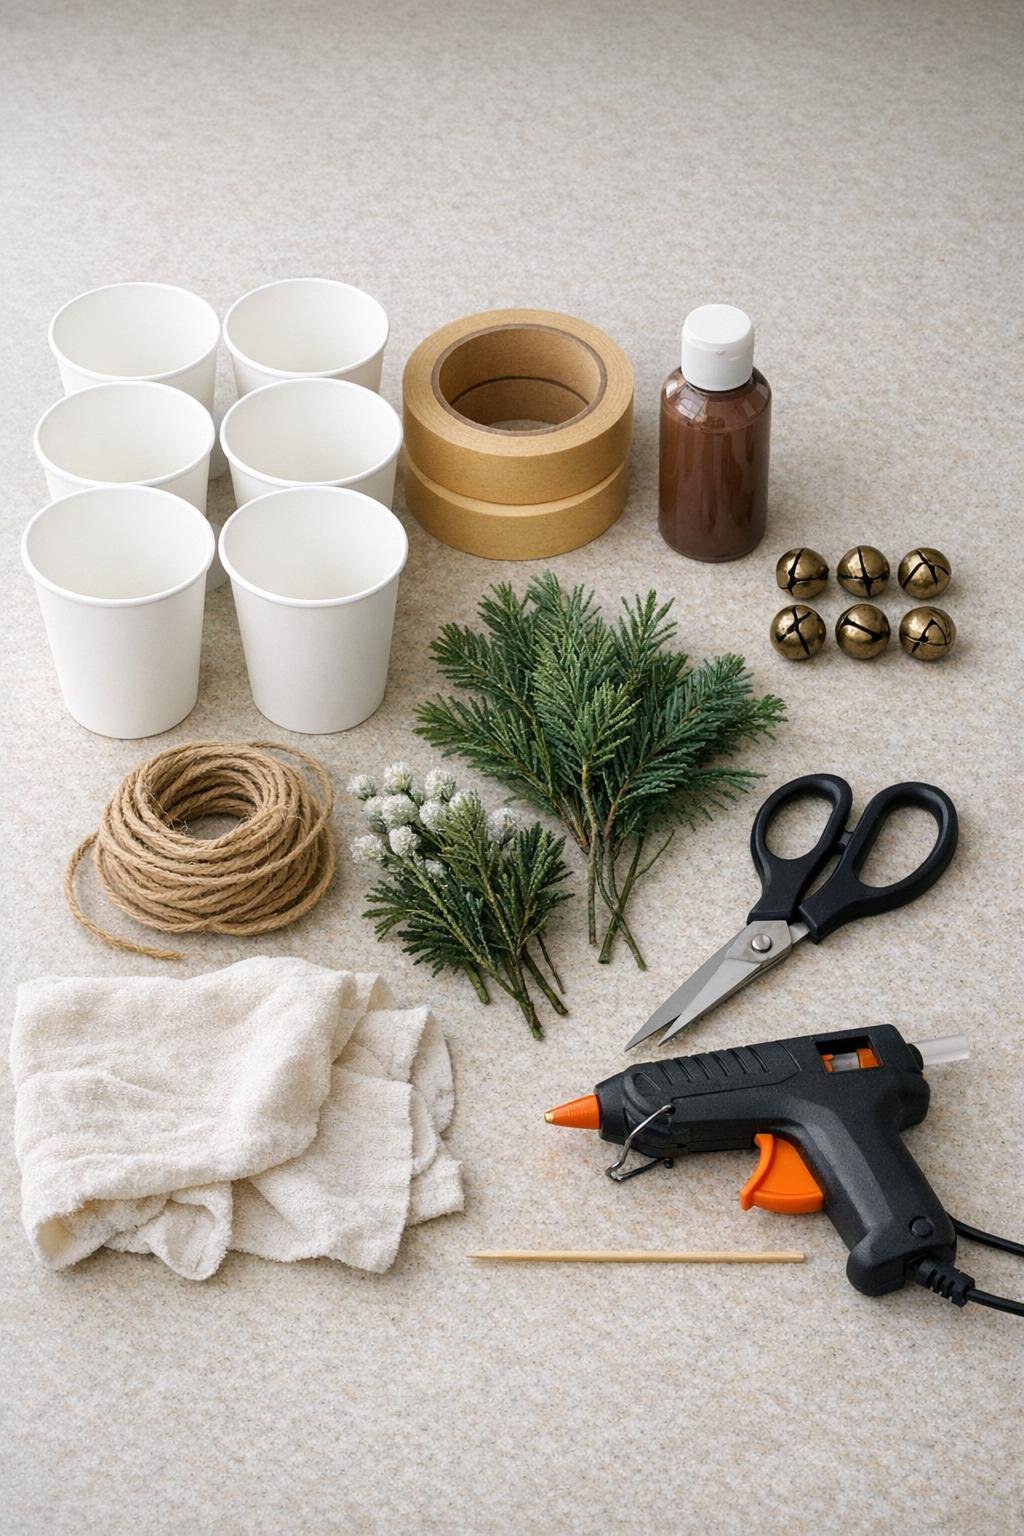
Materials
6 white paper cups, standard 9-ounce size
Instructions
1. Turn all 6 paper cups upside down so the open ends face the counter, because this upside-down shape becomes your bell form.
2. Tear the masking tape into uneven pieces about 1 to 3 inches long, then press the pieces onto each cup in overlapping layers until the whole outside is covered, including the rim and bottom edge.
3. Smooth the tape down firmly with your fingers as you go, but do not worry about wrinkles or seams since that texture is what gives the finished surface its aged leather look.
4. Use the skewer to poke one small hole in the center of the cup bottom on each taped cup, widening it just enough for twine to pass through without tearing the cup.
5. Cut 6 pieces of twine about 14 inches long each, thread one piece through each hole from the outside in, and tie a knot inside the cup so the twine stays anchored.
6. Tie one small jingle bell to the hanging end of each twine piece so it dangles just below the cup opening like a bell clapper.
7. Rub brown shoe polish over the taped surface with the soft rag, working it into the seams and wiping back the high spots, or brush on a thin coat of brown acrylic paint and softly wipe it before it fully dries for the same worn effect.
8. Let the finish dry completely, then add a second light pass of polish or paint if you want deeper color and more contrast in the torn-tape texture.
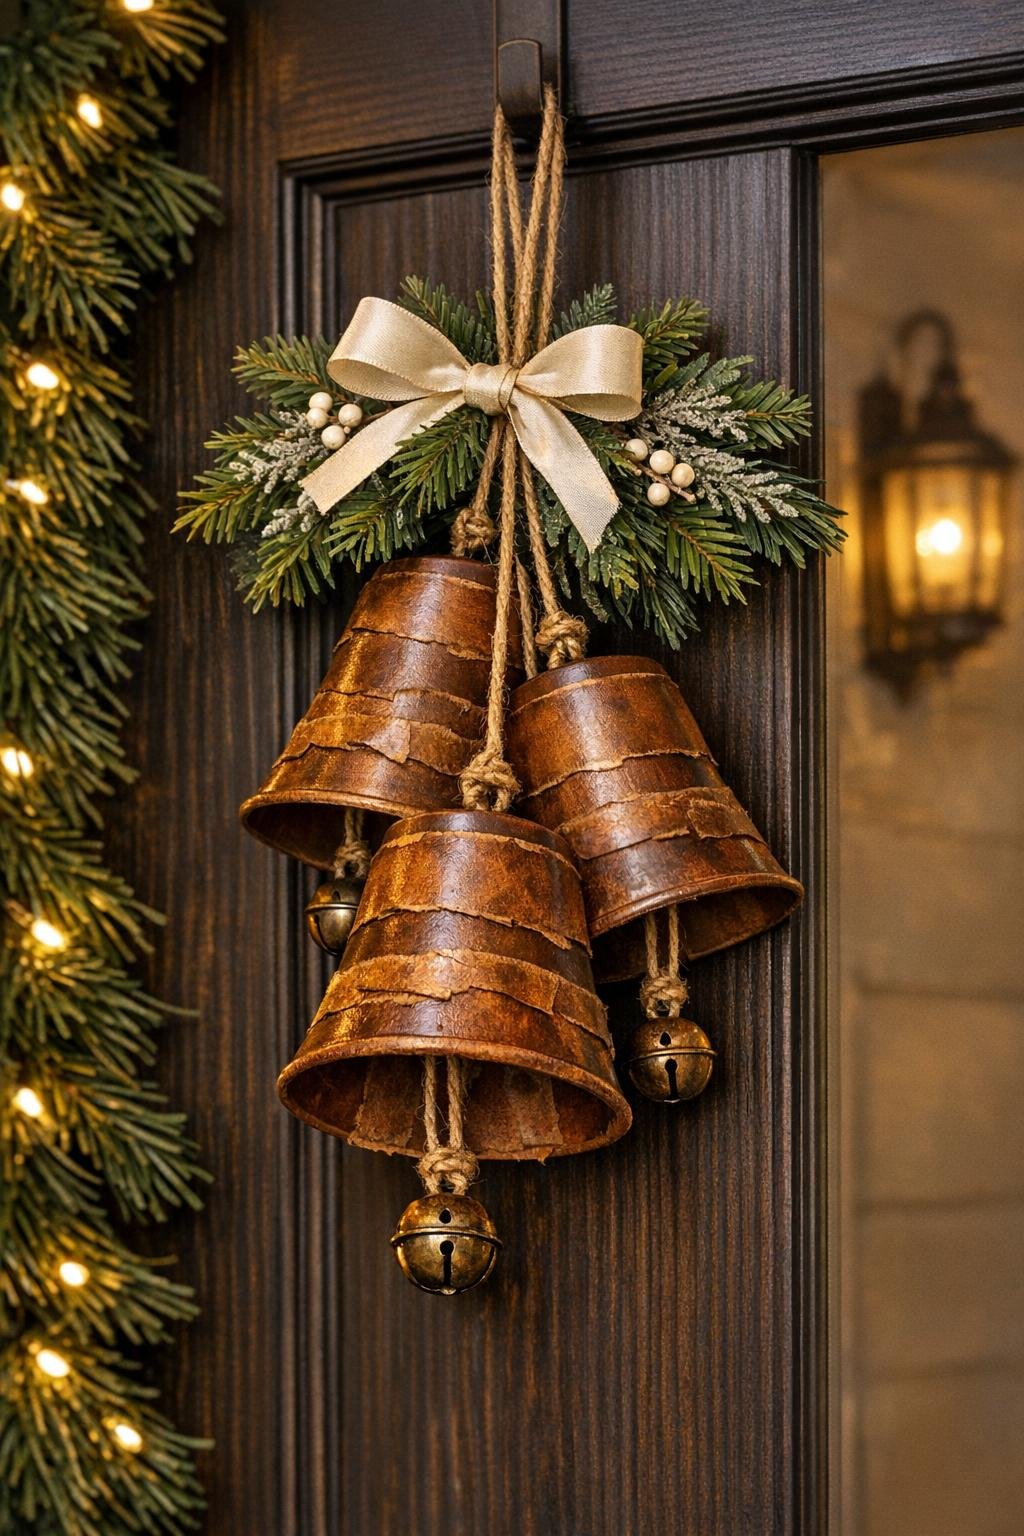
9. Cut a longer piece of twine about 30 inches long and arrange the bells at staggered heights, tying 3 cups on one side and 3 on the other so they form a full trio cluster with generous spacing and movement.
10. Hot glue faux greenery sprigs around the top hanging area and between the cup bells, tucking in enough pieces to make the arrangement look lush and festive without covering the bell shapes.
11. Tie a simple wrapped twine knot or hanger loop at the top, fluff the greenery, and trim any stray glue strings so the whole piece looks tidy and finished.
Variations & Tips
Darker antique finish: If you want more depth, dab extra brown color into the tape seams and around the cup rims, then wipe the surface lightly so the darker shade stays in the creases.
Greenery choices: Pine, cedar, eucalyptus, or holly-style faux sprigs all work beautifully here. I like mixing two kinds so the topper looks fuller and more natural.
For picky decorators: In my house, everyone has a different idea of what counts as “festive enough,” so this is a nice project to customize with a small plaid bow, red berries, or even a dusting of gold on the edges if someone wants a dressier look.
Paint instead of polish: Brown acrylic paint is the easiest substitute if you do not have shoe polish. Use very little at a time and wipe as you go so the finish stays soft and dimensional instead of flat.
Best display spots: These look especially pretty on a pantry door, entry hook, mantel end, or tucked into a wreath display. Anywhere they can sway a little will help the bells and greenery feel lively.
Make it sturdier: If you plan to store and reuse it for several seasons, run a thin line of hot glue along any tape edges that lift before adding color. That extra minute helps everything hold up nicely.