
There’s something especially satisfying about turning the simplest household supplies into decor that makes people smile, and this project does exactly that. A dozen plain white lunch bags become a sweet winter decoration with plenty of personality, and it’s the kind of craft that feels easy from the very first step.
I love projects like this for a cold afternoon at the kitchen table because they use inexpensive materials, don’t require perfection, and still come out looking charming and finished. If you enjoy cozy seasonal decorating, rustic farmhouse touches, or making something cute with kids nearby helping stuff and crumple, this one is a wonderful little make.
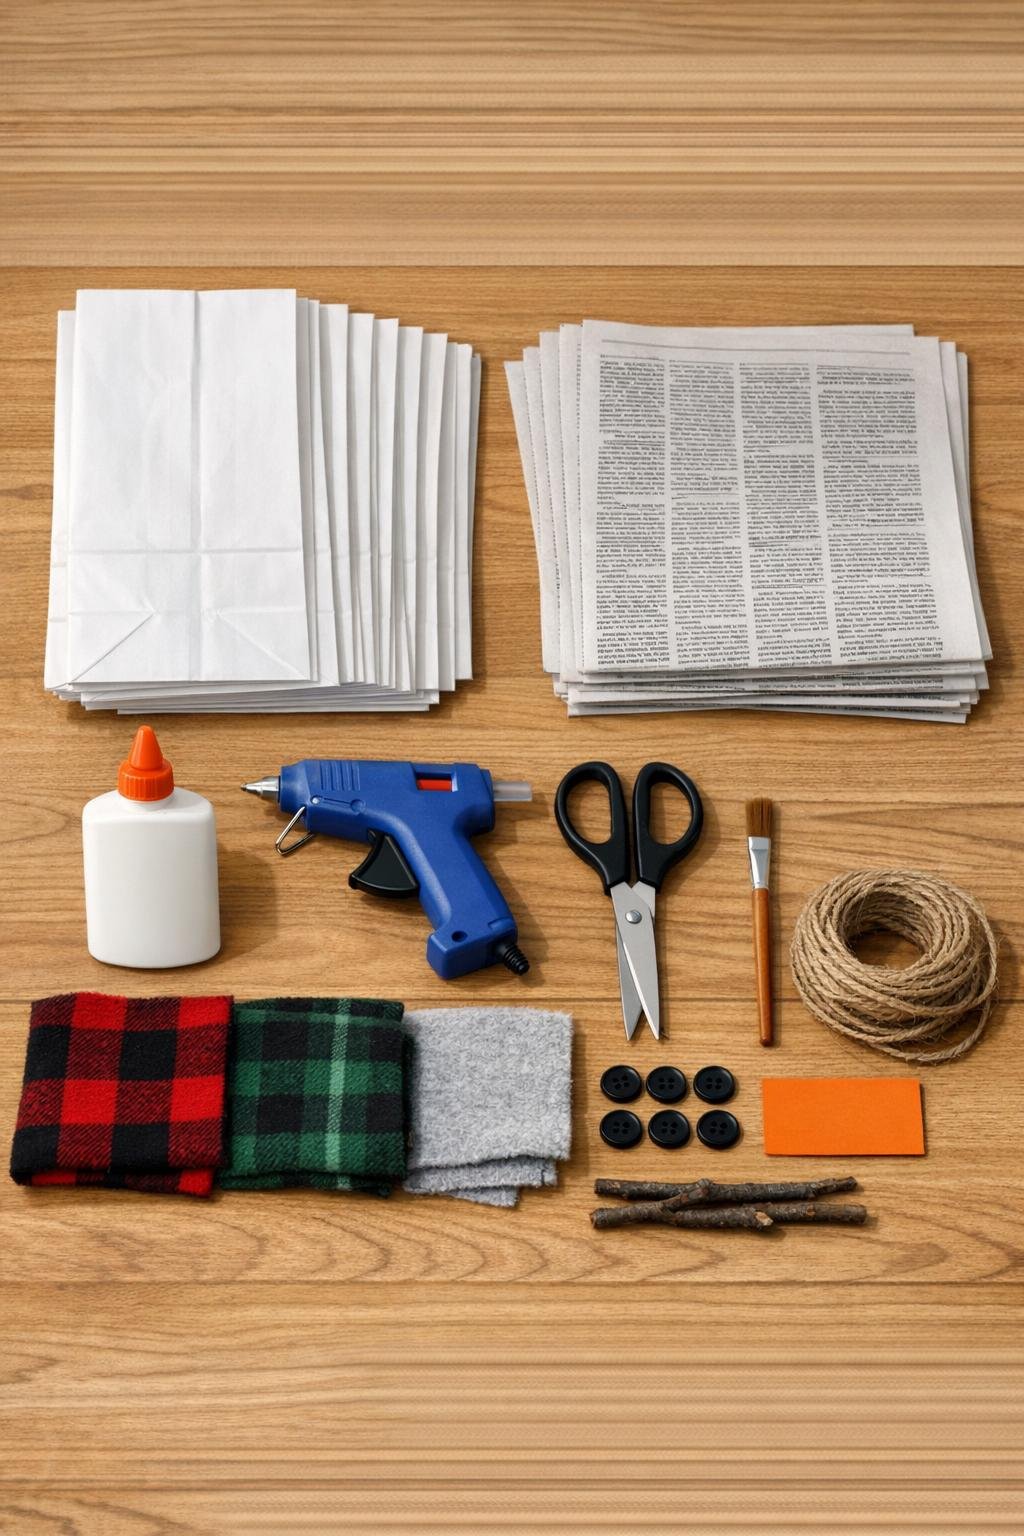
Materials
Instructions
1. Crumple each paper lunch bag loosely, then open it enough to stuff in 1 sheet of newspaper and re-crumple it into a rounded ball. Make 12 stuffed bag balls total, shaping 3 slightly larger ones, 3 medium ones, and 6 smaller ones for balanced snowman bodies.
2. Set the balls into 3 groups of 4 so each snowman has a large base, a medium middle, and 2 small balls for the head and back support. Nestling that extra small ball behind the head helps the finished shape sit nicely instead of tipping.
3. Brush white school glue onto the touching sides of each stack and press the balls together, building one snowman at a time from bottom to top. Hold each join for a few seconds, then wrap a length of twine around the body to keep everything snug while the glue grabs.
4. Let the glued stacks rest for 10 to 15 minutes, then add a tiny dab of hot glue at the main seams if any section feels loose. Use just enough to secure the shape without flattening the crinkled bag texture.
5. Push 1 small twig into each side of the middle section for arms, securing them with a bead of hot glue where the twig meets the bag. Angle the twigs slightly upward so the snowmen look lively and playful.
6. Glue 2 black buttons onto the front of each snowman’s middle section for body detail, or paint on 2 black dots if you prefer a lighter look. Keep them centered and spaced about 1 inch apart so they read clearly from across the room.
7. Cut 3 small carrot noses from the orange cardstock, about 1 inch long each, and glue one onto each head. If you want extra expression, pinch the head slightly before gluing so the nose sits on a gentle point.
8. Add simple eyes with 2 tiny black buttons or painted dots above each nose. Keep the faces minimal and sweet; with rustic projects like this, less fuss usually makes them more charming.
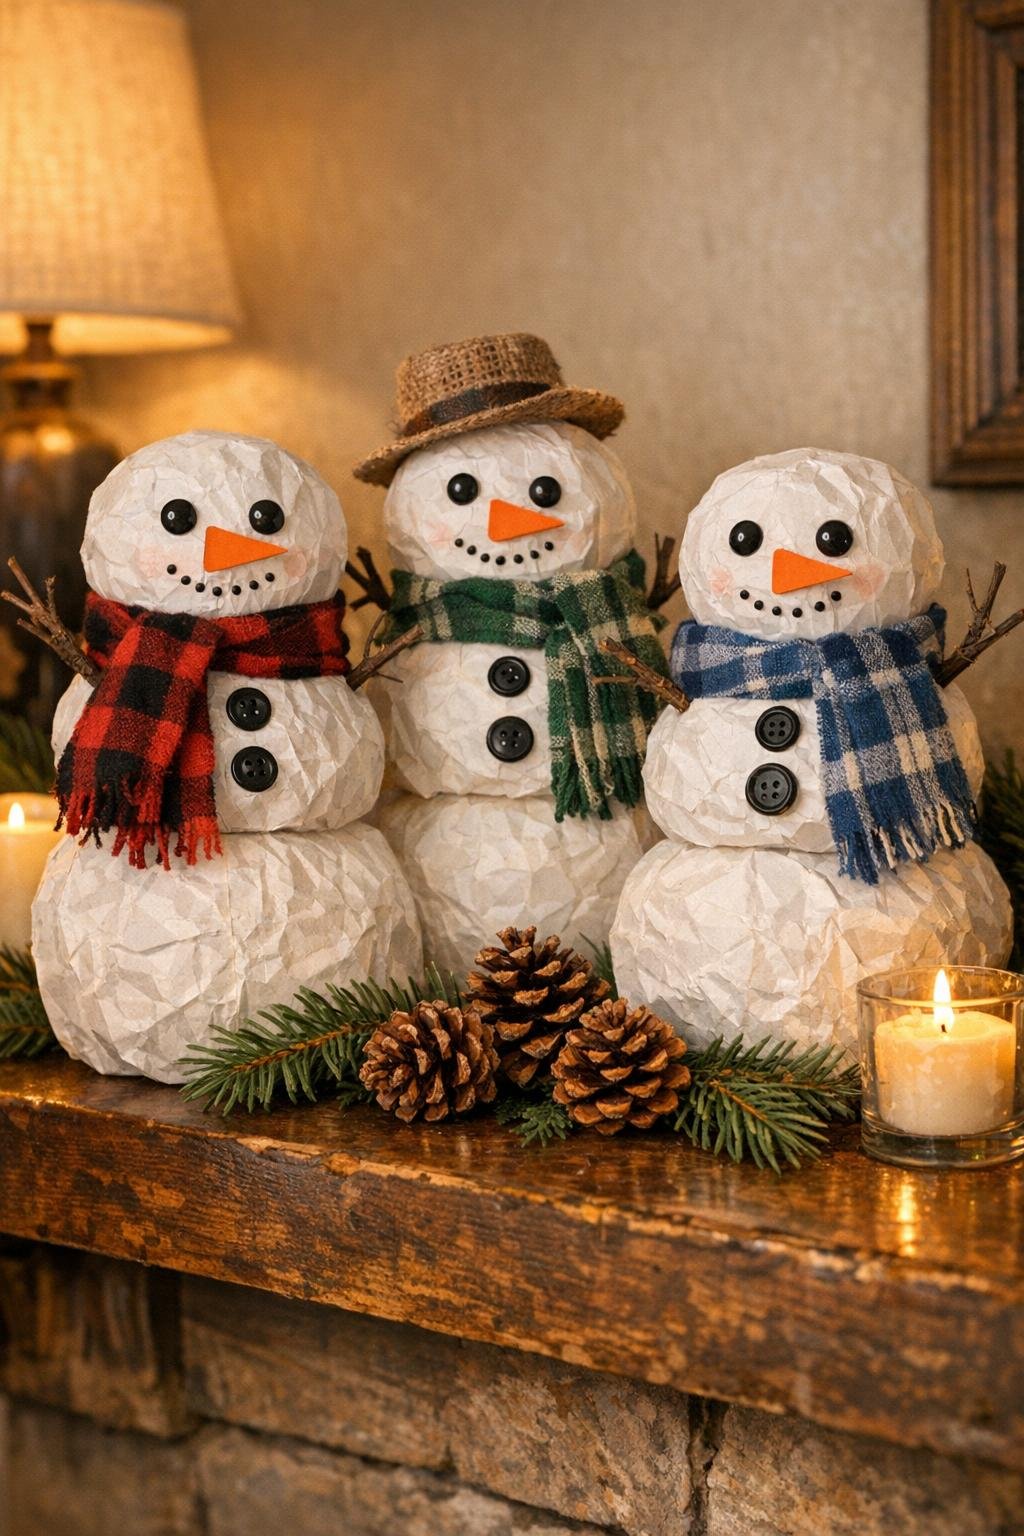
9. Wrap one flannel or fleece scrap around each snowman’s neck as a scarf and knot it loosely to one side. Trim the ends into short tails or tiny fringe for a softer, cozier finish.
10. Remove any temporary twine that looks messy, or leave a little tucked behind the scarves if it helps hold the shape. Fluff and reshape each section gently with your hands so the snowmen look round and full.
Variations & Tips
For picky decorators: If your family likes holiday decor a little less country and a little more simple, use plain cream fleece for the scarves and painted dots instead of buttons for a cleaner look.
Make them sturdier: If you want to display them for the whole season, run a short line of hot glue inside a few of the deeper folds after shaping the bags so the balls keep their rounded form better.
Change the size: For a bigger display, make only 2 snowmen instead of 3 and use 6 bags per snowman for fuller, more dramatic bodies and heads.
Add a hanger: Glue a loop of twine to the back of one snowman if you’d rather hang it on a pantry door, peg rack, or sheltered wall hook.
Keep the rustic texture: Don’t over-smooth the bags; those creases are what make the finished look so cozy and handmade instead of flat.
Safe display tip: These are best kept indoors or on a covered porch since paper bags and newspaper can soften in damp winter weather.