
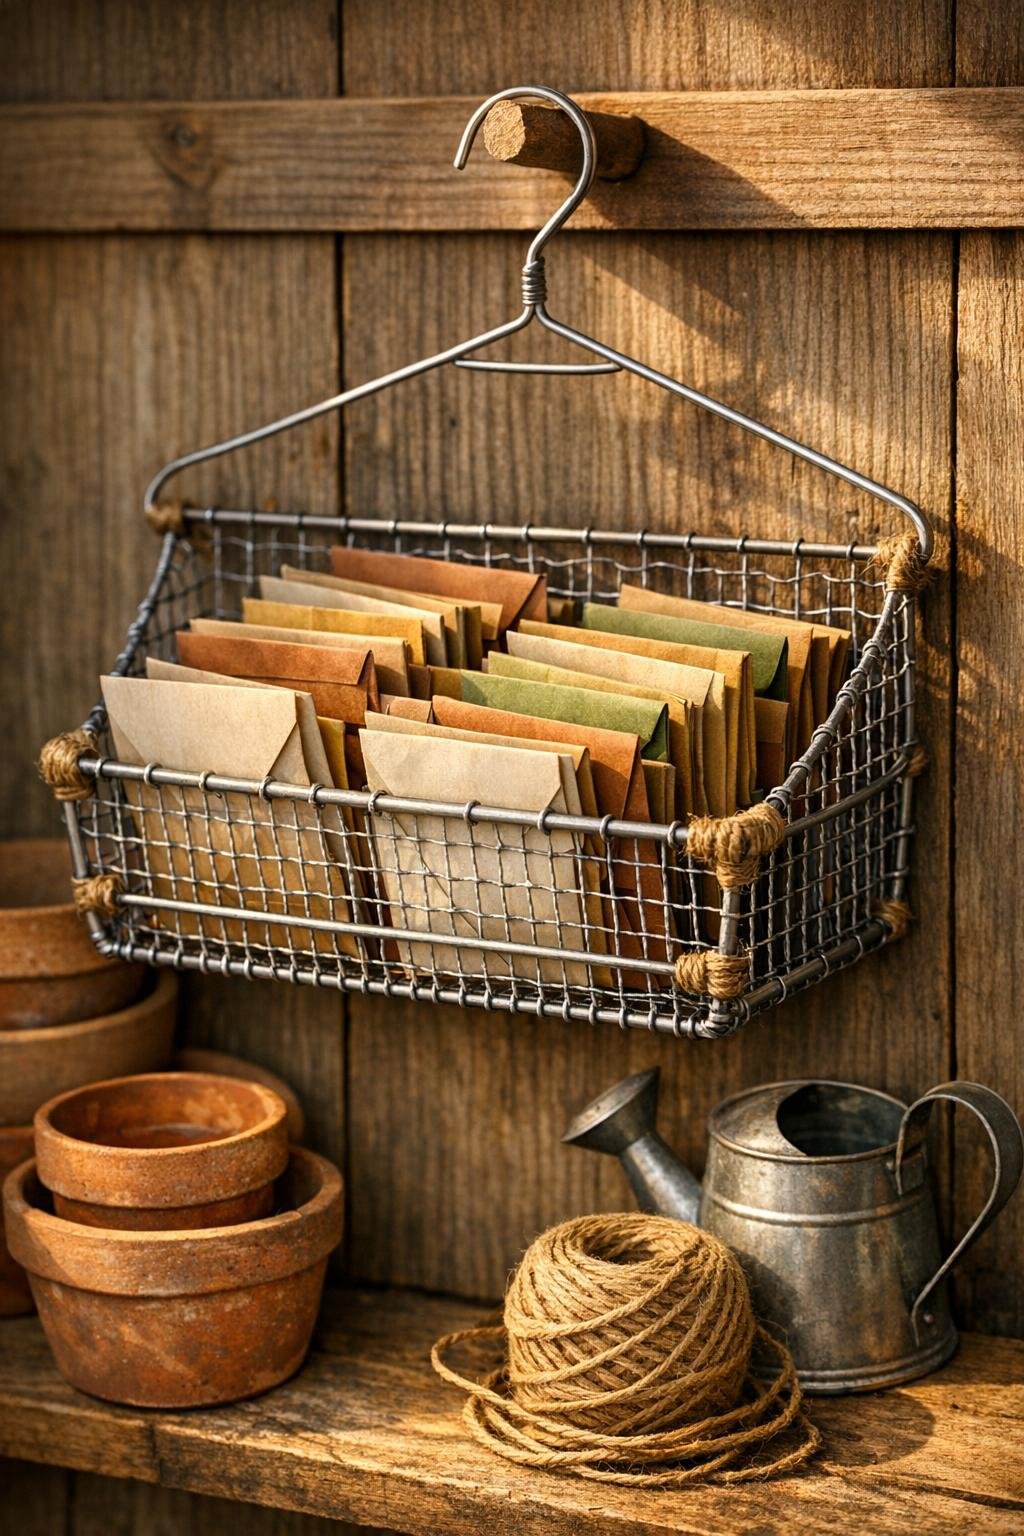
Seed packets have a way of multiplying in every shed and mudroom drawer I’ve ever owned. One season I’m sure I’ll remember where I tucked the lettuce and zinnia seeds, and the next spring I’m digging through twine, plant tags, and mystery screws trying to find them. This little organizer solves that in a way that feels wonderfully scrappy and smart: a sturdy hanging rack made from cut wire coat hangers plus two easy shed staples.
What I love most is that it keeps seed envelopes upright, visible, and sorted without taking up shelf space. If you’re a gardener who saves open packets, buys too many seeds in winter like I do, or just wants a neater potting corner, this is an easy afternoon project with a big payoff.
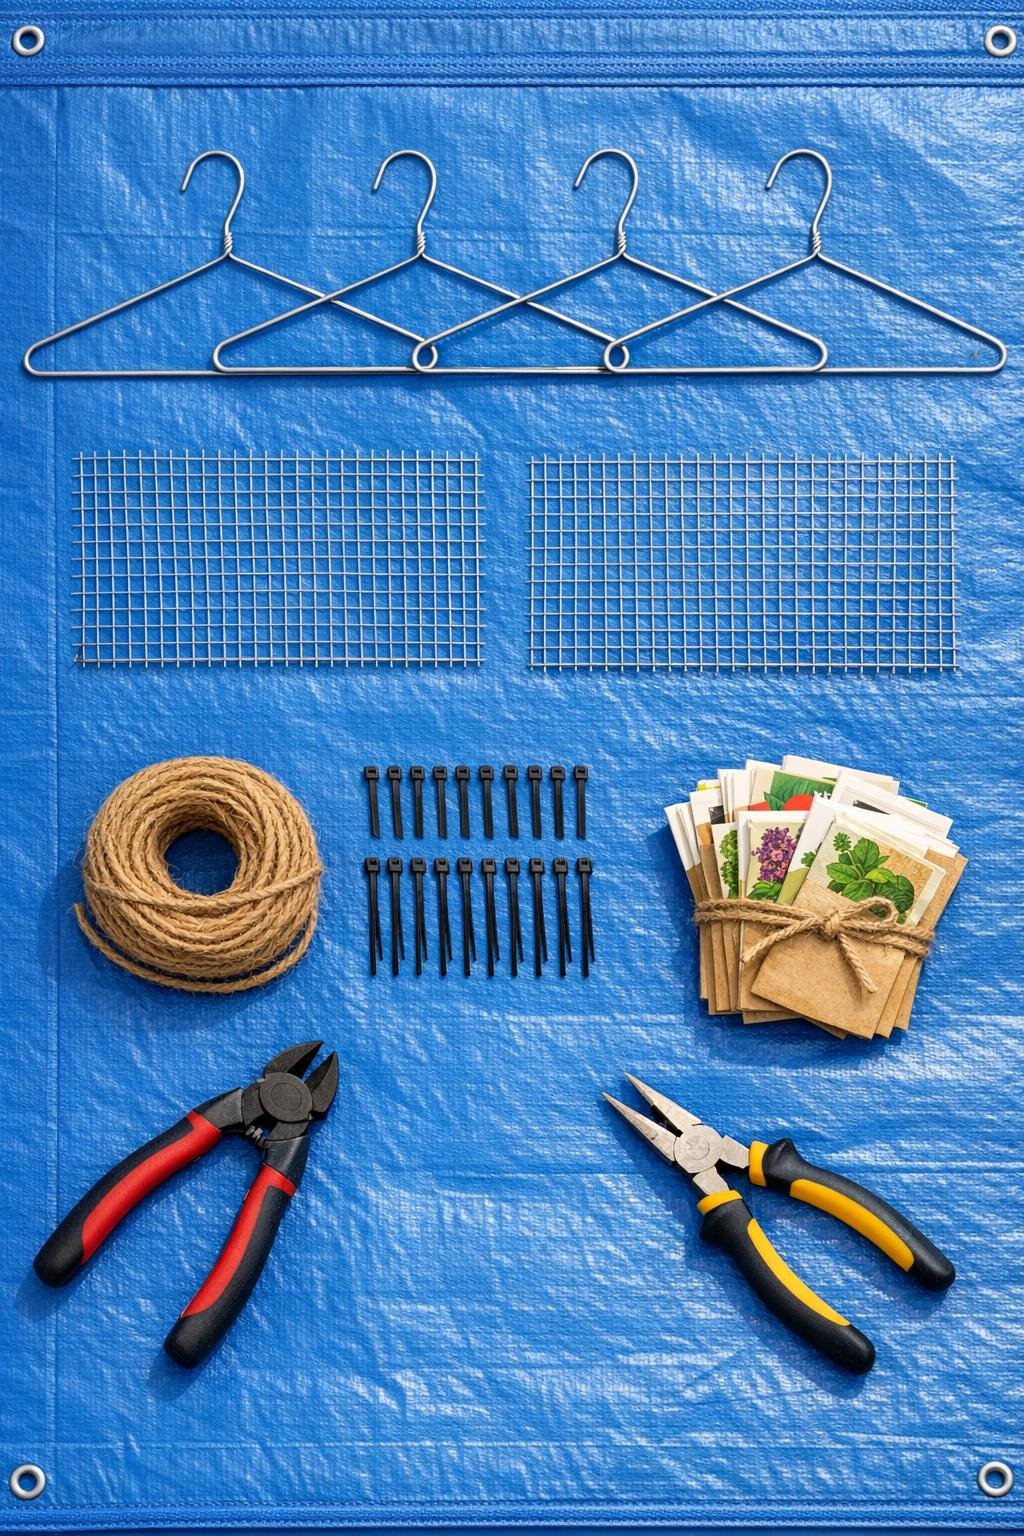
Materials
Instructions
1. Cut the hook and twisted neck off 3 of the wire coat hangers, then cut each hanger at one bottom corner so you can open it into a long piece of wire. Leave 1 hanger intact to use as the top hanging frame.
2. Straighten the cut hangers as much as you can with your hands and needle-nose pliers. Don’t worry about getting them perfectly flat; a few soft bends actually make the finished organizer look handmade in the best way.
3. Bend 2 straight wire pieces into matching rectangles about 7 x 9 inches to make the front and back frames. Overlap each end by 1 inch and wrap tightly with cable ties or a short piece of wire trimmed from the extra hanger pieces.
4. Bend 2 more wire pieces into shallow U-shaped side supports about 3 inches deep and 9 inches tall. These give the organizer enough depth to hold a nice stack of seed envelopes instead of just a thin row.
5. Stand the front and back rectangles upright and attach the 2 U-shaped side supports between them with cable ties at the corners, making an open box. Tighten every tie firmly so the frame feels solid when you pick it up.
6. Trim the 2 pieces of hardware cloth to fit the front and back frames if needed, then cable-tie one piece onto the front and one onto the back. Snip off the cable tie tails and fold in or flatten any sharp mesh points with pliers.
7. Cut 3 straight wire lengths from the remaining hanger material and run them horizontally across the front of the organizer, spacing them evenly from bottom to top. Attach each one with cable ties to create retaining rails that keep seed envelopes from slipping forward while still letting you see the packet fronts.
8. Use the intact hanger as the top support by positioning the organizer box directly beneath its bottom bar. Cable-tie the top back edge of the box to that bottom bar in 3 places so the organizer hangs flat and the original hanger hook stays centered for easy hanging.
9. Wrap jute twine around any visible cable tie clusters or corner joints you want to soften, then knot it neatly and trim the ends. This step is optional, but it gives the organizer a more finished garden-shed look and helps hide the most improvised parts.
10. Check every cut end with your fingers, crimp down anything sharp with pliers, and sand rough spots if needed. If your shed gets damp, give the finished organizer a light coat of clear sealer and let it dry fully.
11. Sort your seed envelopes by type, season, or planting date, then slide them into the organizer so the tallest packets sit in back and shorter ones stay visible in front. Fill it generously; this design looks and works best when it’s nicely stocked.
Variations & Tips
For bigger seed stashes: Make the organizer 10 or 12 inches tall instead of 9 inches and add a fourth front rail. If you’re like me and can never resist “just a few more packets,” the extra height is worth it.
For picky organizers: I like grouping seeds the same way I plan family meals: quick favorites in front, specialty picks in back. Try sections for salad greens, flowers, kid-friendly garden picks, or succession planting.
If you don’t have hardware cloth: Sturdy plastic garden netting or leftover welded wire fencing can work, as long as the openings are small enough that packets won’t bulge through too much.
To protect packet corners: Don’t overpack the organizer so tightly that envelopes bend. A comfortably full basket keeps everything visible and easy to flip through.
To hang it anywhere: The built-in hanger hook is perfect for a shed rod, nail, or wall hook, but you can also tie it to a slat wall or the side of a potting bench with extra twine.
To make it prettier: A quick coat of matte black or garden-green spray paint can unify all the wire before assembly. If you paint it, do that right after cutting and bending, then let every piece dry before tying it together.
For end-of-season cleanup: Use one row for current packets and tuck partly used or saved seeds behind them. That way, come spring, you’re not starting from scratch and wondering where the bean seeds disappeared to again.