
There are some projects that feel a little like kitchen-table magic, and this is one of them. You start with the humblest things from the dollar store and the school-supply aisle, and somewhere between the dipping and drying, they turn into something airy, glowing, and far prettier than anyone expects. I have always loved that kind of transformation. It reminds me of the old days when we made decorations from whatever we had on hand and trusted a little patience to do the rest.
This one is especially nice if you want a porch decoration that looks delicate and special without asking for fancy tools or hard crafting skills. If you can stir glue into water and pin paper into place, you can make this. The steps are simple, but the finished piece has that lovely handmade charm that makes people stop and ask how on earth you made it.
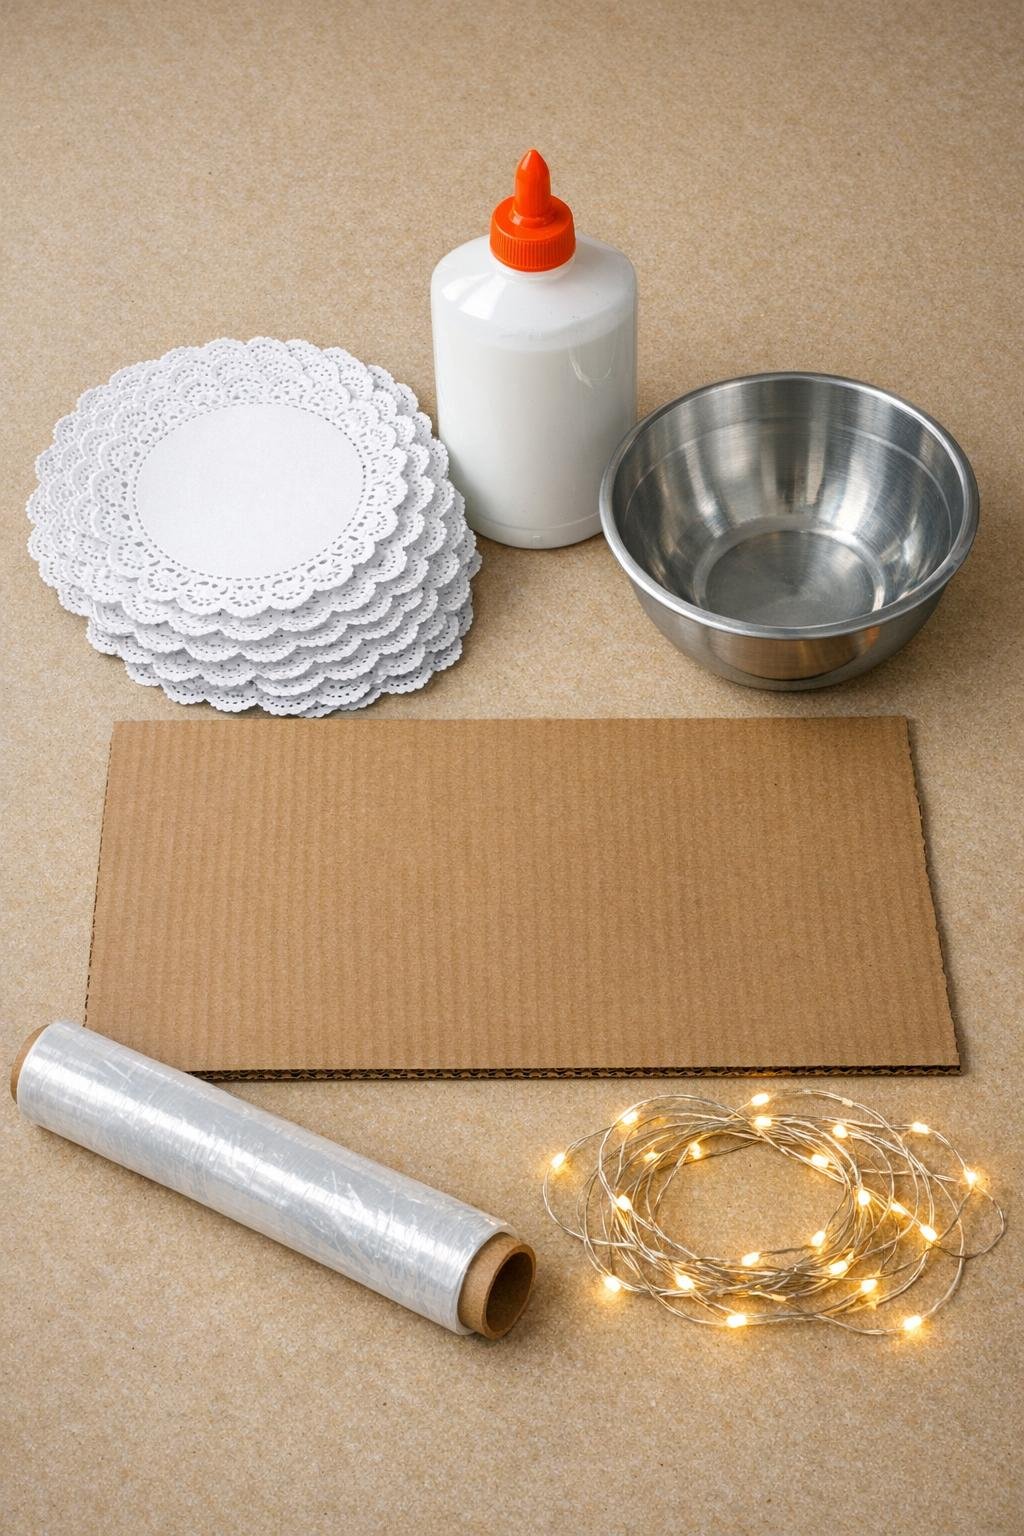
Materials
Instructions
1. Cover the cardboard completely with plastic wrap, pulling it smooth so the wet doilies will not stick as they dry.
2. Use a pencil and ruler to draw a large five-point star on the wrapped cardboard, about 22 to 24 inches across, so you have a guide to build on.
3. In the bowl, stir together the school glue and water until the mixture looks smooth and milky, with no thick streaks left.
4. Dip one doily into the glue water, turn it gently to soak both sides, then lift it out and let the extra drip back into the bowl for a moment.
5. Lay the first soaked doily across one point of the star, smoothing it lightly with your fingers so it follows the lines without tearing.
6. Dip and place more doilies one at a time, overlapping them by 1 to 2 inches and working around the star until the whole outline is covered.
7. Add a second layer of doilies over the center and along each point, using the full 40 doilies to build a sturdy shape with pretty, dense lacework instead of thin spots.
8. If any point wants to curl or shift, secure it with a few pins at the edges, pushing the pins into the cardboard just enough to hold the shape while it dries.
9. Tuck and overlap the outer edges neatly so each point looks full and crisp, then leave the star flat to dry for 12 to 24 hours, until it feels firm all over.
10. Once dry, gently remove the pins and peel the star away from the plastic wrap, supporting the points with both hands so nothing cracks.
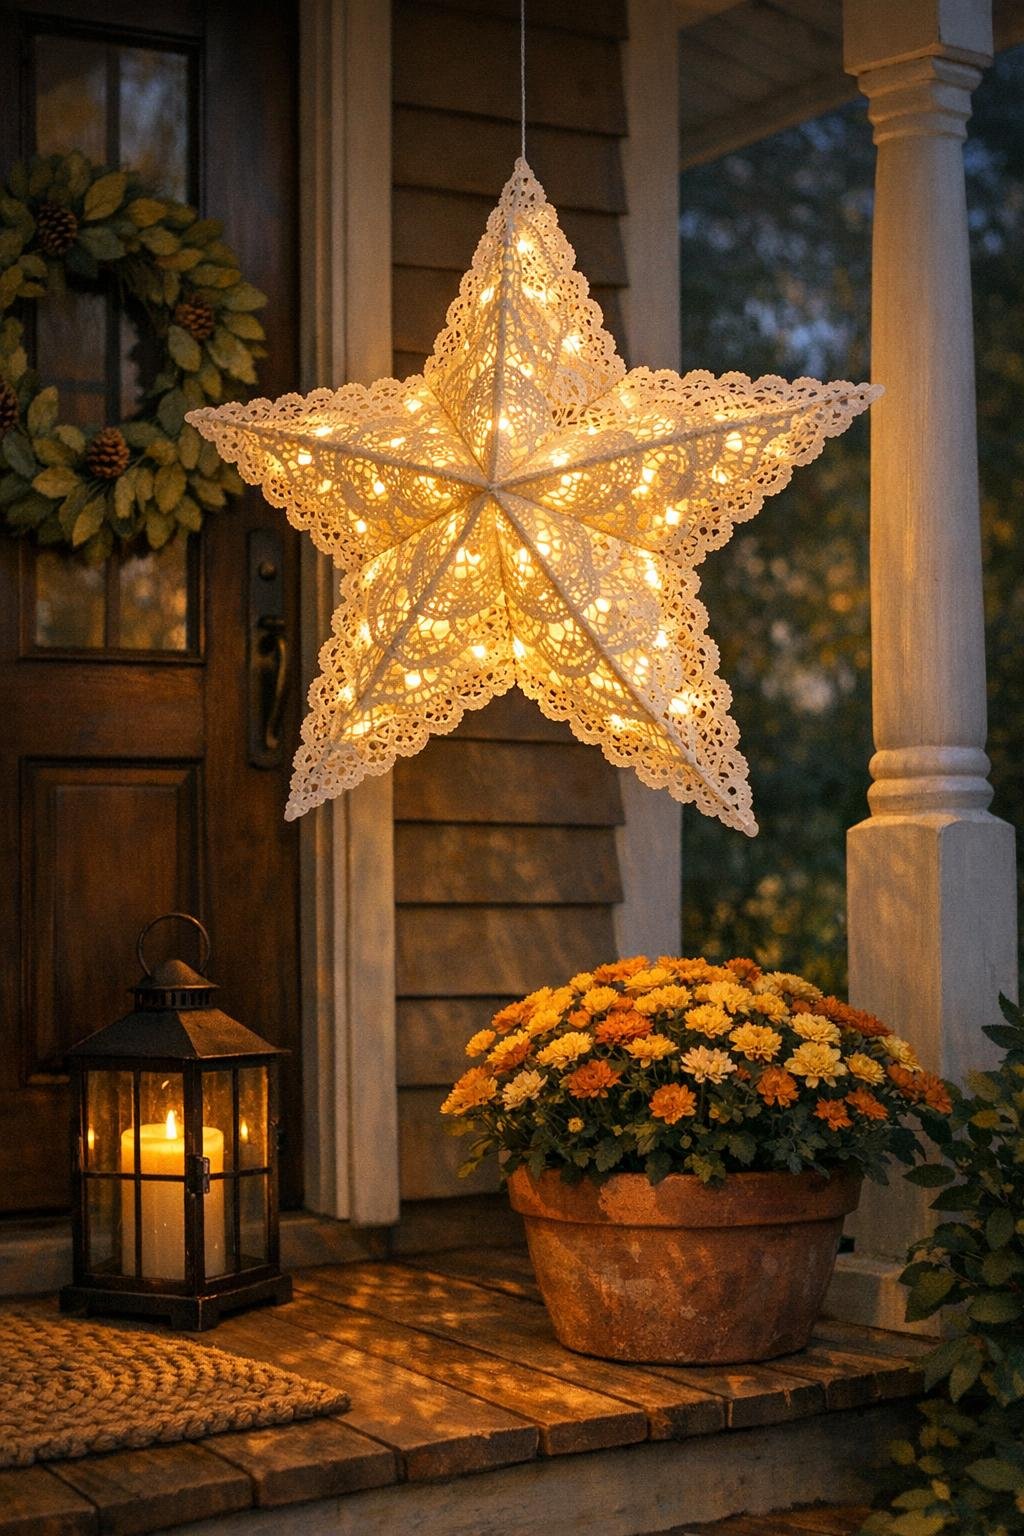
11. Weave the fairy lights through the lace openings from the back, spacing them evenly through the center and out into each point so the whole shape glows instead of just one area.
12. Tuck the battery pack or cord discreetly behind the lower point or along the back, then hang or lean the piece on your porch where the light can shine through the doily pattern.
Variations & Tips
For a stronger star: If you want a firmer finished piece, brush a little extra glue mixture over the top of the assembled star before drying. I especially like doing this on the center and the tips.
For outdoor use: A covered porch is best. Paper and moisture are old enemies, and even a sturdy dried star will last longer if it is protected from rain and heavy dew.
For a fuller look: Do not skimp on overlap. Using all 40 doilies gives you the dense, lacy coverage that makes the light look rich and magical instead of patchy.
For shaping the points: If a point looks too rounded, add one more folded or trimmed damp doily section right over that spot while the star is still wet. Little fixes disappear once everything dries together.
For light placement: Warm white fairy lights give the prettiest soft glow. I weave more lights into the center than I think I need, because that middle area is what makes the whole design look alive after dark.
For storage: Slip the dry star into a large clean trash bag or between two flat pieces of cardboard. Store it somewhere dry, and it should be ready to bring out again for another season.