
There is something so satisfying about turning a few humble craft supplies into something that looks delicate and special, especially when the main trick is simple enough to do right at the kitchen table. This project starts with little loops of wire and a bottle of old green nail polish, and with a bit of patience, those loops become glossy petals that catch the light in the prettiest way.
I love projects like this because they feel almost magical without being fussy. If you enjoy easy, repetitive crafts that let you settle in for an hour while dinner simmers or the kids do homework, this one is a treat. It is also a wonderful way to use up half-finished nail polish that is too pretty to toss.
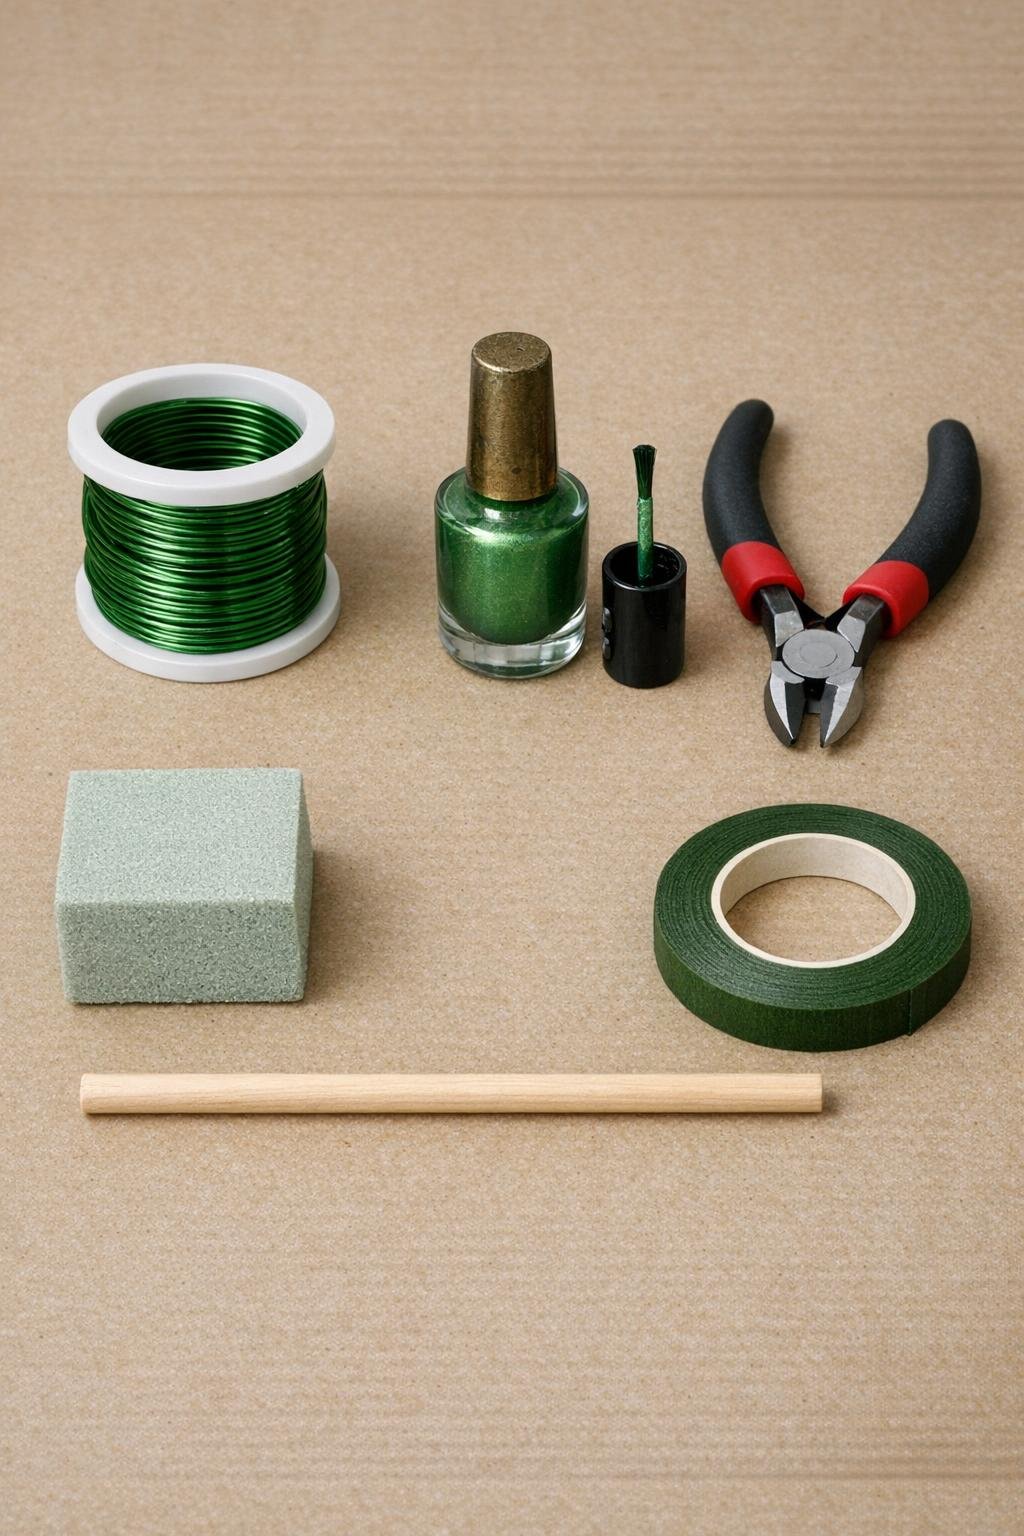
Materials
1 spool 26-gauge green craft wire, about 40 yards total
Instructions
1. Cut 40 pieces of craft wire, each 10 inches long, so you have enough length to form a petal and still leave a stem for wrapping.
2. Bend the top of each wire into a small loop about 3/4 inch long, then twist the wire once or twice at the base of the loop so the shape stays narrow and leaf-like.
3. Press the straight ends of all 40 wires into the foam block so the loops stand upright and are easy to dip and dry without touching each other.
4. Open the green nail polish and gently stir the brush inside the bottle neck so the polish is smooth and evenly coated on the brush.
5. Dip one wire loop into the nail polish, pulling it through slowly so a thin glossy film stretches across the loop like a little glassy petal.
6. If the polish does not span the loop on the first try, dip again and move more slowly; if it puddles, lightly touch the bottom edge with the brush to remove the excess.
7. Return the finished wire to the foam block to dry, and repeat until all 40 loops have a smooth green film across them.
8. Let the petals dry completely for 30 to 45 minutes, or longer if your polish is thick, until they feel firm and no longer tacky.
9. Gather 5 petals together, staggering their heights slightly, and wrap their stems tightly with floral tape for 1 1/2 inches to make your first branch.
10. Make 8 total branches the same way, using all 40 petals, and gently fan the petals outward so each branch looks full instead of flat.
11. Hold 2 branches against the top of the dowel and wrap them on with floral tape, then keep adding the remaining branches in layers as you spiral downward, rotating the dowel so the shape fills out evenly on all sides.
12. Continue wrapping floral tape down the full dowel to cover the trunk neatly, then pinch and bend the wire branches until the silhouette looks balanced, rounded, and airy.
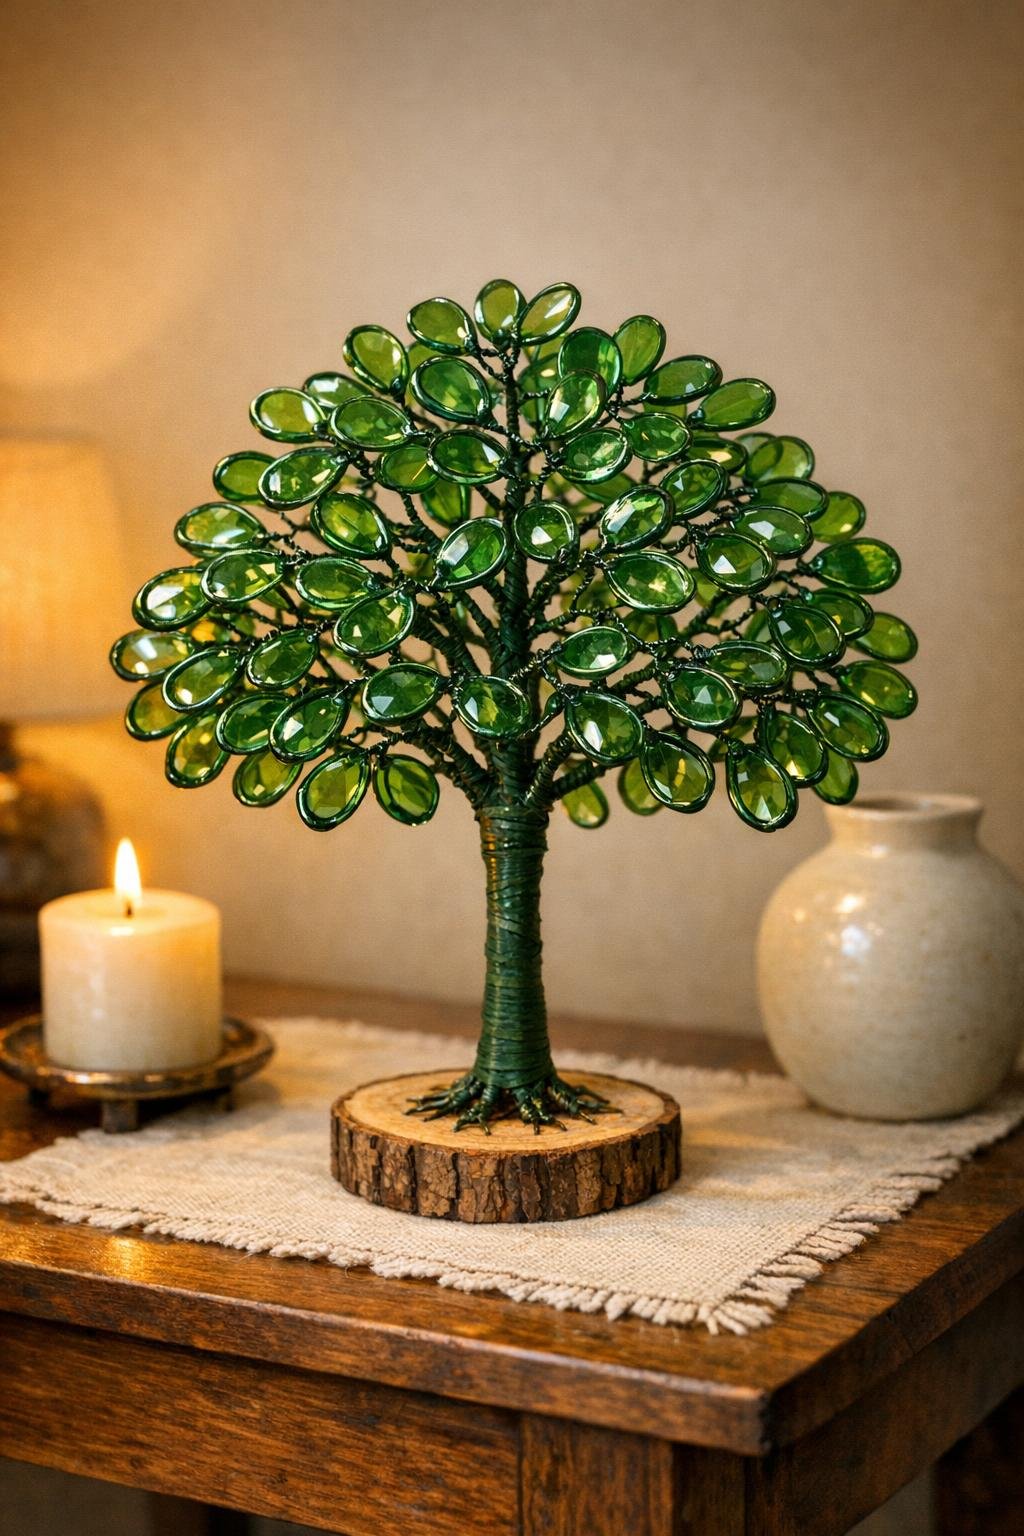
13. Push the finished trunk into the foam block so it stands upright, and make any last small bends to spread the petals into a full tabletop display.
Variations & Tips
For thicker polish: Older nail polish can work beautifully, but if it is stringy instead of smooth, wipe the brush well and dip more slowly so the film stretches cleanly across each loop.
For picky perfectionists: If a petal tears or dries with a gap, do not fuss over it too long. I just snip that one off or re-dip a fresh loop, because a full grouping hides tiny differences once the branches are assembled.
Color variation: Try making a few petals in a second green tone for extra depth, especially if you want the finished piece to look richer and more dimensional in the light.
Petal shaping tip: Narrow loops tend to hold the polish film best. If your loops are too wide, pinch them slimmer before dipping and you will have a much easier time.
Branch fullness: Spread the five petals in each branch at slightly different angles before attaching them to the trunk. That one small step makes the whole piece look lush and generous instead of skimpy.
Display idea: This looks lovely on a mantel, entry table, or kitchen windowsill where daylight can shine through the glossy petals. I would keep it away from little hands until fully cured, just to preserve that smooth finish.