
There are a handful of materials I never throw out without a second look, and old chicken wire is high on that list. It bends easily, holds a shape surprisingly well, and has that airy open texture that can turn into something dramatic with very little fuss. If you like porch decor that feels big and eye-catching without requiring advanced tools or a full afternoon of construction, this is exactly the kind of project worth making.
I especially love this one for anyone who wants a seasonal outdoor piece that looks custom and polished but is still wonderfully forgiving. The wire does most of the work for you, and the final finish comes together with just a few practical supplies. If you've ever cooked from pantry ingredients and ended up with something far more impressive than expected, this project has that same kind of satisfying payoff.

Materials
Instructions
1. Put on your gloves and lay the 24 x 72-inch sheet of chicken wire flat on your work surface, with the long side running left to right. Smooth it gently with your hands so the bends are easier to read before shaping.
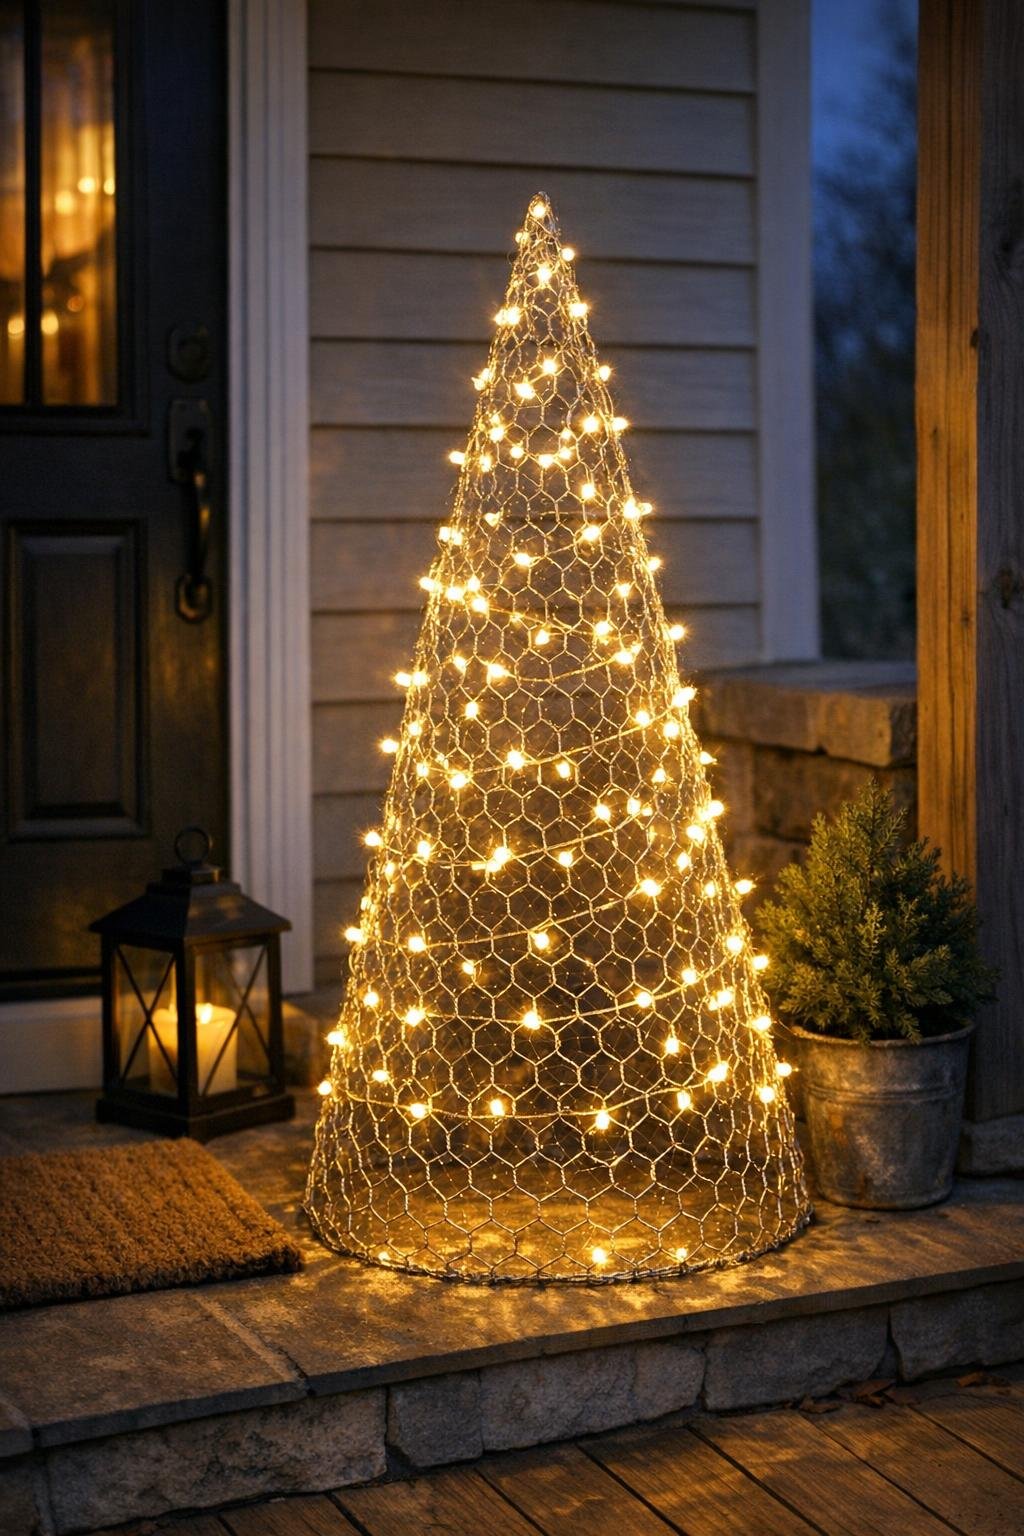
2. Roll the chicken wire diagonally into a tall cone, keeping the bottom wide at about 18 to 20 inches and narrowing the top to a soft point. Overlap one side by 2 to 3 inches so the cone feels full instead of flimsy.
3. Secure the overlapped seam from top to bottom with 8 to 10 zip ties, spacing them every few inches. Pull them snug so the tree keeps its shape, then trim the tie tails with your wire cutters.
4. Stand the cone upright and press the bottom edge in small sections until it sits flat and stable. If one side looks lopsided, pinch and nudge the wire with your hands until the outline looks evenly tapered.
5. Fold the top 2 inches of wire inward to create a safer, neater tip and a more finished silhouette. Tuck in any sharp ends along the seam and base with the cutters or gloved fingers.
6. Start the first strand of warm white lights near the top and weave them in and out of the wire as you spiral downward. Keep the spacing tight, about 3 to 4 inches between passes, so the finished tree glows generously instead of looking sparse.
7. Add the second strand where the first ends, continuing the spiral all the way to the bottom edge. Use 10 to 12 zip ties to anchor the light wire discreetly at the seam and around the base so nothing slips.
8. Step back and fill any dim gaps by tucking nearby sections of lights across open areas, especially around the front and lower third. This extra pass is what gives the tree a dense, showroom-style glow once it is lit.
9. Place the finished piece on the porch near an outlet, with the seam facing the wall or least visible side. Plug in the lights and make final small adjustments to the cone so it reads as tall, full, and even from the curb.
Variations & Tips
Make it taller: For a more dramatic porch statement, start with a longer sheet of chicken wire and keep a broad base. A 24 x 96-inch piece makes a noticeably taller tree while using the exact same method.
Use light color thoughtfully: Warm white gives the richest, coziest glow on a porch, much like good under-cabinet lighting in a kitchen. Cool white looks icier and sharper if that better suits your holiday style.
Add a second tree: These look especially good as a pair in different heights. Make one with a 24 x 72-inch sheet and a second with a smaller piece for a layered display by the door.
Hide the cord neatly: Run the plug side down the back seam and secure it with a couple of extra zip ties. That keeps the front clean and helps the tree look much more polished in daylight.
Protect hands and sleeves: Chicken wire can catch skin and clothing quickly, so gloves are not optional in my book. I also like to wear a long-sleeved shirt when shaping the cone, especially if the wire is older and springier.
Stabilize for windy spots: If your porch gets strong wind, nestle the base against a planter or secure the bottom edge lightly to a heavy pot with a few extra ties. The tree stays airy and light-looking, but it will sit with much more confidence.