
I’m always looking for a way to turn something sentimental into something display-worthy, and old holiday cards are one of those materials that are far too pretty to waste. The artwork, metallic accents, little handwritten notes on the back—there’s so much character there, and once you start folding them, you get that lovely crisp structure that makes even simple paper crafts look surprisingly polished.
This project is ideal if you have a stack of saved Christmas cards and want an easy seasonal craft that looks much more substantial than the effort involved. It uses straightforward folds and basic glue, but the final piece has height, texture, and that collected-over-time charm that makes people ask where you bought it.
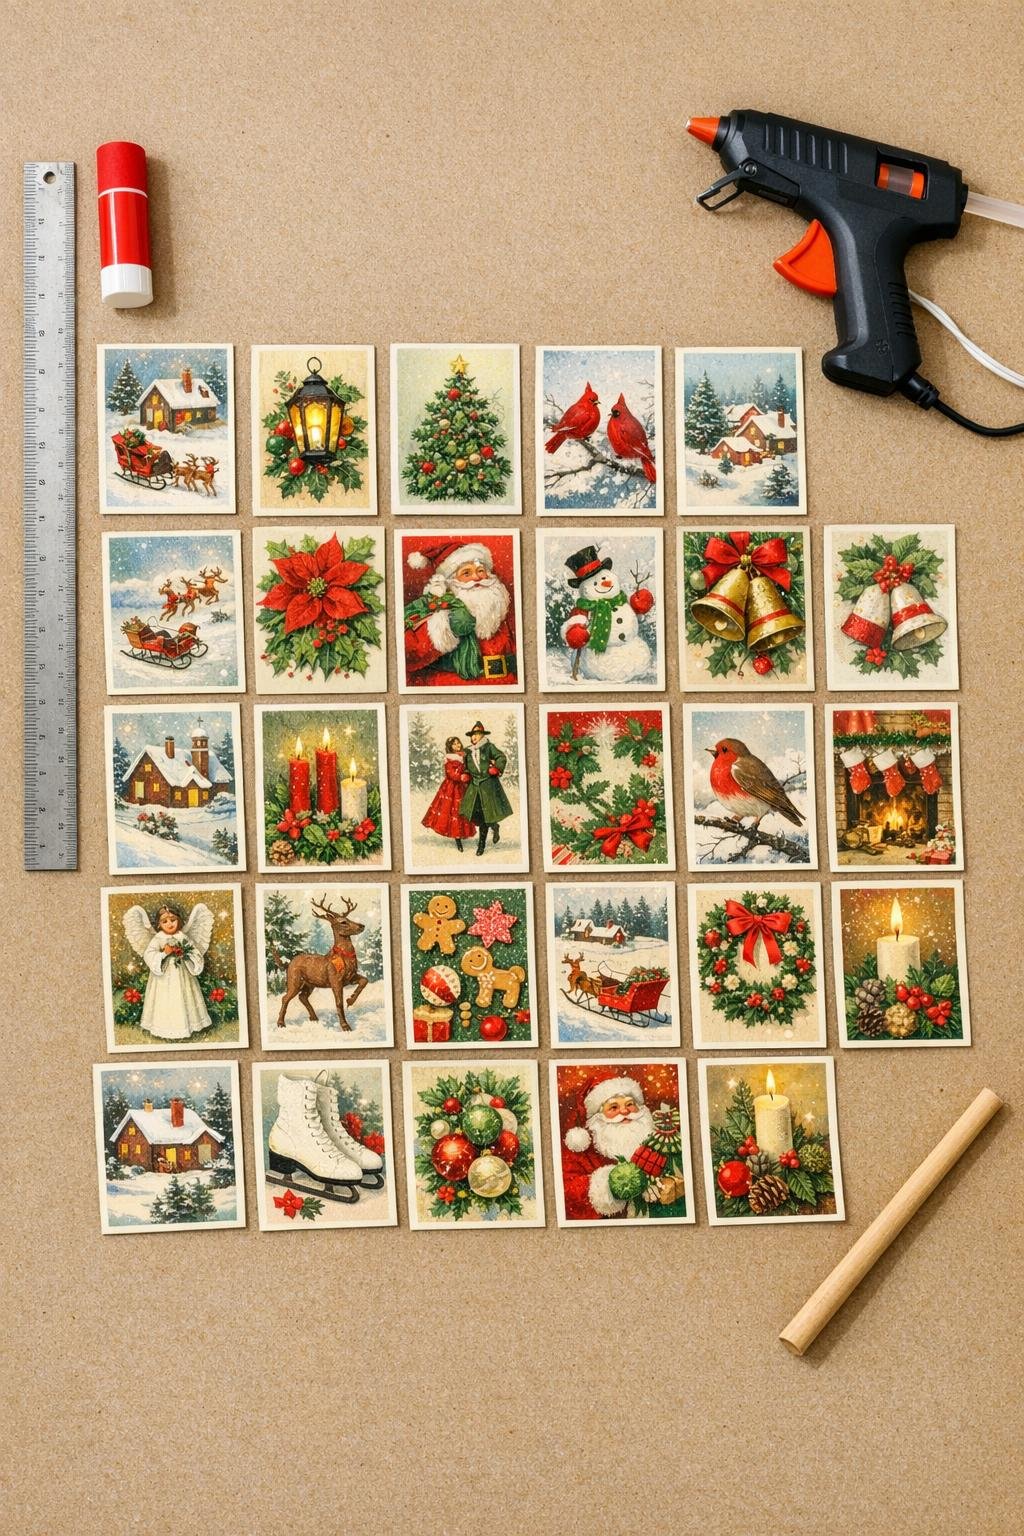
Materials
30 old Christmas cards, standard 5 x 7 inch size or similar
Instructions
1. Sort your Christmas cards by size and choose 30 that are close in height so the finished piece stacks evenly from bottom to top.
2. Open each card and flatten it gently with your hands so the fold at the spine relaxes and the card is easier to pleat.
3. Starting with the first card, use the ruler to make accordion folds about 1/2 inch wide from one side to the other, pressing each crease firmly as you go.
4. Repeat the same accordion fold on all 30 cards, keeping the pleats as even as possible so the stacked layers look full and tidy.
5. Fold each pleated card in half to find the center, then run the glue stick along one inner half and press the two inner sides together to create a fan shape.
6. Let the glued fans sit for a few minutes, then arrange them in a loose order from widest-looking and boldest patterns for the bottom to slightly lighter-looking ones for the top.
7. Place the wooden dowel flat on your work surface and add a small bead of hot glue near the bottom end.
8. Press one fan onto the hot glue with its folded center lined up on the dowel, opening the fan outward so it spreads like a semicircle.
9. Continue gluing the fans to the dowel one above another, slightly overlapping each new fan over the top edge of the one below it to build dense, layered coverage.
10. As you move upward, angle the side edges in a little more so the stacked fans form a clear tree silhouette with a broad base and narrow top.
11. Use a little extra hot glue between touching fan edges wherever needed to keep the layers evenly flared and full rather than collapsing inward.
12. Attach the final fan at the top with its point centered on the dowel so the tip of the tree looks neat and finished.
13. Stand back and gently adjust the pleats with your fingers, opening any compressed sections and fluffing each layer until the shape looks balanced and generous.
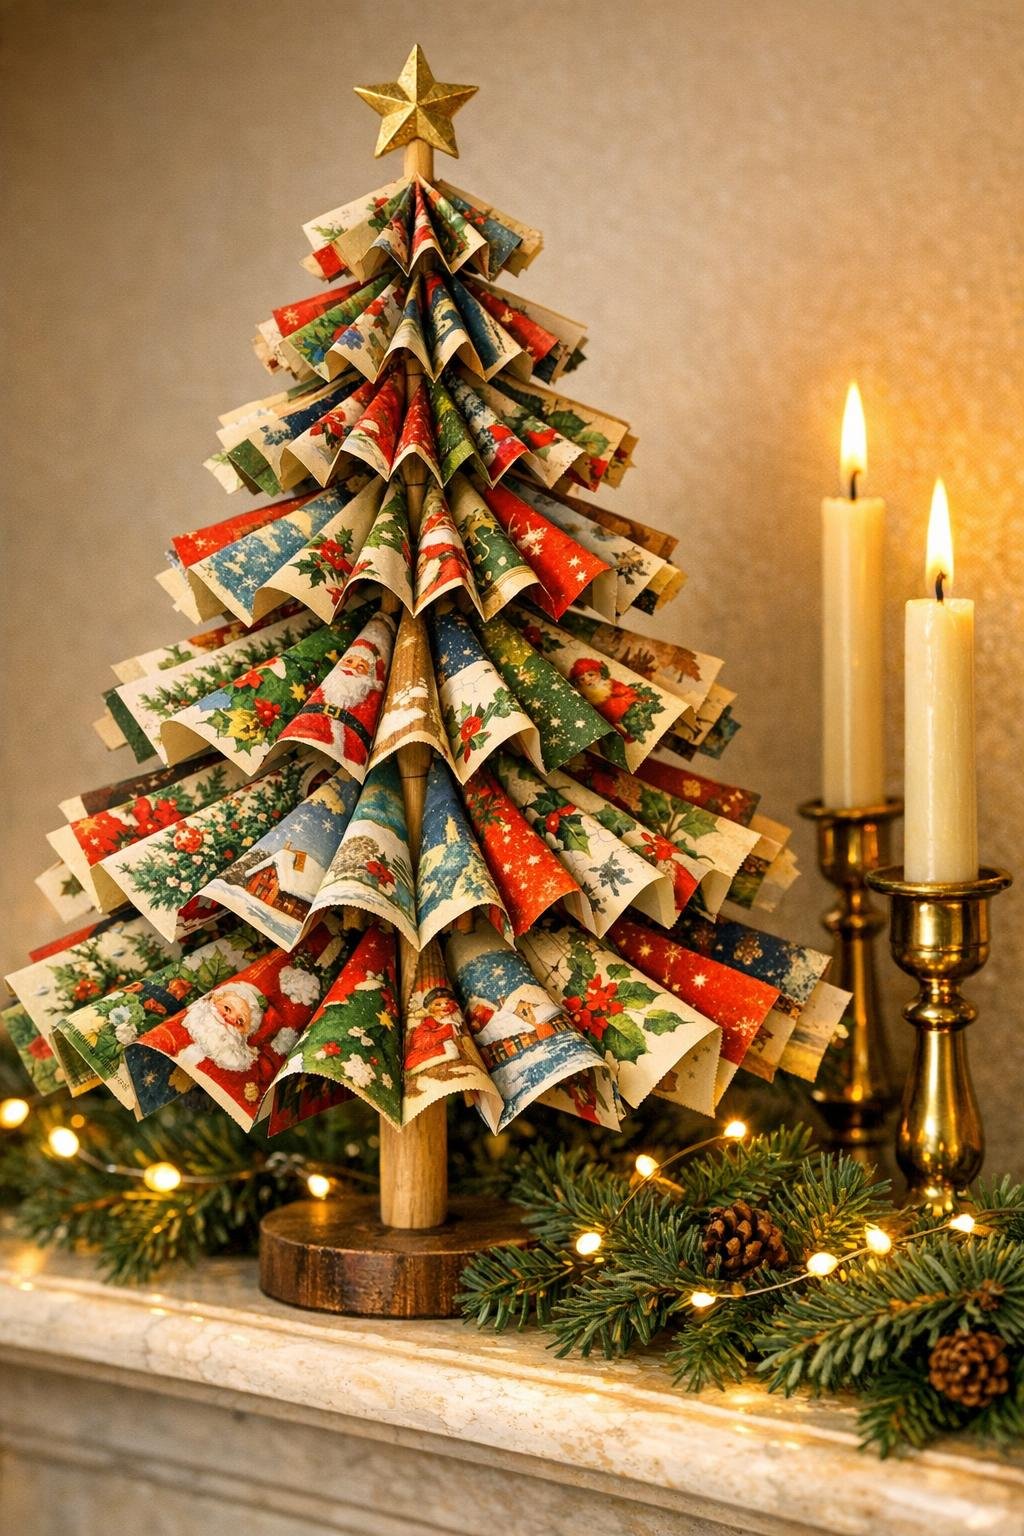
Variations & Tips
Use a color story: If you want the piece to look especially polished, group cards by dominant colors like red and gold, icy blue and silver, or classic green and white.
Trim only if necessary: If a few cards are much taller than the rest, trim a small amount from the bottom edge before folding so your layers stack more evenly.
Make it fuller: For an extra-lush look, glue two fan units back-to-back at a few lower levels before attaching them to the dowel; this gives the base more body without changing the method.
Protect fragile cards: Older cards with glitter or delicate paper can crack on sharp folds, so score the fold lines lightly with the ruler edge first and crease more gently.
Create a tabletop version: Use fewer cards and a shorter dowel for a smaller display piece, or make several in different heights and group them together like a little paper forest.
Display it where it can shine: This looks best on a mantel, entry table, or sideboard where the layered card art can be seen from the front and the folds catch the light.