
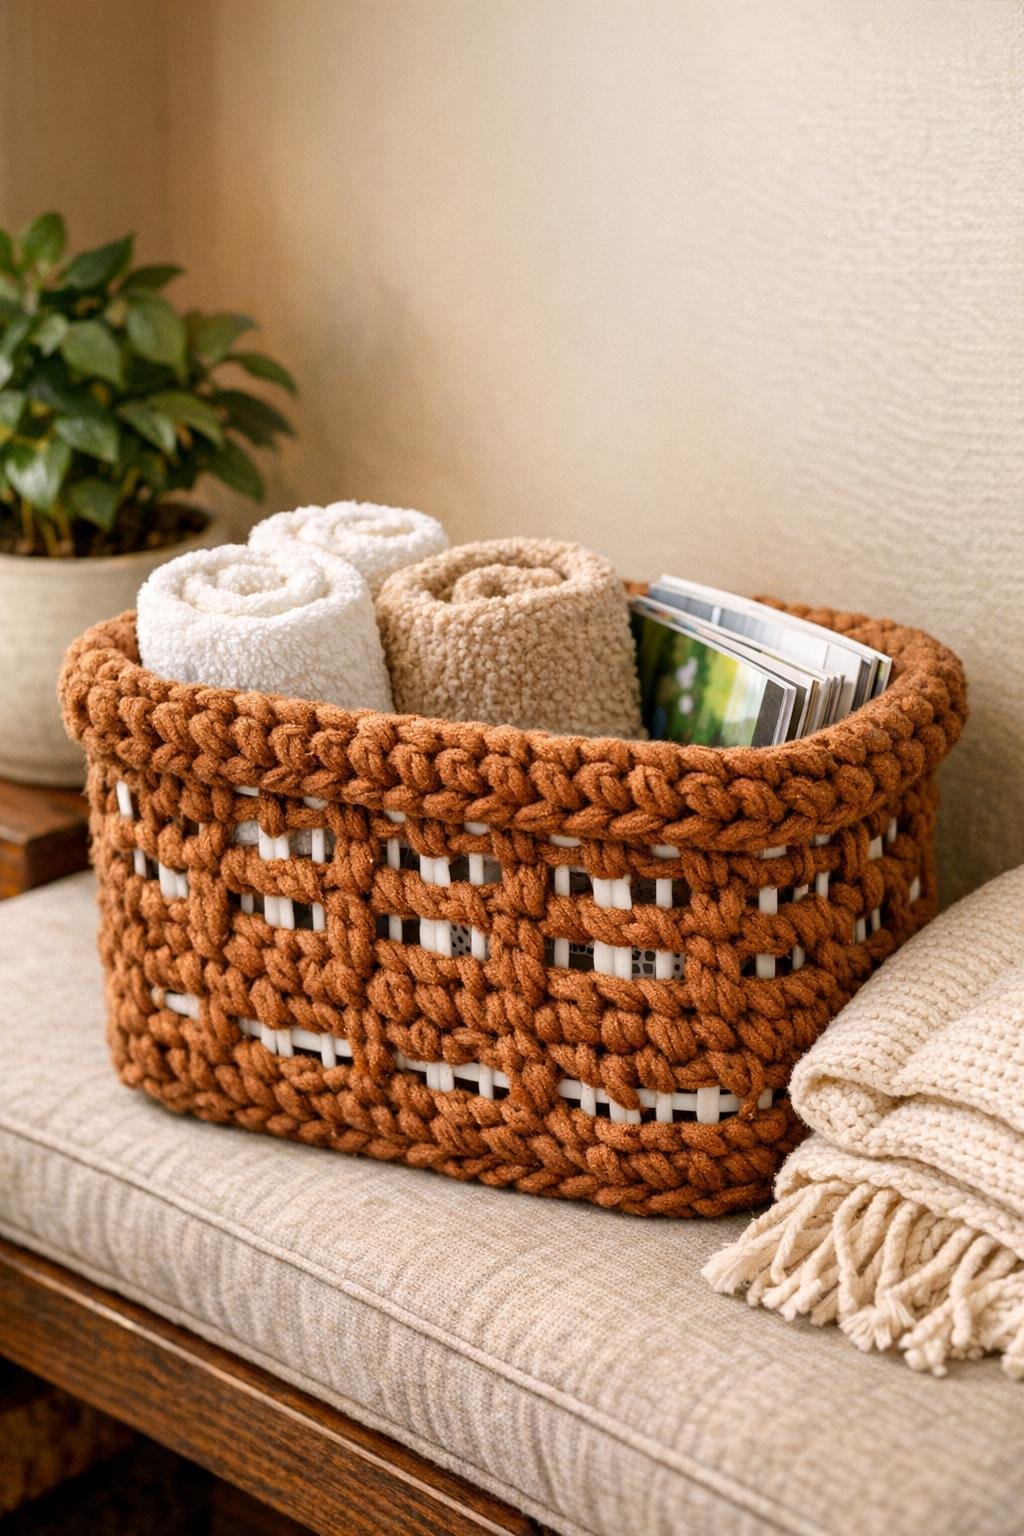
I love a project that takes something flimsy and overlooked and turns it into something you’ll actually use every single day, and this crochet storage basket does exactly that. By stitching chunky cinnamon-colored yarn right through the grid openings of a basic white dollar store shower caddy, you end up with a sturdy, cozy-looking basket that feels handmade and practical at the same time.
This is a wonderful project for anyone who likes easy crochet, upcycling, or just making a home organizer look a whole lot prettier. The plastic caddy does the hard work of holding the shape, and the yarn adds warmth, coverage, and texture, so you get that full, polished look without having to wrestle with shaping a basket from scratch.
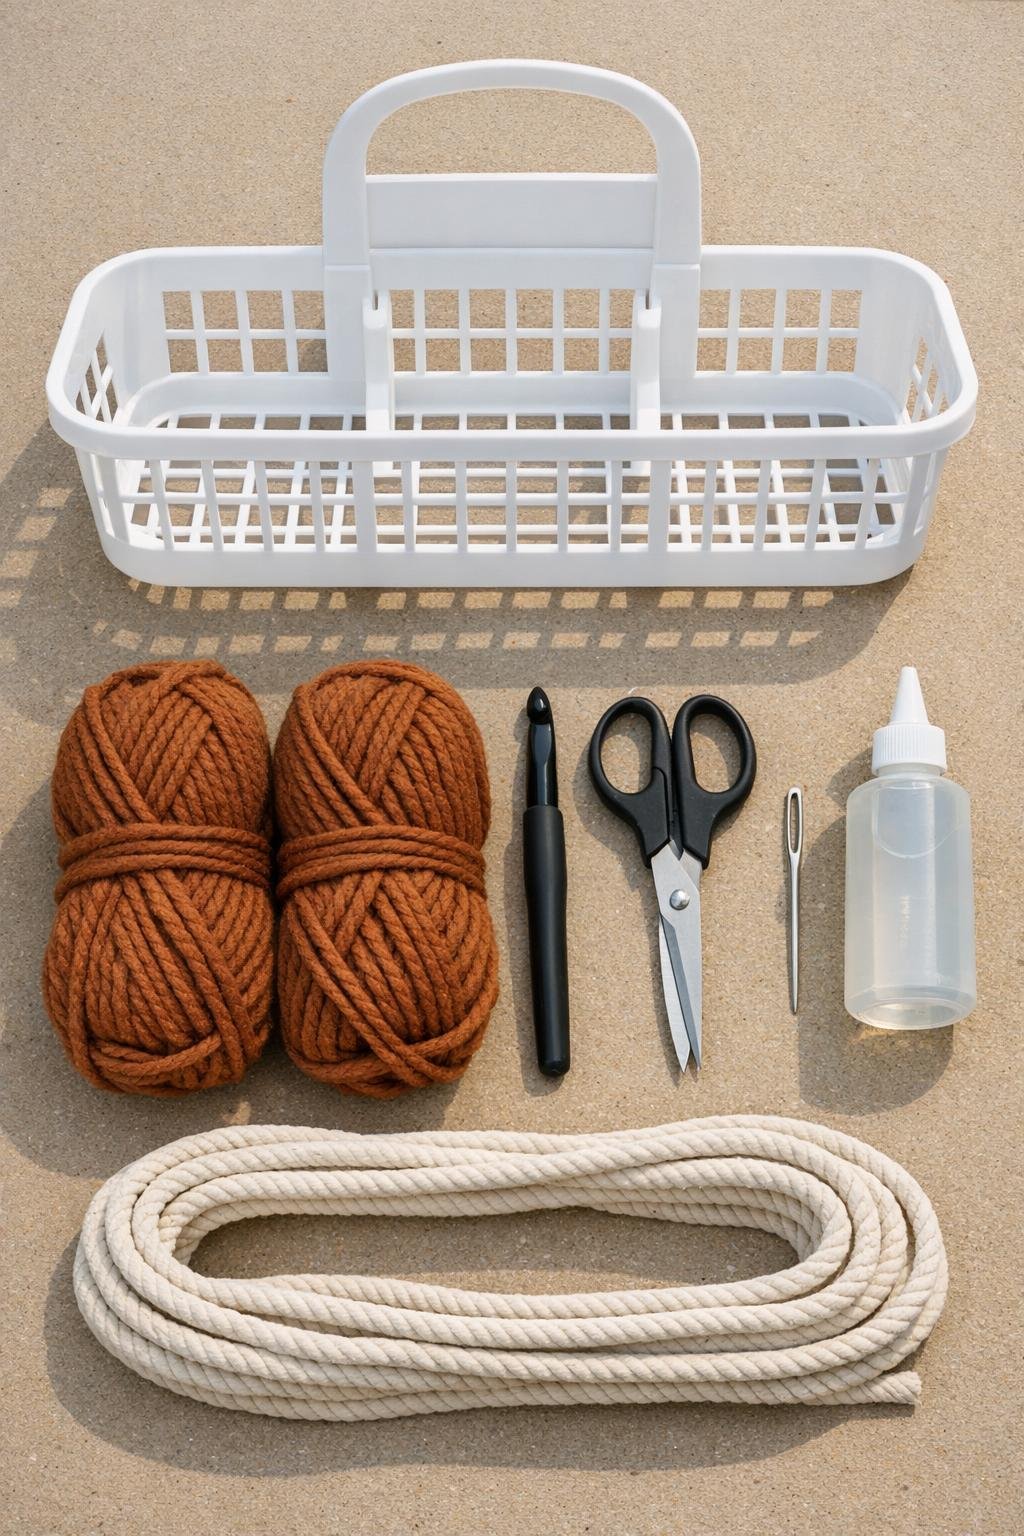
Materials
1 white plastic dollar store shower caddy with open grid sides and base, approximately 9 to 11 inches wide
Instructions
1. Clean the shower caddy with warm soapy water, dry it well, and trim off any tags or rough plastic bits so the yarn will slide smoothly through the grid.
2. Cut a starting tail about 8 inches long, then insert your hook through a bottom corner opening and pull the cinnamon yarn through to anchor it with a slip knot around the plastic bar.
3. Work single crochet stitches through each grid opening around the top rim of the caddy, placing 1 stitch per opening and pulling snug enough to cover the plastic edge without warping the shape.
4. Continue down the first long side, stitching through every grid opening row by row so the yarn forms dense horizontal bands that soften the look of the caddy while still letting the basket shape show.
5. Crochet across both short ends and the second long side the same way, checking every few rows that your tension stays even and the stitches sit full and close together.
6. Stitch through the grid openings on the base, working from one side to the other until the bottom has a thick woven-crocheted layer that helps small items sit nicely inside.
7. When you join a new skein, overlap the old and new yarn tails for 2 or 3 stitches, then weave both ends into nearby crochet loops with the tapestry needle for a secure finish.
8. Go back around the top rim with a second round of single crochet through the upper openings to make the edge look extra full, tidy, and finished.
9. Thread one 6-foot rope length through one long side near the top, weaving it in and out through 4 to 6 openings to create a soft handle, then knot the ends inside the basket and dab the knot with a little clear glue.
10. Repeat on the opposite side with the second rope length, adjusting both handles so they match and sit comfortably when lifted.
11. Tuck in all remaining yarn ends, smooth the stitches with your hands, and gently shape the basket so the sides look even and the crochet coverage appears full all the way around.
Variations & Tips
For a bathroom basket: Use it to hold extra washcloths, hair brushes, or rolled hand towels. I love projects that make everyday storage feel a little more welcoming, especially in rooms that are usually all hard surfaces.
For picky color tastes: If cinnamon feels too warm for your space, the same method works beautifully with oatmeal, charcoal, olive, or cream chunky yarn. I’d still keep the yarn chunky so the coverage looks generous and the plastic doesn’t peek through too much.
For extra coverage: If your caddy has larger openings, add an extra stitch in every other opening or work a second pass over the sparsest areas. That fuller layering gives it a richer basket look instead of a skimpy wrapped look.
For stronger handles: Cotton rope is soft on the hands, but you can also use faux leather strips or braided yarn cords. Just keep the handles threaded through several openings so the weight spreads out evenly.
For cleaner corners: I slightly loosen my tension right at the corners so the stitches round the turn without pulling. That tiny adjustment makes the whole basket look neater and more custom.
For organizing kids' spaces: These are handy for toy cars, crayons, socks, or little books. As a mom, I always appreciate storage that’s sturdy enough to use every day but still soft-looking enough to blend into the room.
For a polished finish: After weaving in your ends, add a tiny dot of clear-drying glue to the deepest tucked tails inside the basket. It’s a small step, but it helps everything stay tidy when the basket gets used and moved around often.