
There are a few craft ideas that make you stop mid-scroll, and this is one of them. Using a handful of inexpensive mugs and a can of expanding foam, you can turn basic supplies into a sweet little display piece that looks cheerful, playful, and much more boutique than budget. I love projects like this because they feel a little unexpected, but the steps are actually very manageable.
If you like seasonal decorating but do not have time for anything fussy, this is exactly the kind of craft I reach for. It comes together with simple materials, gives you a lot of visual payoff, and is easy to customize once you get the basic technique down. This is also a great weekend project if you want something cute for a kitchen counter, coffee bar, or winter centerpiece without spending much.
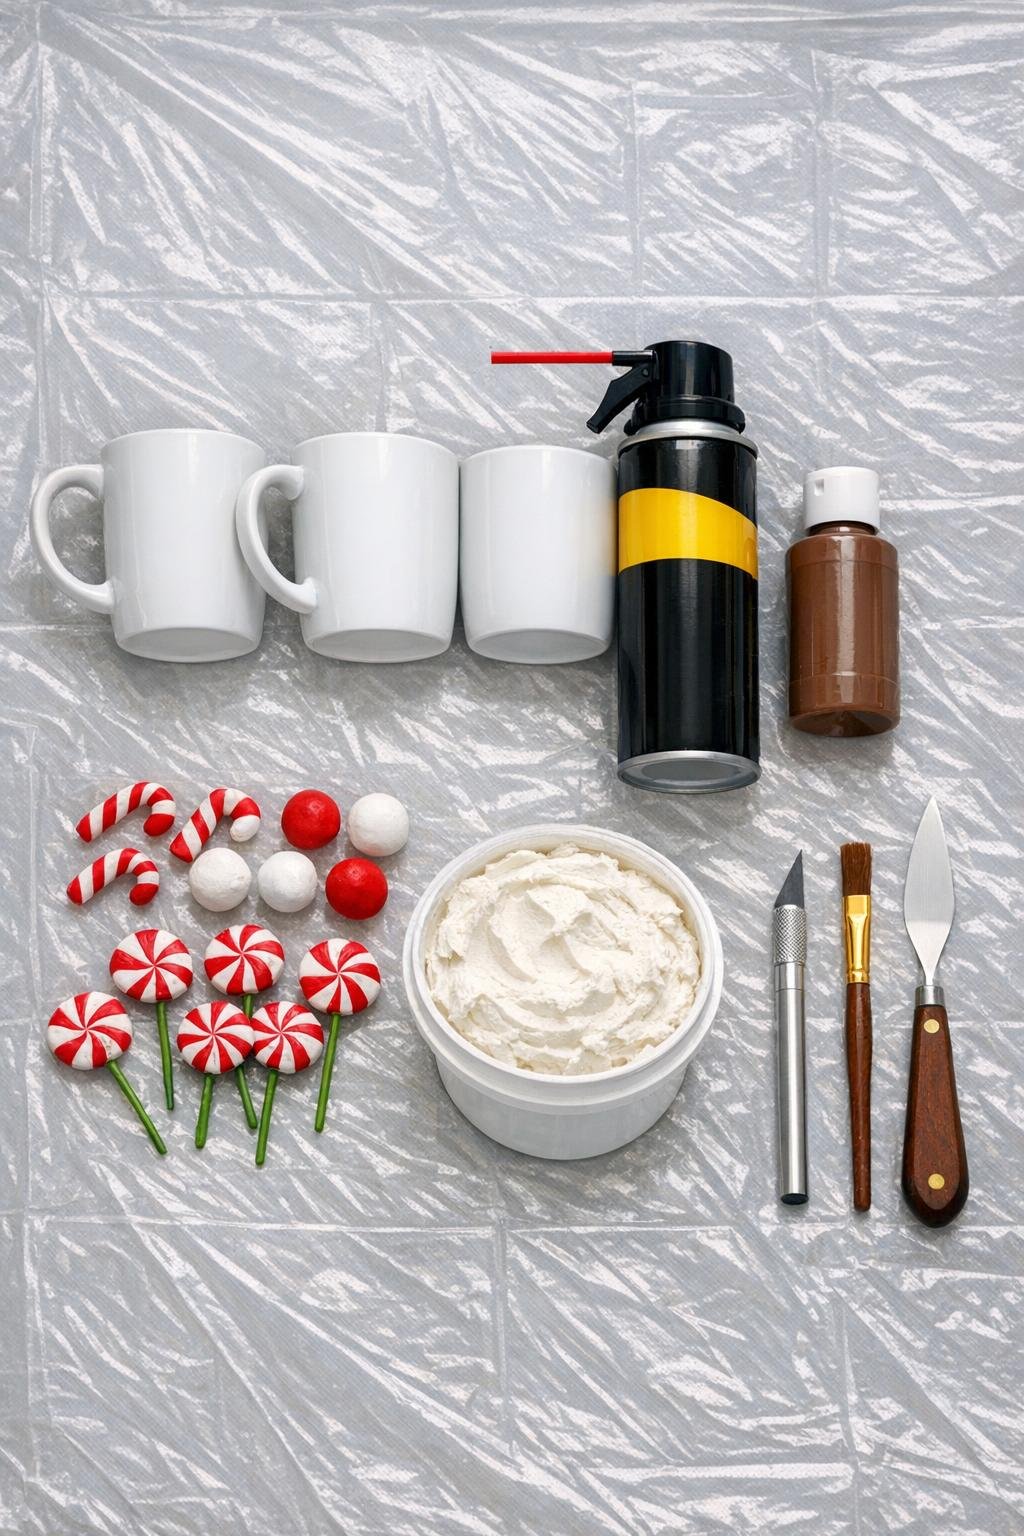
Materials
3 plain white ceramic mugs, standard 10- to 12-ounce size
Instructions
1. Cover your work surface with a plastic tarp and set the three mugs upright with a little space between them. Shake the expanding foam can well according to the package directions.
2. Insert the straw nozzle just inside the first mug and dispense foam in a loose spiral, filling it only about halfway since it will expand a lot; repeat for the other two mugs. Let the foam cure fully according to the can directions, usually several hours or overnight.
3. Use a craft knife to trim the cured foam so each mug has a rounded, gently domed top that looks like a full drink with room for toppings. Vary the height slightly so the trio looks more natural when displayed together.
4. Paint the exposed foam tops brown, working the paint into all the creases so no yellow foam shows through. Let the paint dry completely before adding the next layer.
5. Spread white lightweight spackle over the brown tops with a palette knife, leaving some of the brown showing around the edges so it looks like cocoa under whipped cream. Build the spackle into thick swirls and soft peaks for a generous, fluffy topping.
6. While the spackle is still soft, tuck in faux peppermint picks and either small curved candy cane shapes made from red and white craft clay or ready-made mini candy cane picks. Angle the toppings differently in each mug so the set looks full and styled instead of identical.
7. Let everything dry thoroughly until the spackle is firm and the decorations feel secure. Wipe any smudges from the mugs, then arrange the three finished pieces together as a grouped display.

Variations & Tips
Make the mugs look fuller: Do not underfill the foam at the beginning, but also do not fill to the rim. About halfway is the sweet spot, and trimming it into a nice dome later gives you the prettiest finished shape.
Use the paint strategically: I like to paint slightly down into the inner rim area so there is a little visual depth under the whipped topping. That one tiny detail makes the mugs read more like drinks and less like capped foam.
Shape better whipped cream: Lightweight spackle is easiest to swirl into soft peaks without dragging. If your palette knife sticks, dip just the edge in water and keep the strokes loose.
Try a coordinated color story: Red and white peppermint is the classic look, but pink-and-white candies are adorable for Valentine's Day and pastel toppings work surprisingly well for a spring dessert-themed display.
Display them as a set: These look best grouped tightly in a tray, on a tiered stand, or along a coffee bar instead of spread far apart. I have learned the hard way that little decor pieces always look more intentional when they are styled together.
Keep it decorative only: Since this project uses foam, paint, and spackle, the mugs are for display only and should not be used for food or drinks. I also keep them indoors and away from moisture so the finish stays nice season after season.