
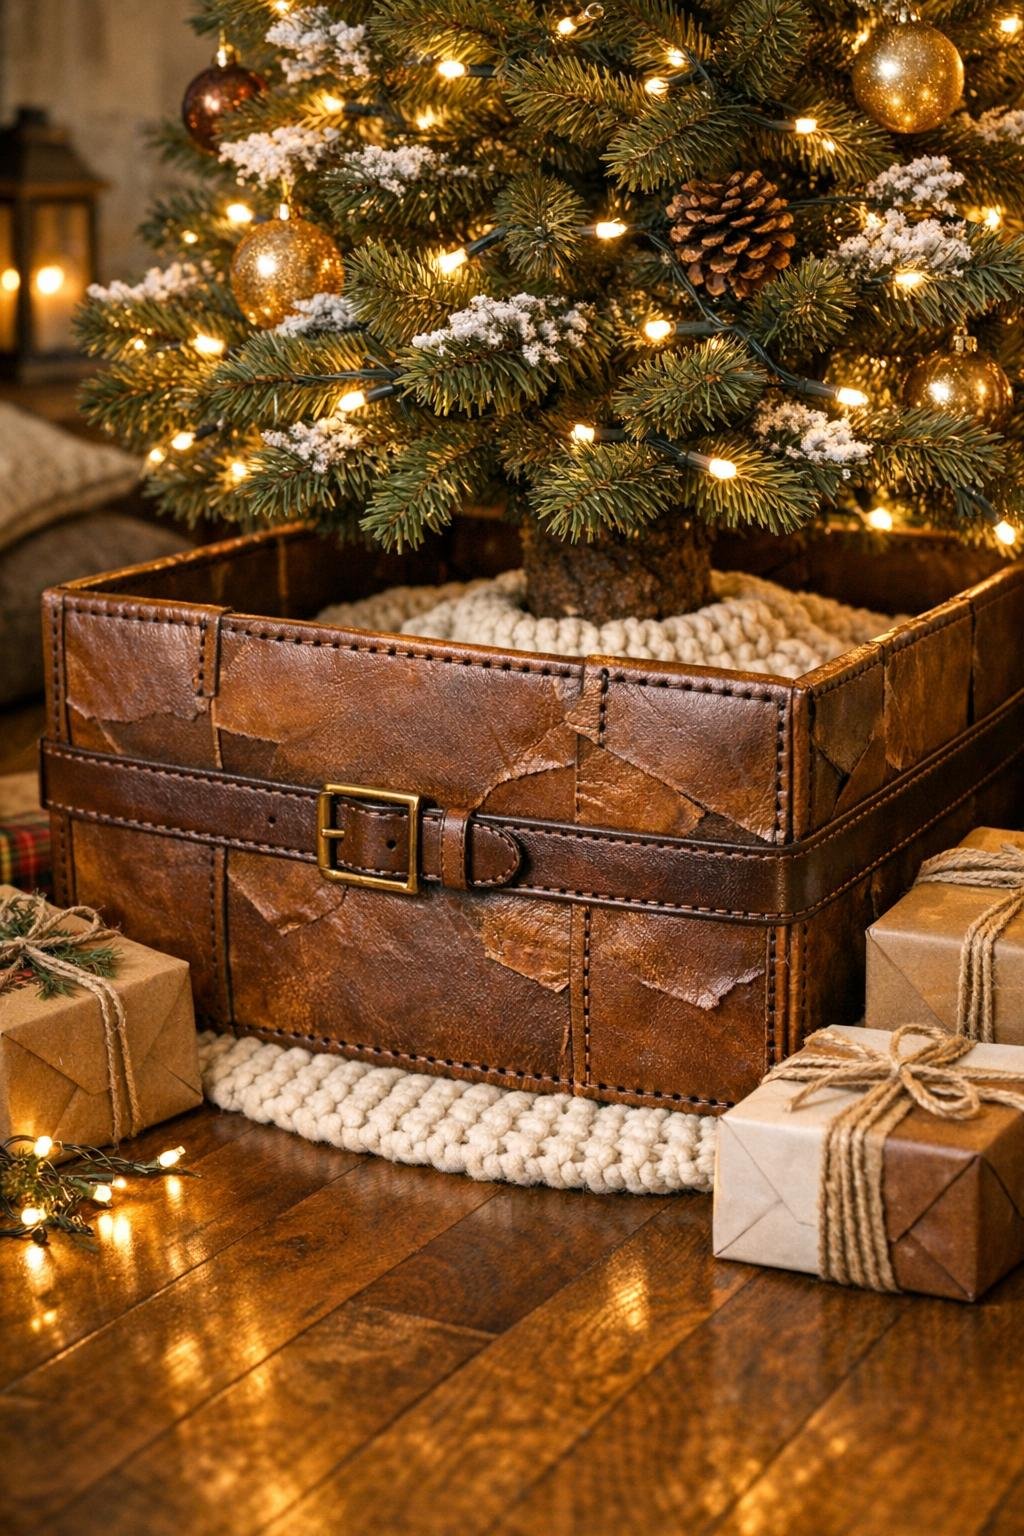
There are a few projects that look wonderfully scrappy in the middle and strangely high-end by the end, and this is one of them. Starting with an ordinary cardboard box and torn bits of masking tape, you can build something with rich texture and that cozy, timeworn look I always love bringing into holiday decorating without spending much at all.
I’m especially fond of projects like this because they don’t ask for perfection. If you can tear tape, rub on color, and draw a simple stitch line, you can make this work. It’s a great choice for anyone decorating on a budget, anyone who likes warm rustic finishes, or anyone who wants a big visual payoff from a handful of humble supplies.
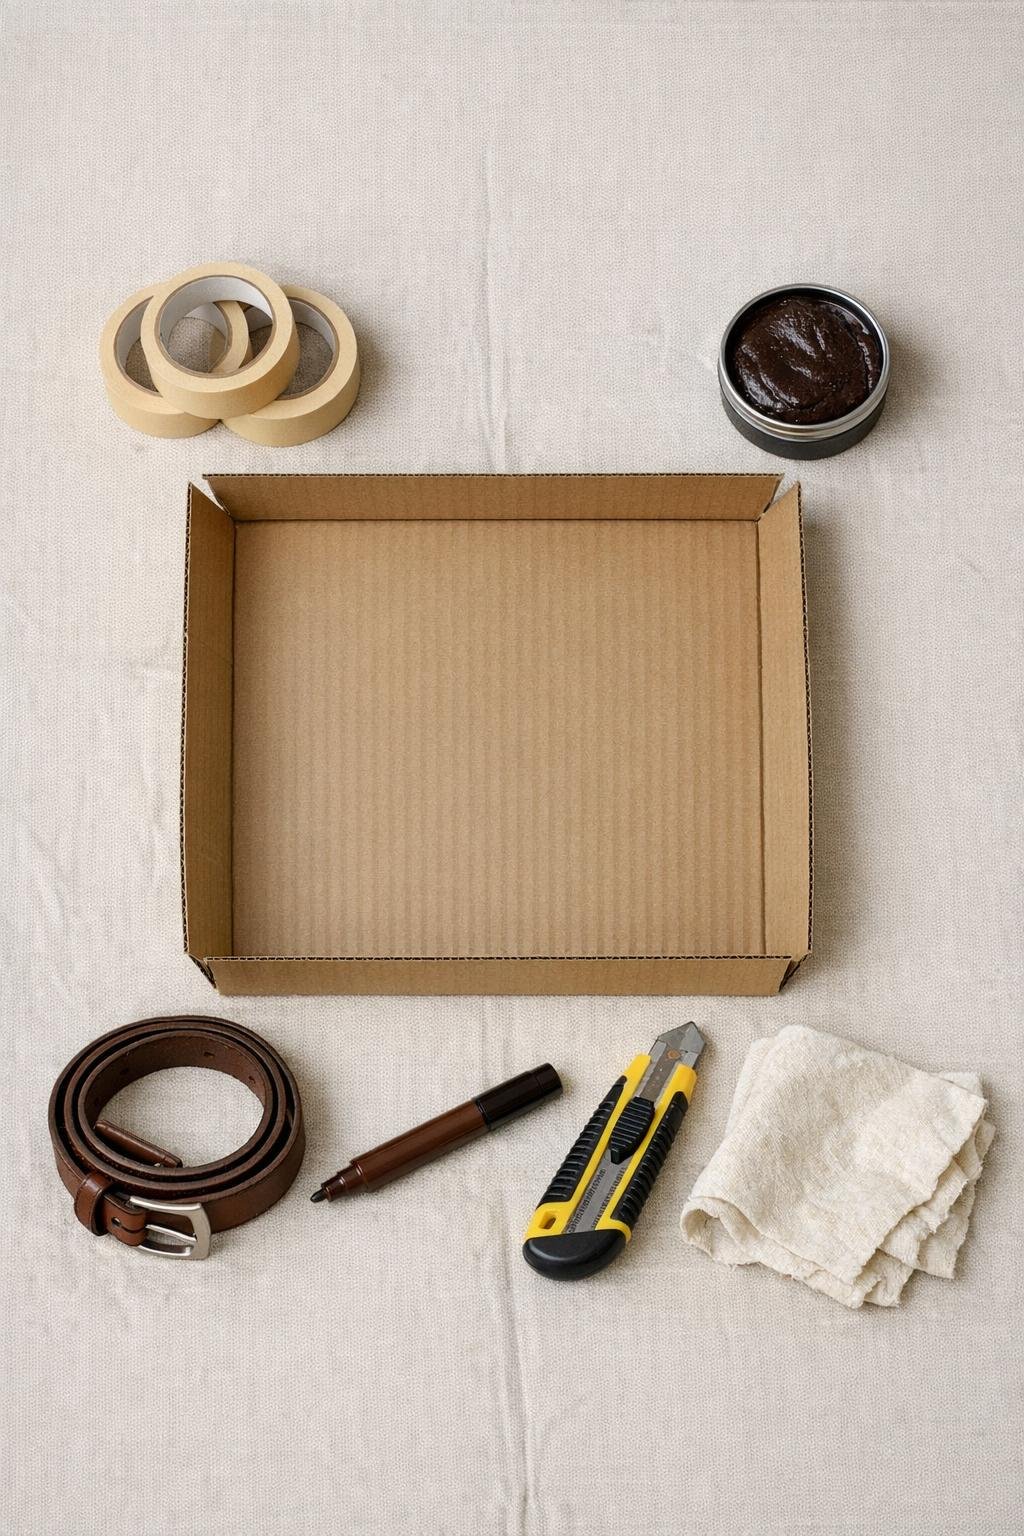
Materials
Instructions
1. Set the box upright on your protected work surface and use the box cutter to remove all top and bottom flaps so you’re left with an open cardboard sleeve.
2. Choose the best four sides of the box as your outside surfaces, then trim the height if needed so the box looks balanced and even all the way around.
3. Tear the masking tape into uneven pieces about 3 to 6 inches long; the rough torn edges are what create the soft, broken-in texture, so don’t cut them neatly.
4. Press the first tape pieces onto one side of the box, overlapping them slightly and changing direction as you go so the surface starts to look like irregular leather panels rather than smooth paper.
5. Cover all four sides with overlapping torn tape, wrapping a little around each corner to hide the cardboard and pressing down firmly so every edge lies flat.
6. Add a second layer anywhere the cardboard still shows through or where you want more texture, especially near corners and along the top and bottom edges.
7. Fold tape over the raw top rim and bottom rim in short sections to soften the cut edges and make the whole form look more finished.
8. Rub brown shoe polish or dark wax over one side with the soft rag, pushing color into the seams and overlaps first, then wiping across the high spots so the texture stays visible.
9. Continue waxing all the way around the box, building richer color in patches instead of making it perfectly even; that variation is what gives the surface a believable aged look.
10. Let the finish sit for a few minutes, then buff lightly with a clean area of the rag until the surface looks mellow, slightly deepened, and less chalky.
11. Use the dark brown paint pen or marker to draw simple faux stitch lines near the vertical corners and around the top edge, spacing the dashes evenly for a tailored detail.
12. Wrap the leather-look belt around the box as trim and fasten it snugly, or glue and knot twine around the middle or near the top edge if you prefer a more rustic finish.
13. Check the full piece from every angle and add a little extra wax, a few more stitch marks, or one more strip of trim anywhere it needs balance or a more polished look.
Variations & Tips
For a darker vintage look: Add a second light coat of wax or polish just along the corners, seams, and lower edge to mimic worn leather with natural depth.
If you only have twine: Wrap several rows instead of just one so the trim feels intentional and substantial; I like three close rows near the top for a nice finished band.
For a smoother finish: Burnish the tape down with the side of the rag before adding wax so fewer lifted fibers show and the surface reads more like soft leather.
For a more rustic finish: Leave the tape direction a little random and let some overlaps stay visible; it gives the piece that handmade charm I personally think works beautifully in family rooms.
To fit a larger tree stand: Start with a bigger box and keep the same method, making sure there’s enough interior room to slide easily around the stand without scraping the finish.
Kid-and-pet friendly placement tip: Keep the collar dry and place it where it won’t get stepped on or splashed, since cardboard always holds up best indoors and away from water bowls.
Easy holiday styling: I love pairing this warm brown finish with chunky knit stockings, wrapped presents in kraft paper, or a soft plaid ribbon somewhere on the tree to tie the whole look together.