
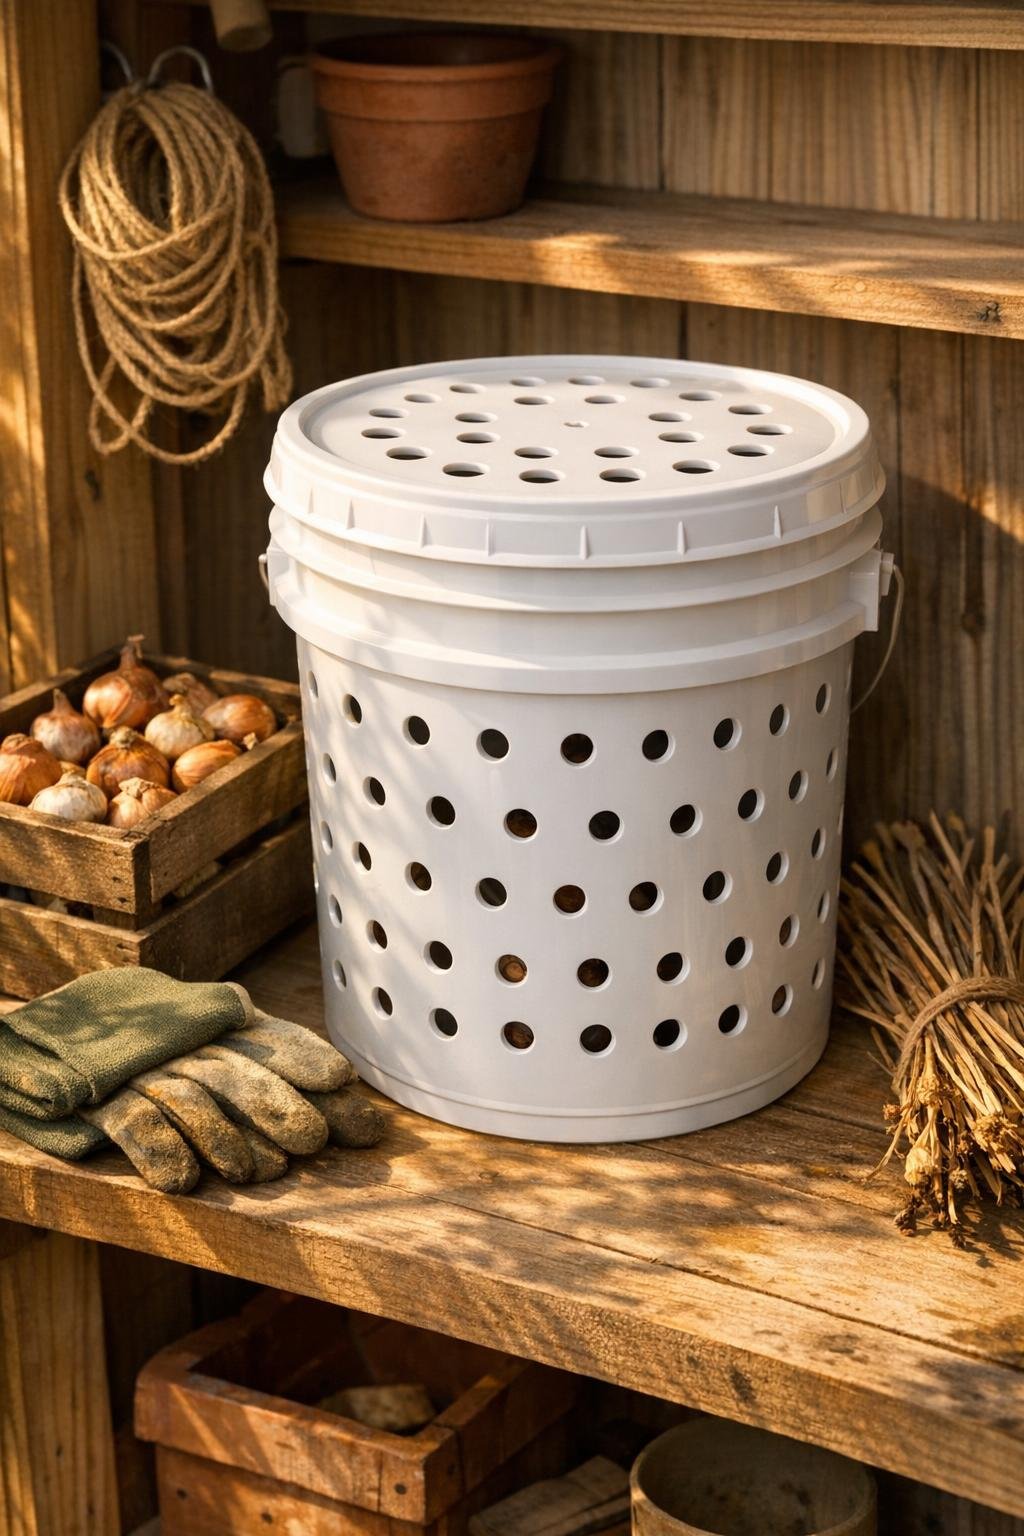
Every fall, when the dahlias are blackened by frost and the gladiolus have given their last show, I bring the bulbs and corms in with the same thought my mother used to say out in the shed: “Store them dry, store them airy, and don’t fuss more than you need to.” This simple bucket storage bin does exactly that. You drill ventilation holes in a white 5-gallon bucket, pair it with two humble shed staples, and end up with a sturdy, breathable place to hold cleaned bulbs through winter without crushing them or letting dampness linger.
I like this project for gardeners who want something practical, inexpensive, and easy to stack in a garage, mudroom, or cool basement corner. It is especially handy if you divide and save a good amount of tender bulbs each year, because the bucket holds a generous harvest while still letting you layer in bedding material so everything stays protected.
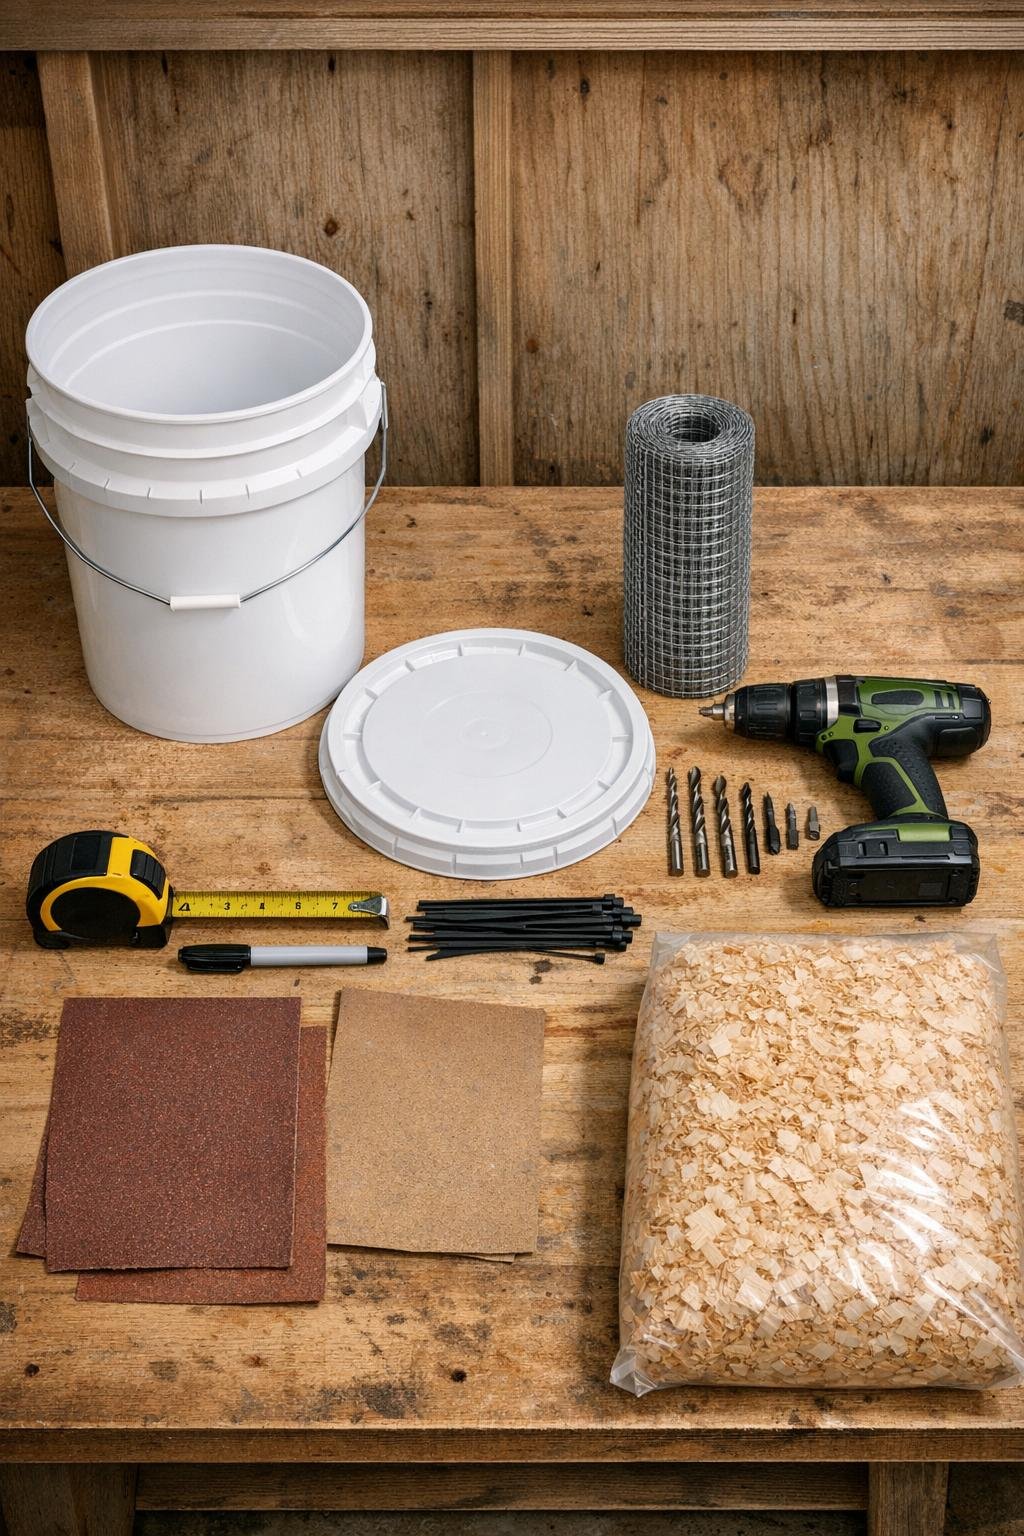
Materials
Instructions
1. Wash the white 5-gallon bucket and lid, then let them dry completely so no moisture gets trapped with your bulbs over winter.
2. Mark rows of ventilation holes around the sides of the bucket, starting 2 inches above the bottom and spacing the holes about 2 inches apart in a staggered pattern.
3. Drill the 3/8-inch holes where marked, then drill 6 to 8 matching holes in the lid so warm air and lingering dampness can escape from the top too.
4. Lightly sand or scrape any rough plastic burrs from the drilled holes so they do not snag bulbs, papery skins, or your hands later.
5. Cut the galvanized hardware cloth into a rectangle long enough to line the inside wall of the bucket, leaving a little overlap where the ends meet.
6. Drill 6 small 1/4-inch holes near the upper inside rim of the bucket, then roll the mesh into a cylinder, set it inside the bucket, and fasten it in place with zip ties through the mesh and bucket holes.
7. Pour 2 inches of dry pine shavings into the bottom of the bucket to create a soft, moisture-buffering base.
8. Add a single layer of fully cured, brushed-clean bulbs or corms, keeping them from touching too tightly, then cover them with 1 to 2 inches of pine shavings.
9. Continue layering bulbs and shavings until the bucket is about 3 inches from full; finish with a thick top layer of shavings so the bulbs stay cushioned and dry.
10. Snap on the drilled lid, then store the bucket in a cool, dark, dry spot off the concrete floor, such as on a wooden shelf or scrap board in the shed or basement.
Variations & Tips
For different bulbs: Dahlias, cannas, begonias, gladiolus, and elephant ears all store a little differently, so be sure they are fully cured first and keep unlike varieties in separate buckets if their preferred storage conditions differ.
If you do not have hardware cloth: You can use a second layer of drilled plastic from an old nursery pot or orchid basket inside the bucket, but the mesh liner gives the best airflow while helping keep bulbs from pressing directly against the outer wall.
Keep it easy to sort: I like to tuck bulbs into loose paper sacks or open-top mesh produce bags within the bucket layers if I am storing several varieties; that way I can lift one group out without digging through the whole bin.
Mind the moisture: If your basement runs damp, check the bucket once a month and replace any shavings that feel cool or wet. A dry bucket is the whole miracle of this old method.
Protect from cold floors: Set the bucket on a board, brick, or shelf rather than directly on concrete, which can sweat and chill more than you expect in winter.
Do not overfill: Leave a little headspace under the lid so air can move through the top holes; packed too tightly, bulbs hold moisture and spoil faster.