
There’s something so satisfying about turning the most ordinary backyard find into something that looks special enough to set out for the holidays or all winter long. I love projects like this because they feel a little bit like cheating in the best way: the branch already brings all the natural character, and a few simple supplies do the rest of the heavy lifting.
This is the kind of craft I reach for when I want a big visual payoff without committing to a whole weekend project. If you’ve got a glue gun, a sturdy fallen branch, and maybe half an hour after dinner, you can make something that looks beautifully frosted and light-catching while still feeling easy and relaxed to put together.
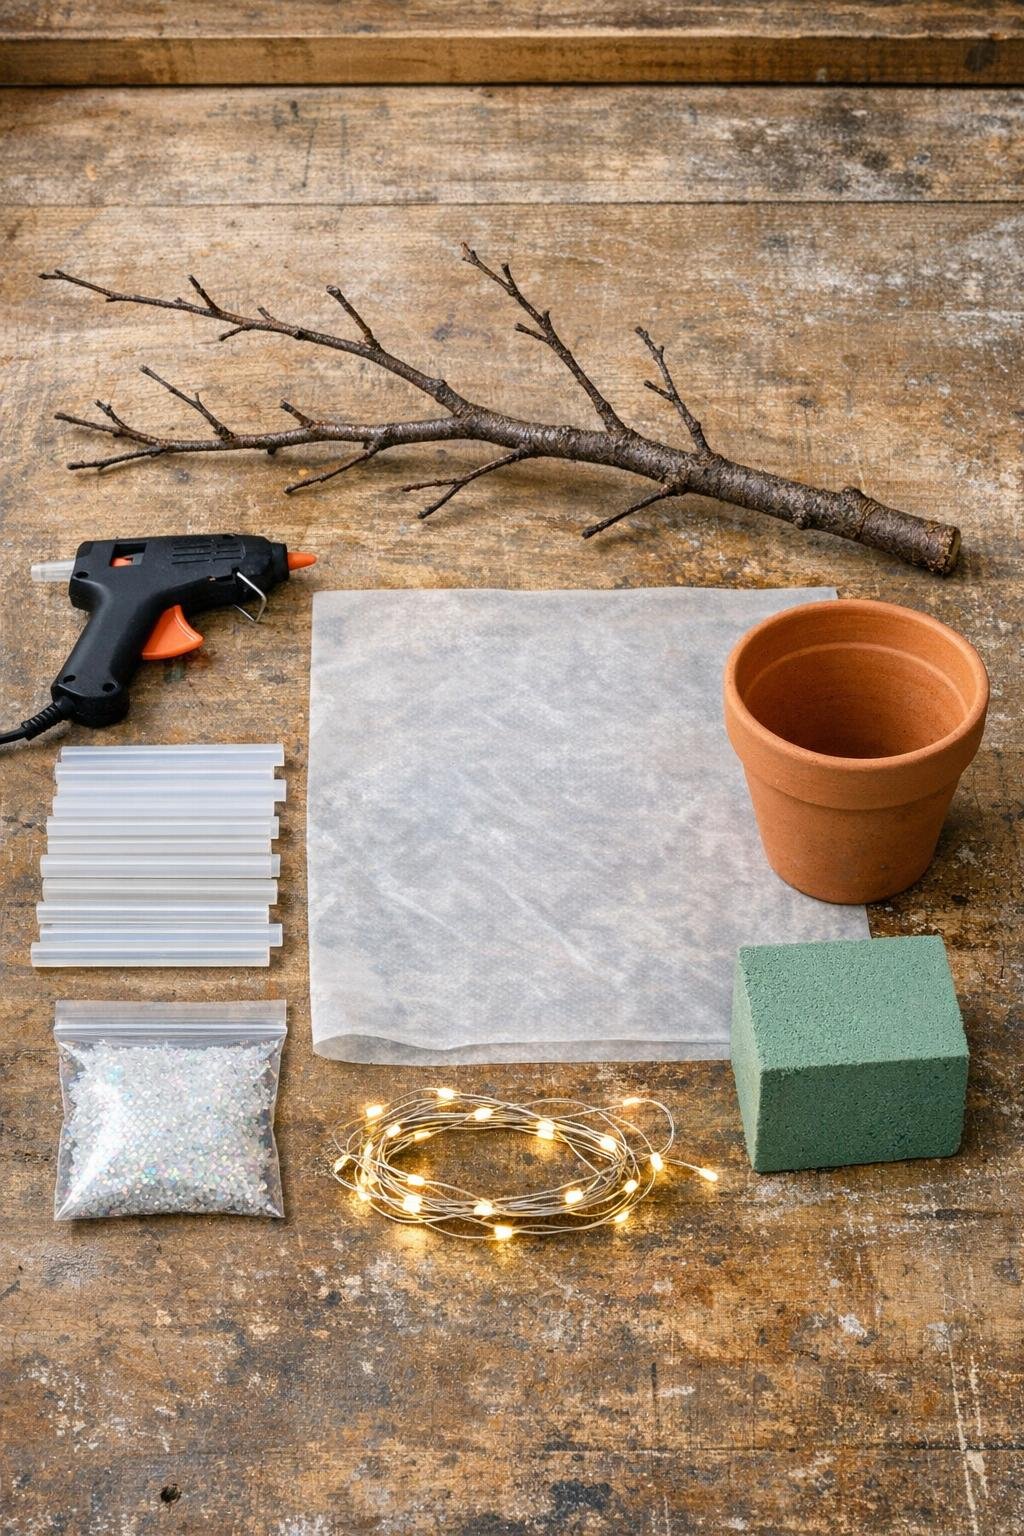
Materials
1 fallen branch, 18 to 24 inches long, with several smaller twigs and a sturdy base end
Instructions
1. Choose a dry fallen branch with an interesting shape and several offshoots, then trim away any broken stubs so the silhouette looks balanced and tree-like.
2. Wipe the branch clean with a dry cloth and let it come fully to room temperature so the hot glue grabs well instead of sliding on damp bark.
3. Set a sheet of wax paper on your work surface and lay the branch across it with the twigs supported so the main branch stays level while you work.
4. Heat the glue gun fully, then squeeze a generous line of clear hot glue along the underside of one branch section and let it fall naturally into drips about 1 to 3 inches long.
5. Rotate the branch a little at a time and repeat on every underside edge of the main branch and twigs, varying the drip lengths so the coverage looks full and naturally icy instead of too uniform.
6. Add a second pass anywhere that looks sparse, building thicker glue at the top of some drips so they taper down like real icicles and catch more light.
7. While the glue is still slightly warm on one section at a time, sprinkle iridescent glitter lightly over the drips so they get a subtle crystal shimmer without hiding the clear finish.
8. Let the entire branch cool completely for 10 to 15 minutes, then gently peel away any stray glue strings for a cleaner, more polished look.
9. Fill the clay pot or vase with floral foam or packed air-dry clay, then press the thick end of the branch firmly into the center so it stands upright like a small tree.
10. Cover the foam or clay with pebbles, faux snow, or moss so the base looks finished and the branch feels visually anchored in the container.
11. If you want extra glow, wrap a strand of warm white fairy lights loosely around the branch, tucking the battery pack down into the pot or behind the base.
12. Fluff the twigs, check the balance, and set the piece where light can hit the clear drips so the whole branch sparkles from every angle.

Variations & Tips
For a fuller look: Pick a branch with lots of twiggy offshoots, because more little tips give you many more places for glue drips and make the finished piece look lush instead of bare.
If your glue drips look stubby: Hold the branch level and move the glue gun slowly enough for gravity to pull the glue down before it sets; I’ve found this works much better than trying to force long drips all at once.
For extra sparkle: Use just a pinch of iridescent glitter at a time. Too much can cloud the clear icicle effect, while a light dusting keeps that glassy look.
Container swap: A narrow vase gives a cleaner, more modern look, while a clay pot feels cozier and works especially well if you want to add faux snow, pebbles, or moss around the base.
Make-ahead tip: This is a great evening project to do in stages. I like making the glue drips one night and potting the branch the next, especially on busy workweeks when I only have a little creative energy left.
Placement tip: Keep it indoors or on a covered porch away from direct sun and heat vents, since hot glue can soften if it gets too warm.