
There are some projects that look far fussier than they really are, and this is one of my favorite kinds to make on a busy weeknight. You start with the most ordinary little stack of cotton rounds and a simple cardboard ring, and with a lot of easy overlapping glue work, the whole thing transforms into something soft, snowy, and surprisingly elegant.
I love a craft like this because it doesn’t ask for fancy tools or perfect precision, just a little patience and a good rhythm. If you want a lightweight winter decoration that feels full and polished without spending much, this is a wonderful project to make at the kitchen table after dinner.
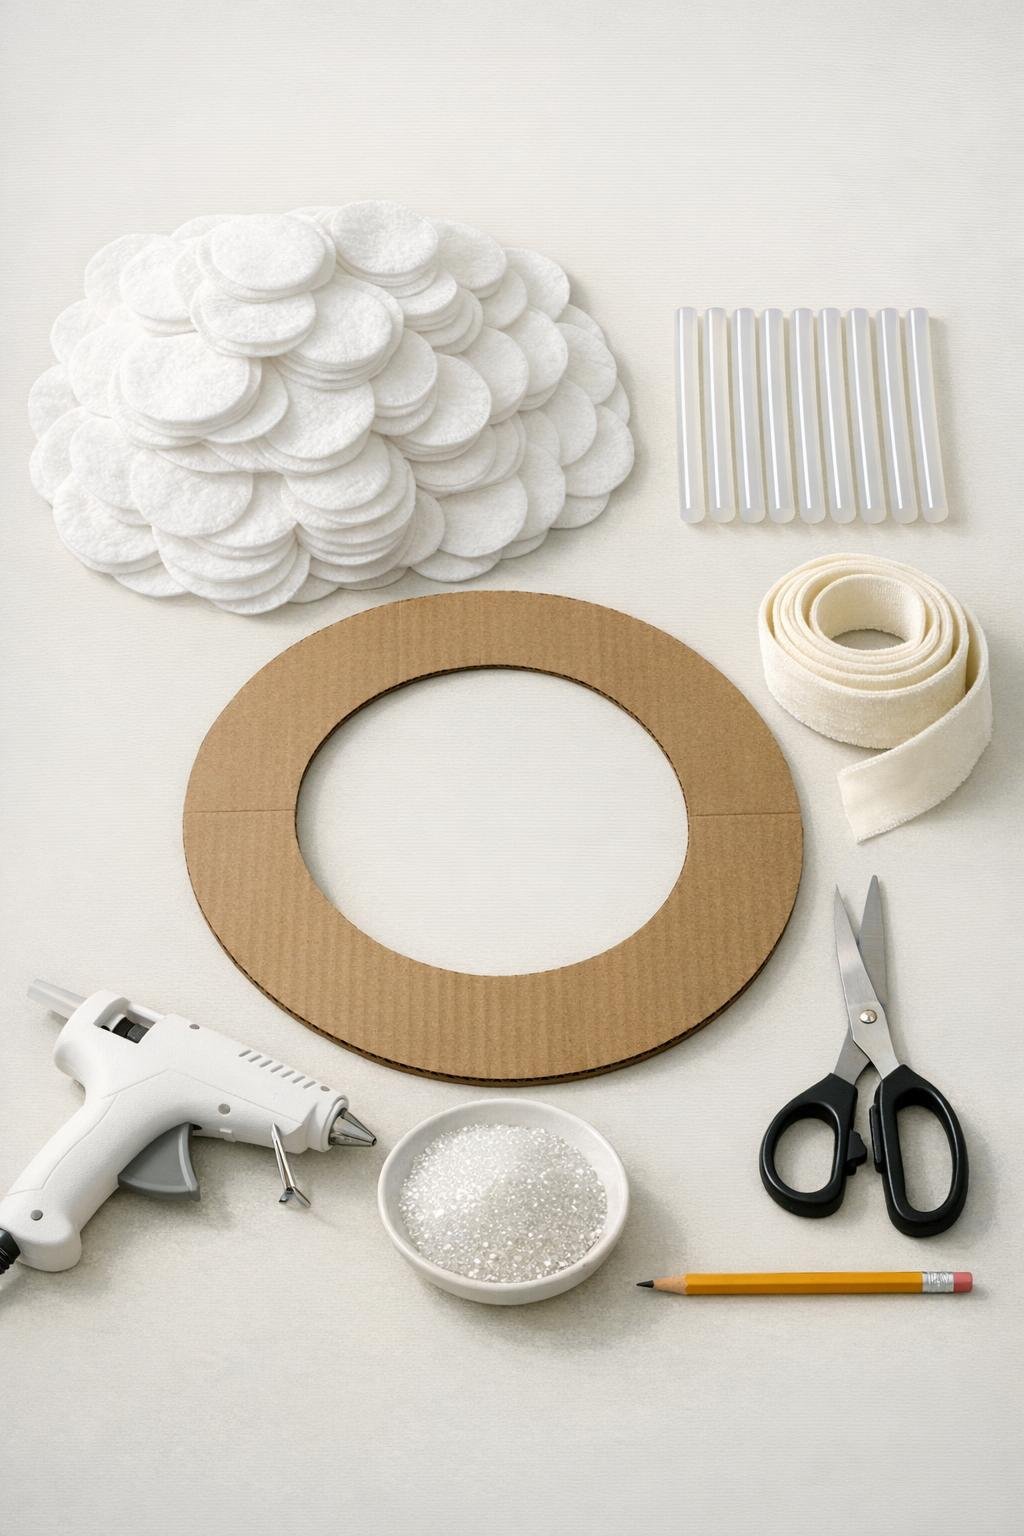
Materials
150 round cotton makeup remover pads
Instructions
1. Draw a 14-inch circle onto the cardboard, then draw a 7-inch circle in the center and cut out the ring so you have a sturdy wreath base.
2. Trim away any rough edges and test that the ring feels even all the way around, because a smooth base helps the cotton pads sit in nice consistent rows.
3. If your cotton rounds are very flat, gently pinch a small crease near the bottom of each one as you work so they lift a little and read more like soft feathers instead of flat circles.
4. Add a line of hot glue along a 3- to 4-inch section of the outer edge and press down the first row of cotton pads so they hang slightly past the outside of the cardboard.
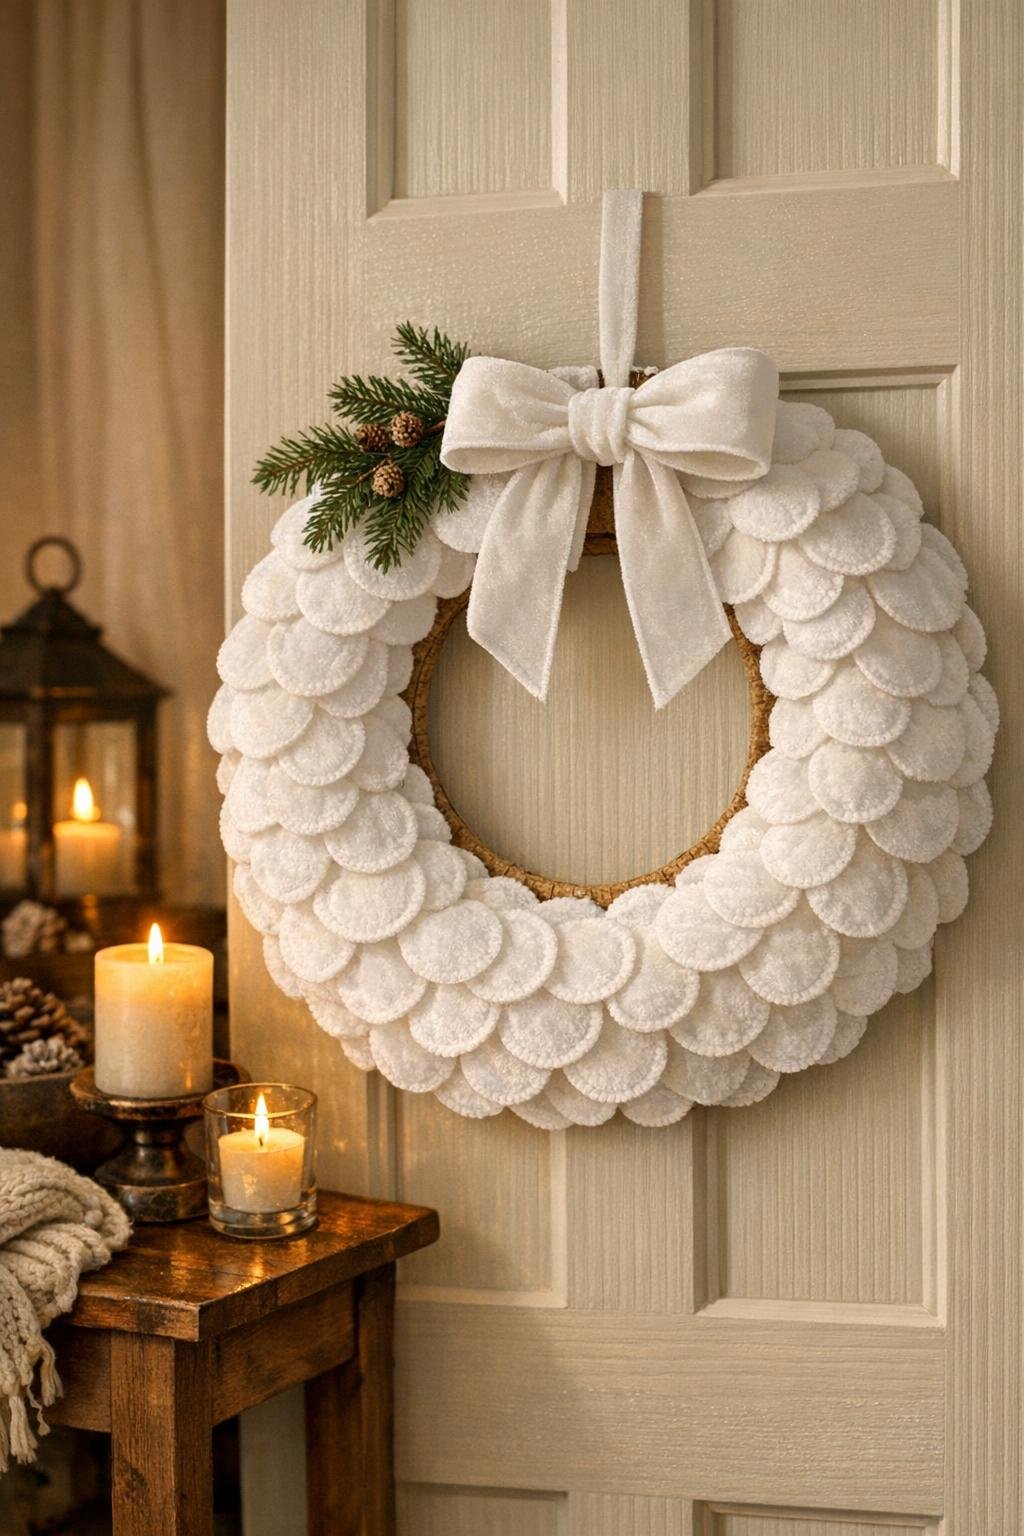
5. Keep overlapping the pads by about one third of their width, working around the entire ring until the outer edge looks full with no cardboard peeking through from the front.
6. Start a second row just inside the first, gluing each pad so it covers the glued base of the row before it and creates a layered scalloped look.
7. Continue adding rows toward the center of the ring, always staggering the pads slightly so the surface looks fluffy and dense instead of lined up in straight obvious columns.
8. When you reach the inner edge, angle the final row inward slightly so the pads soften the center opening and hide the raw cardboard edge.
9. Fill any thin spots by tucking extra pads into open areas, especially along the inner and outer curves, until the wreath looks evenly snowy and generously covered.
10. If you want a frosted finish, brush or tap a very light amount of white glitter onto the top edges of a few pads while the glue is still slightly tacky in scattered spots.
11. Cut the velvet ribbon into one 24-inch hanging length and one 12-inch accent piece, then loop the long piece through the top of the wreath and knot it securely for hanging.
12. Tie the short ribbon piece into a simple bow and glue it over the hanging knot to finish the top neatly, then fluff the cotton layers lightly with your fingers before hanging.
Variations & Tips
Make it fuller: If you want an extra lush look, use 175 to 200 cotton rounds and tighten your overlap slightly; I always think a wreath like this looks best when it feels abundant rather than skimpy.
Choose the right cardboard: Shipping box cardboard works great, but pick a piece that isn’t creased or too soft so the ring holds its shape once all the pads are attached.
Work in sections: I like to glue in small arcs instead of going all the way around with one row first, because the hot glue stays workable and I can check the fullness as I go.
Keep the rows soft: Don’t press the cotton rounds completely flat into the glue; a light touch gives you that airy feathered texture that makes the final reveal so pretty.
Try a subtle sparkle: A tiny bit of white glitter catches the light beautifully, but keep it concentrated near the outer tips so it looks frosty instead of crunchy.
Use it beyond the holidays: Skip the glitter and use an ivory or beige velvet ribbon if you want a winter-neutral wreath that can stay up well past December.
Storage tip: Hang or store the wreath flat in a shallow box so the cotton pads don’t get crushed; this is one of those projects that keeps its shape best when nothing heavy sits on top of it.