
This little bedroom organizer is one of those projects that looks far fancier than the effort it takes. By fitting a small piece of window screen inside a vintage-style picture frame, you get an elegant display that lets stud earrings clip right through the mesh so they stay visible, paired, and easy to grab when you’re getting ready. It solves the classic tangled-jewelry problem without turning into another plastic organizer on the dresser.
I love projects like this because they combine order and charm in one go. If you have a collection of small studs, dainty posts, or lightweight earrings that disappear in bowls and boxes, this is a simple afternoon fix that makes the whole bedroom feel more put together.
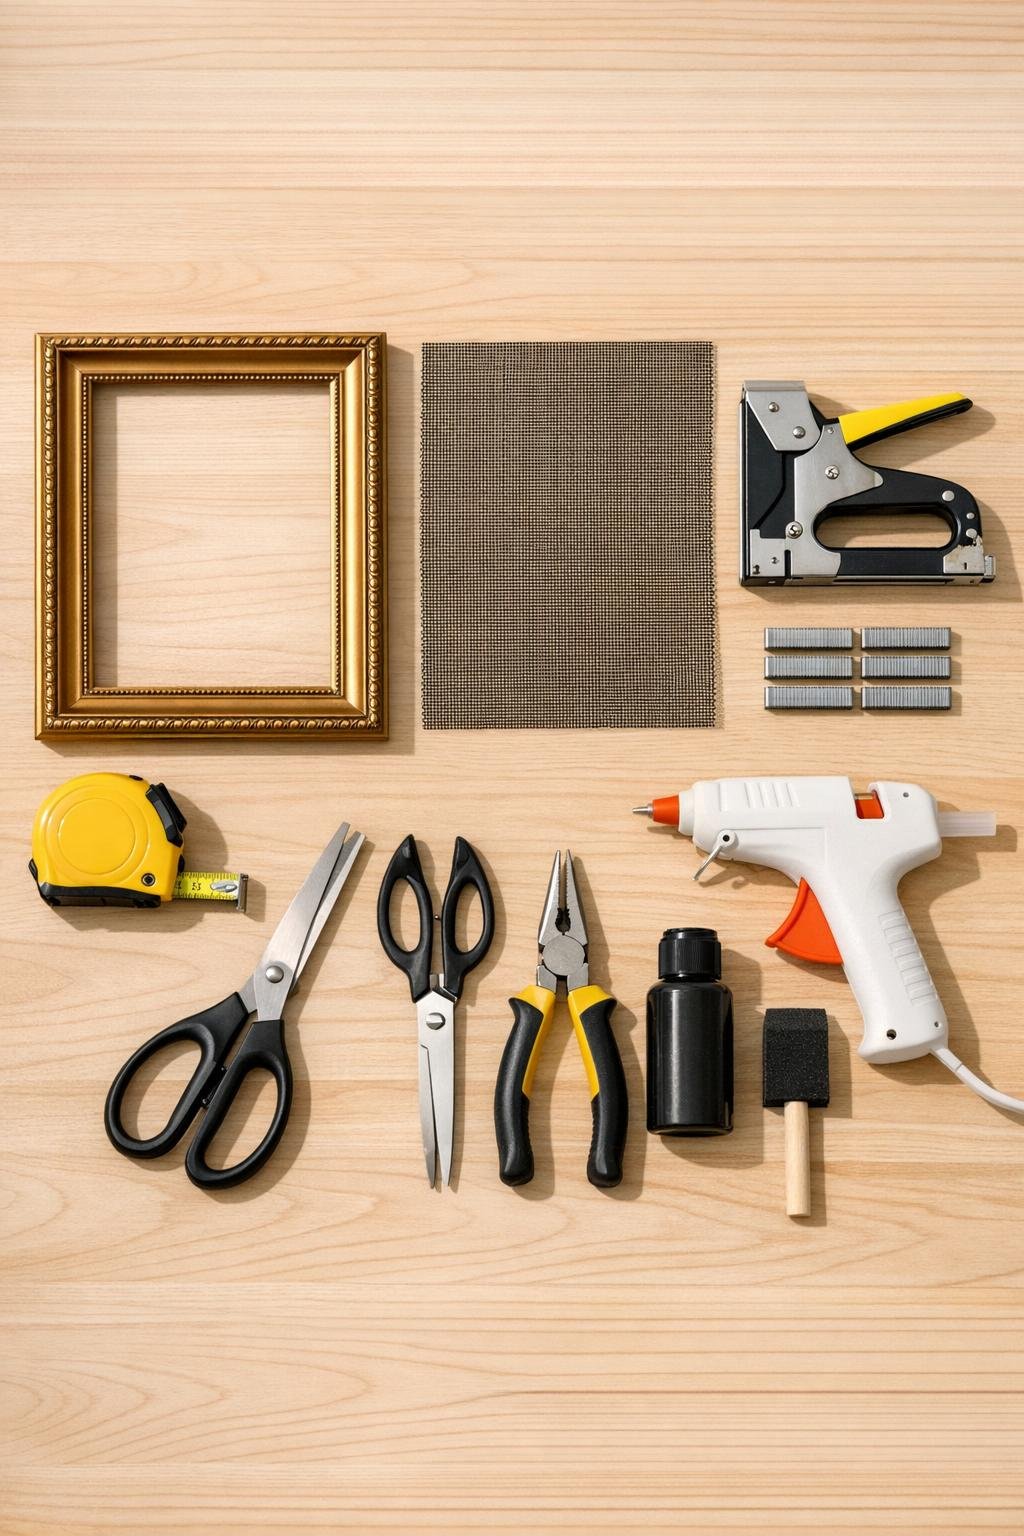
Materials
1 small vintage picture frame, 8 x 10 inches, gold finish
Instructions
1. Remove the backing, glass, and insert from the picture frame so you are left with just the decorative outer frame. Wipe the frame clean and make sure the corners are tight before you begin.
2. Measure the open back of the frame and cut the black metal window screen so it overlaps the opening by 1 inch on all four sides. This extra margin gives you enough material to pull the screen taut without slipping.
3. If any screen edges look shiny or rough after cutting, brush a light coat of black craft paint along the cut edges and let it dry for 10 minutes. This small step makes the finished piece look cleaner and more intentional.
4. Lay the frame face down and center the screen over the back opening. Pull the screen snug on one short side and staple it in the middle, then pull the opposite side tight and staple the center there too.
5. Stretch the remaining two sides and place one staple in the center of each side. Once the screen is evenly tensioned, add 3 to 4 more staples per side, working outward from the middle so the mesh stays straight.
6. Trim the excess screen close to the staple line, leaving about 1/4 inch beyond the staples. Use needle-nose pliers to bend in any sharp wires so the back is safe to handle.
7. Run a thin bead of hot glue over the trimmed screen edges and staples to cover sharp points and help hold everything in place. Let the glue cool completely before turning the frame over.
8. Turn the frame face up and check that the black mesh looks centered and taut from the front. If your frame needs hanging hardware, attach a sawtooth hanger to the back now.
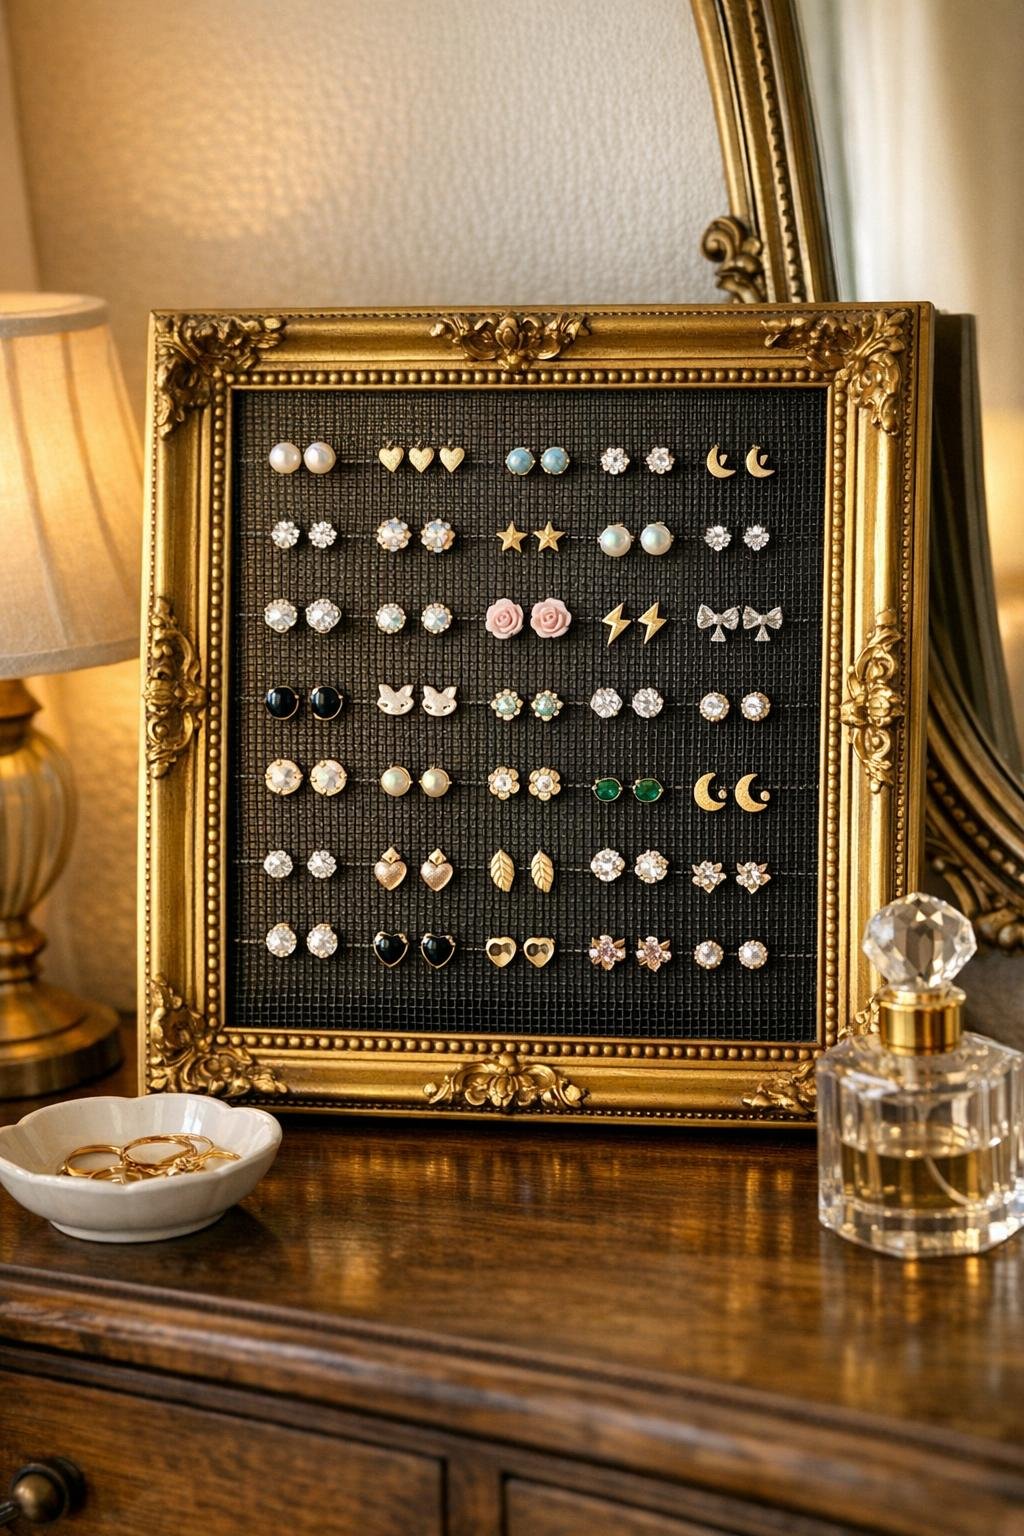
9. Clip your stud earrings directly through the screen mesh, keeping pairs side by side and spacing them closely for a full, boutique-style look. Fill most of the frame so the display looks generous and decorative instead of patchy.
10. Hang the frame on the bedroom wall or lean it on a dresser where you get ready each day. Group similar metals or colors together to make the whole display feel styled as well as practical.
Variations & Tips
Frame style: An ornate gold frame gives this project that vintage bedroom look, but painted wood, white shabby-chic, or matte black frames work beautifully too as long as the frame is sturdy.
Screen choice: Metal screen holds its shape best and keeps the display looking crisp. If you use fiberglass screen, pull it very tight and secure it well because it has more give.
Earring spacing: I like to place the largest studs first, then fill in around them with tiny pairs. It’s the same principle as plating food attractively: anchor the eye with the bold pieces, then tuck the small ones into the gaps.
Bedroom placement: Hang it near the mirror where you actually put on jewelry, not across the room. A useful organizer gets used far more consistently when it lives right at the point of decision.
Extra polish: If the back of the frame will show, glue on a piece of black felt or scrapbook paper over the staples after everything is secure. It gives the project a cleaner finish and protects the wall.
More storage: For dangling earrings, choose a frame with a taller opening and use the lower rows of mesh for hooks. You can also add a narrow ribbon bow at the top corner if you want it to read even more like decor.