
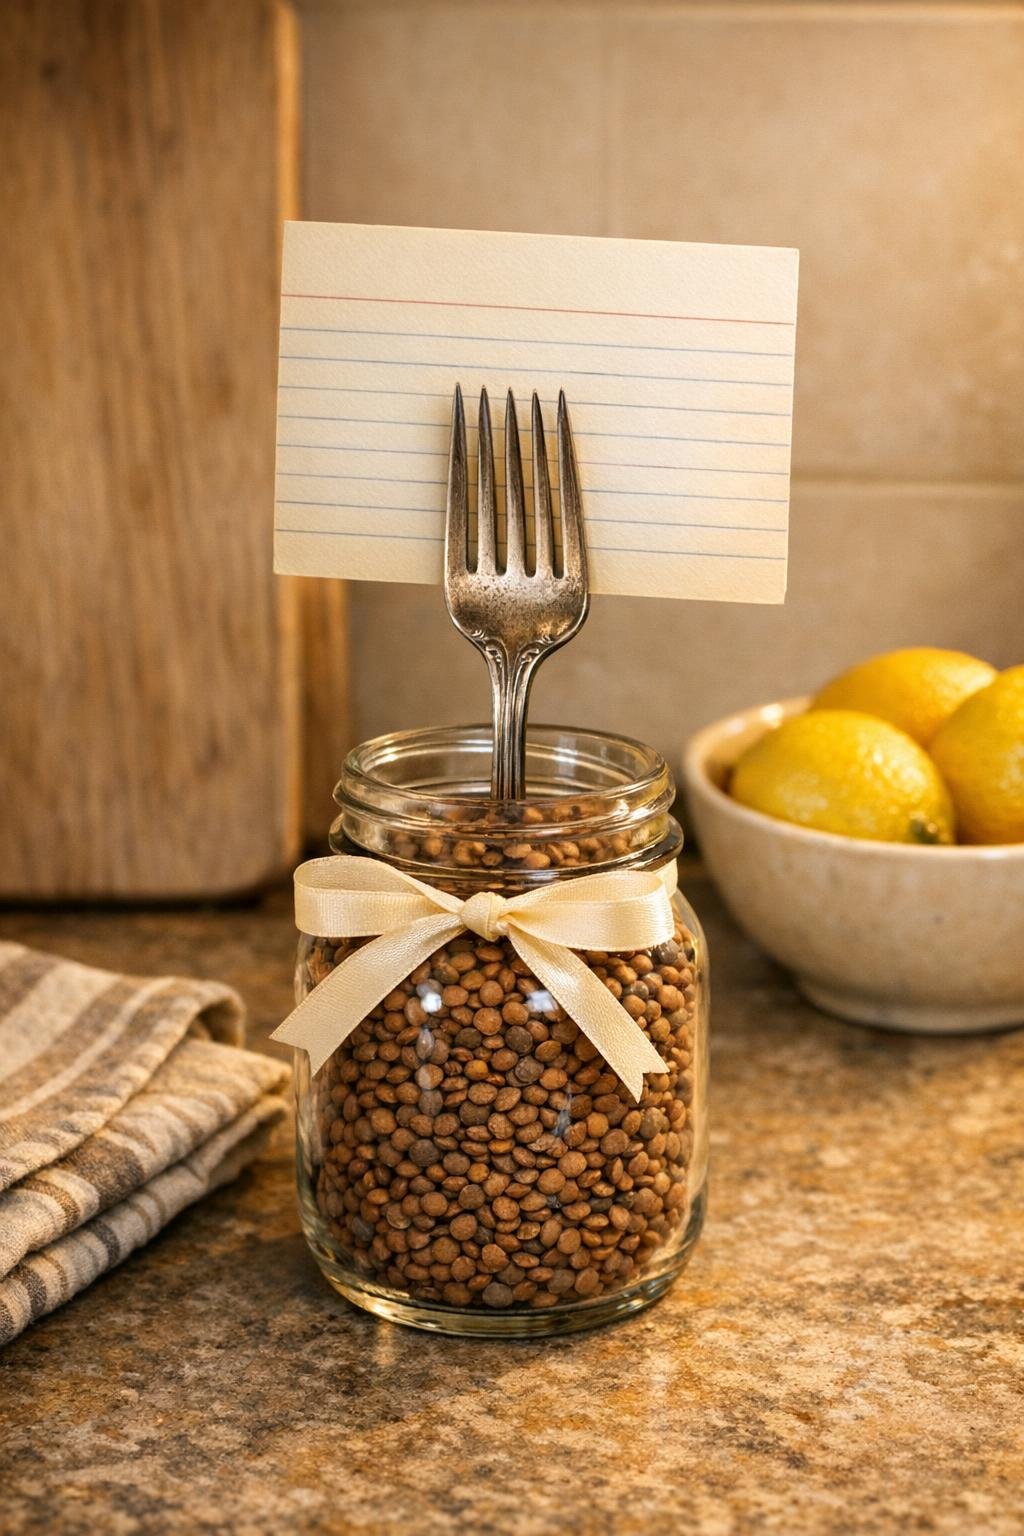
This little kitchen project is one of my favorite kinds of DIYs: quick, useful, and charming enough to leave out on the counter every day. You’re turning a vintage silver fork and a small jar of dried lentils into a recipe card holder that keeps index cards upright while you cook, which is honestly such a help when your hands are messy and your phone screen is the last thing you want to touch.
I love projects like this because they feel pulled together without requiring a whole afternoon. If you have a busy weeknight routine like I do, this is the kind of easy craft that gives your kitchen a bit of personality and solves a real problem at the same time. It also makes a sweet handmade gift for anyone who still loves handwritten recipes, holiday baking cards, or meal planning on actual paper.
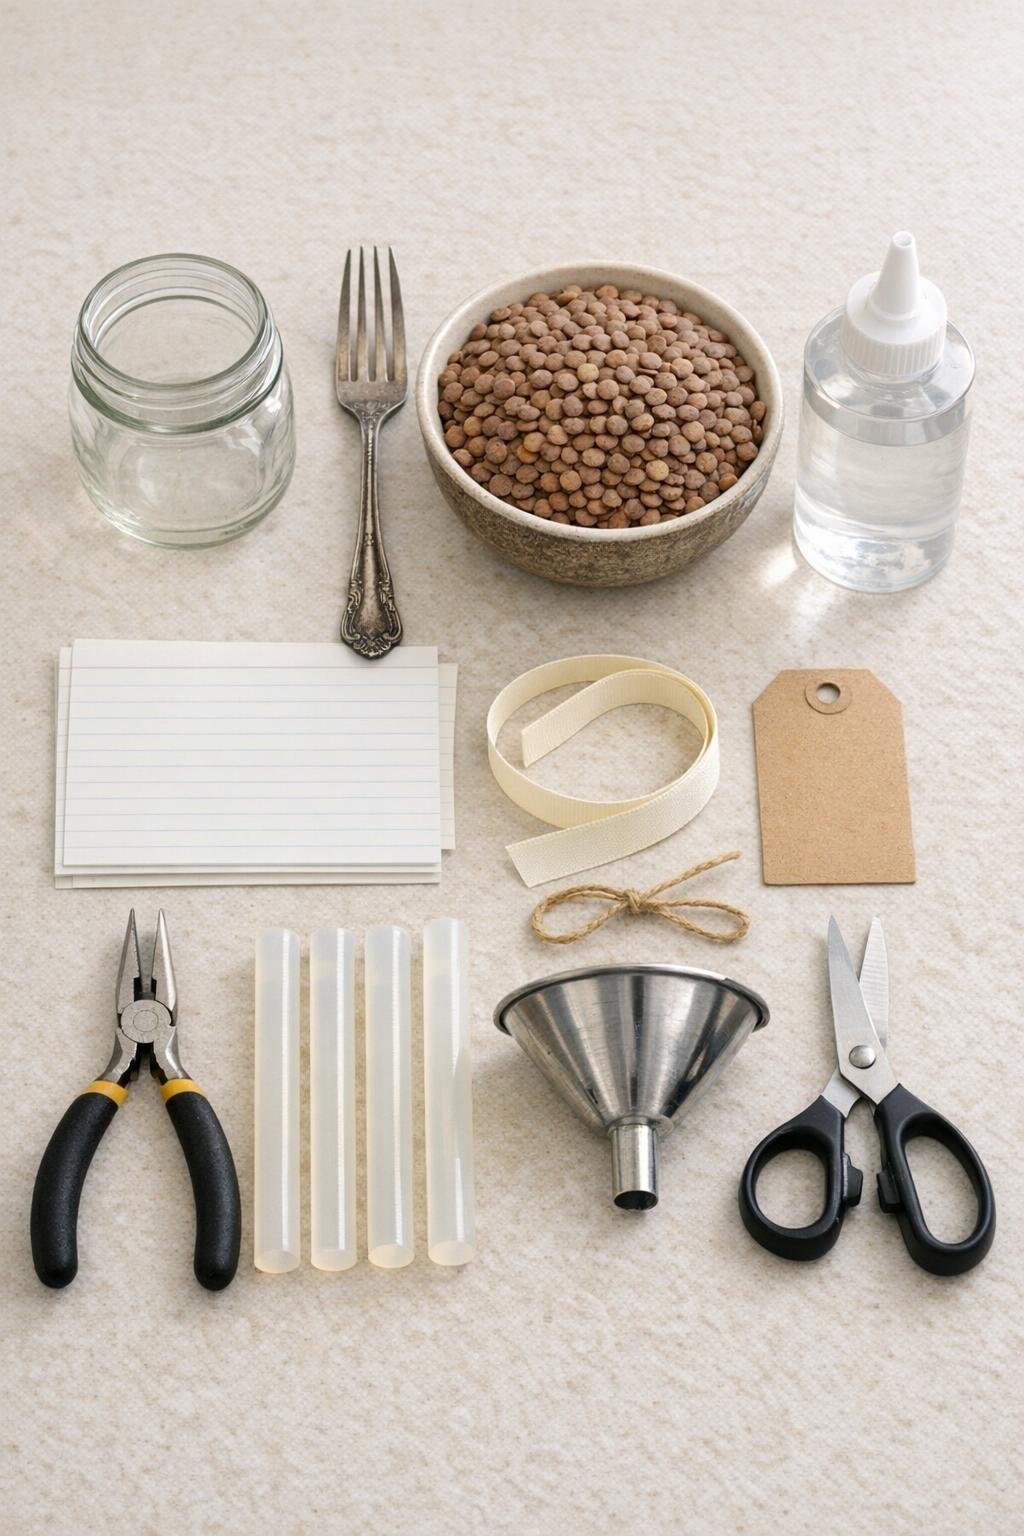
Materials
1 small glass jar, 8 to 10 ounces, about 3 to 4 inches tall
Instructions
1. Wash and dry the jar and fork thoroughly so the finished holder looks polished and the lentils stay clean inside the jar.
2. If needed, use needle-nose pliers to gently open the center tines of the fork just a little, creating a narrow slot wide enough to slide in an index card without tearing it.
3. Test one index card in the fork tines, then adjust the spacing until the card slides in easily and stands upright without wobbling too much.
4. Add the dried lentils to the jar, filling it about three-quarters full so the fork can sink in deeply while the jar still has a neat finished look.
5. Push the fork handle straight down into the center of the lentils until it reaches near the bottom of the jar, leaving the fork head fully visible above the rim.
6. Rotate and wiggle the fork slightly until it stands straight and feels stable, then add a few more lentils around the handle to pack it firmly in place.
7. For extra security, add a small bead of clear craft glue or hot glue where the handle enters the lentils at the top center, keeping the glue hidden below the fork head.
8. Tie the ribbon around the neck of the jar in a tidy bow, and glue on the small tag if you want a finished gift-ready touch.
9. Slide the cardstock backing card into the fork first when you want extra support, then add an index card with a handwritten recipe in front of it so the card stays crisp and easy to read.
10. Add felt pads or a circle of cork to the base if your counter is slick, then place the holder near your prep area and swap cards in as needed for weekly meals, baking, or holiday cooking.
Variations & Tips
Use a heavier jar: If your fork is long or slightly top-heavy, choose a thicker-bottomed glass jar for better balance. I’ve found that a squat little jelly jar works especially well.
Try different fillers: Brown lentils give a warm, earthy look, but dried black beans, white beans, or rice can also work. Just make sure the filler is dense enough to hold the fork upright.
Add recipe card support: If you use thin index cards, keep a plain cardstock card in the back at all times. It makes the whole holder look neater and helps the recipe stand straighter.
Make it giftable: Tuck in 10 to 12 handwritten family recipes, tie on a nicer ribbon, and add a measuring spoon or mini whisk alongside it. This is such a thoughtful shower, hostess, or holiday gift.
Choose the right fork: A sturdy dinner fork with slightly longer tines holds cards best. If the vintage fork is very delicate, bend only a tiny bit at a time so you don’t stress the metal.
Keep it kitchen-friendly: I like to place mine just far enough from the stove to avoid steam splatters but close enough that I can glance at it while stirring. It’s one of those small upgrades that makes cooking feel more organized without adding clutter.